
You can build and run your app on a simulated device or real device. For macOS apps, your Mac is the device. A debugging session opens automatically in the debug area when you run your app through Xcode.
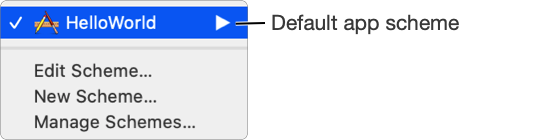
Choose a scheme from the scheme pop-up menu in the toolbar.
If you create a project from a template, Xcode creates a scheme for each target in your project.
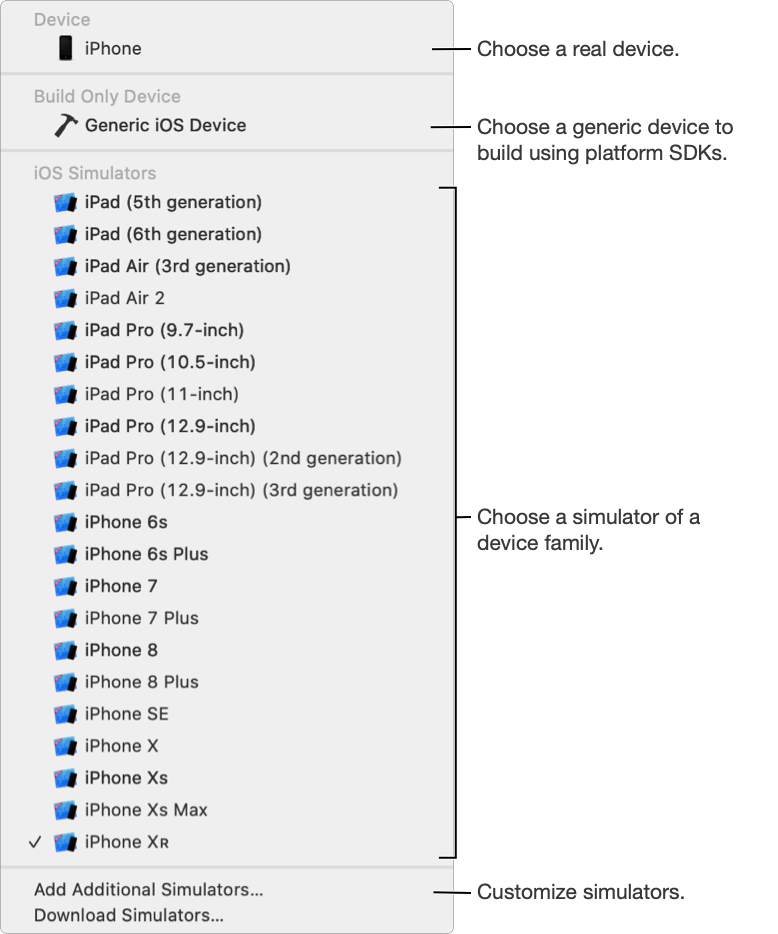
Choose a run destination from the scheme pop-up menu.
The run destination determines where the app runs after it’s built. For macOS apps, there’s one default run destination called My Mac. For iOS, tvOS, and watchOS apps, you can choose a simulated device, a device connected to your Mac, or a wireless device paired to Xcode.
Click the Run button in the toolbar to build, run, and debug your app.
The activity view in the toolbar shows the build progress and results.

If the build is successful, your app launches on the device or Simulator, and a debugging session opens in the debug area.
If an error or warning occurs, click the corresponding yellow or red icon that appears in the activity view.
The issue appears in the Issue navigator showing the line of code where the error or warning occurred. (You can customize the behaviors of some alerts and actions using Behaviors preferences.)
To stop a build that is in progress or stop the debugging session, click the Stop button in the toolbar.
If the build is successful and the app launches, use the debug area to control and inspect your running app.
To create an archive for distribution, you choose a real or generic device as the run destination (you can’t create an archive with simulator SDKs).
To rebuild all files in a project, choose Product > Clean Build Folder, then choose Product > Run or Product > Build For > Running.
For other toolbar actions and shortcuts, go to About the toolbar.