
After you add Xcode Server to your accounts, you can start creating bots that build, analyze, test, archive, and export your projects.
On your development Mac, choose Product > Create Bot.
Alternatively, in the Report navigator, you can Control-click the server and choose Create Bot from the pop-up menu.
In the sheet that appears, enter a name for the bot, choose a server, and click Next.
If the server doesn’t appear in the pop-up menu, choose Add New Server and follow the instructions on the following sheets. Alternatively, you can add Xcode Server to your accounts in Accounts preferences before you create a bot.
Select a repository, click Sign In, enter your repository credentials, then click OK.
You need to sign in to the repository even if you’ve entered credentials in Accounts preferences because each bot stores its own set of credentials in a secure keychain on the server.
Note: If your repository is using SSH and you have never trusted the SSH fingerprint of that server, you may need to click the Trust button before you can authenticate.
Click Next.
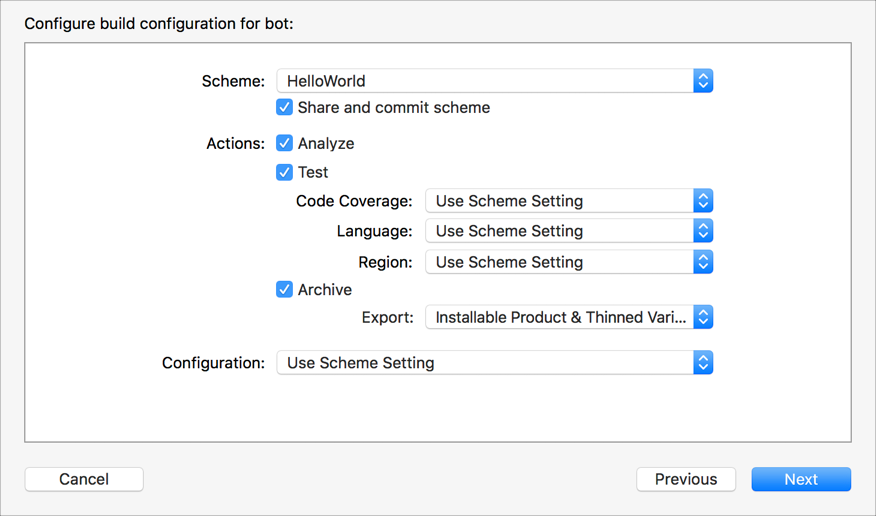
In the sheet that appears, choose the scheme from the scheme pop-up menu, select the actions (Analyze, Test, or Archive) you want the bot to perform, then click Next.
Optionally, change the default settings for each action and choose a different build configuration. To learn more about these settings, go to Bot scheme and action settings.
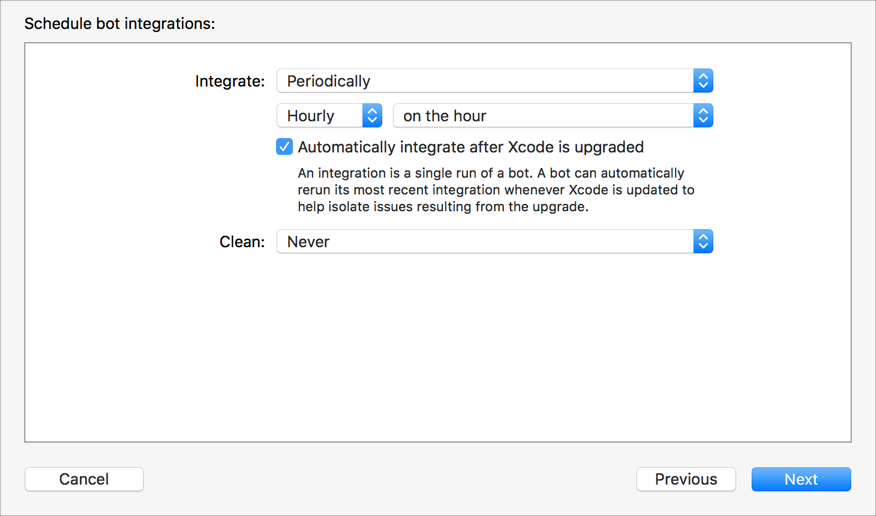
Set the schedule for the bot integrations, then click Next.
Specify how frequently you want to run integrations and whether you want to clean products before building them. You can schedule the bot to perform integrations periodically (hourly, daily, or weekly), on every commit, or manually. Similarly, you can schedule cleaning before each build, daily, or weekly.
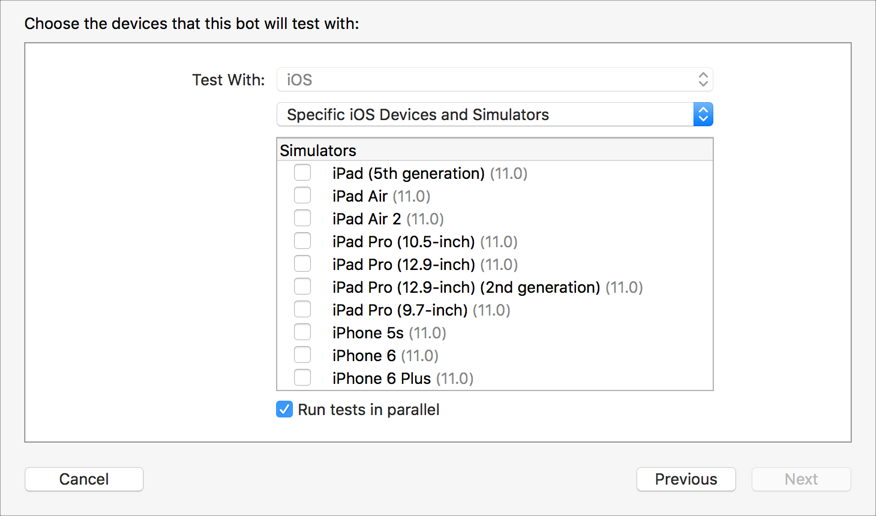
For iOS apps, choose the type of devices or simulators to test with (the run destinations) and other options, then click Next.
Any devices you specify must be connected to the server for the test action to complete.
From the pop-up menu, choose the run destinations.
If you choose Specific iOS Devices and Simulators, select the devices and simulators you want to test with from the list that appears below. The devices must be connected to the Mac running Xcode Server to appear in the list.
Optionally, deselect the “Run tests in parallel” checkbox.
For example, if your tests interact with the same data, you may not want them to run in parallel to ensure reliable and reproducible results.
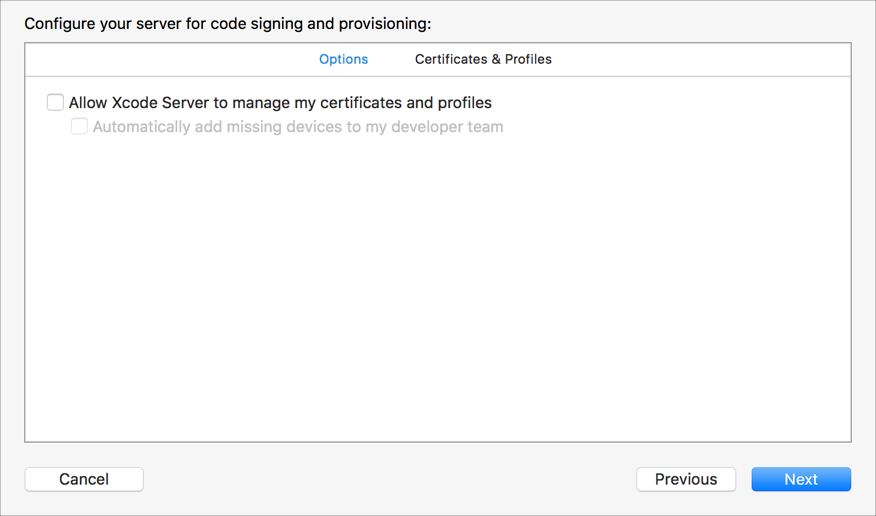
Specify whether the server should manage signing assets for you, then click Next.
For example, the server can create missing signing certificates, register devices, and generate provisioning profiles. To learn more about these settings, go to Allow Xcode Server to manage signing for you.
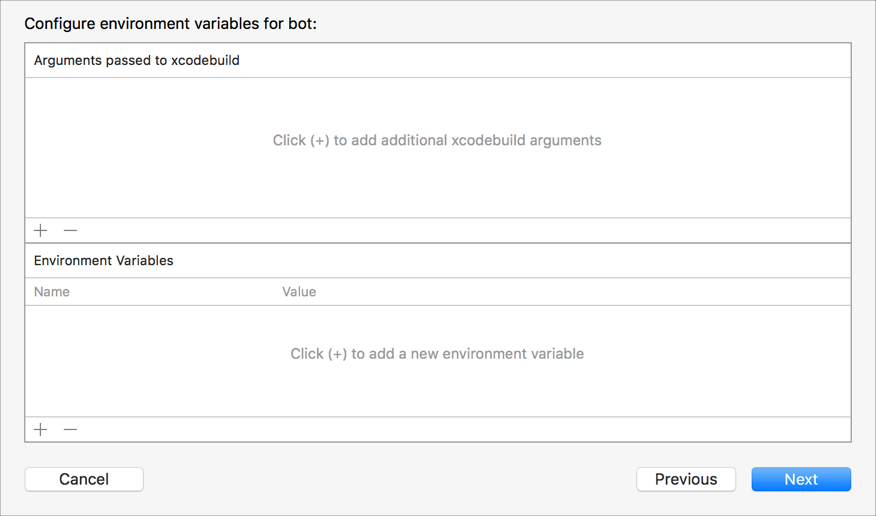
In the next sheet, add arguments to xcodebuild and environment variables, then click Next.
To add an argument or environment variable, click the Add (+) button below the corresponding table. Add any environment variables needed by Run Script build phases that execute as part of your integration, or for your pre-integration and post-integration triggers.
In the next sheet, configure any triggers—actions to be performed before or after an integration.
A trigger can run custom shell scripts and send email reports. To learn more about triggers, go to Create bot triggers.
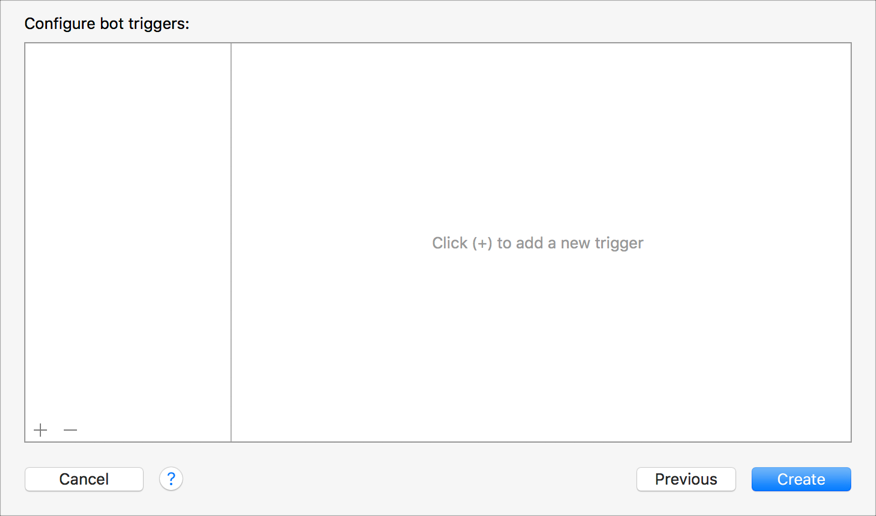
Click Create to build the bot.