
Bots can be configured to perform actions—known as triggers—before and after integration when you create a bot or on the Triggers pane, when you edit a bot. A trigger can run custom shell scripts and send email reports.
A pre-integration script or a post-integration script can use any environment variables you defined in the previous sheet when you create a bot, or on the Arguments pane, when you edit a bot. The script can also use any of the Xcode Server environment variables.
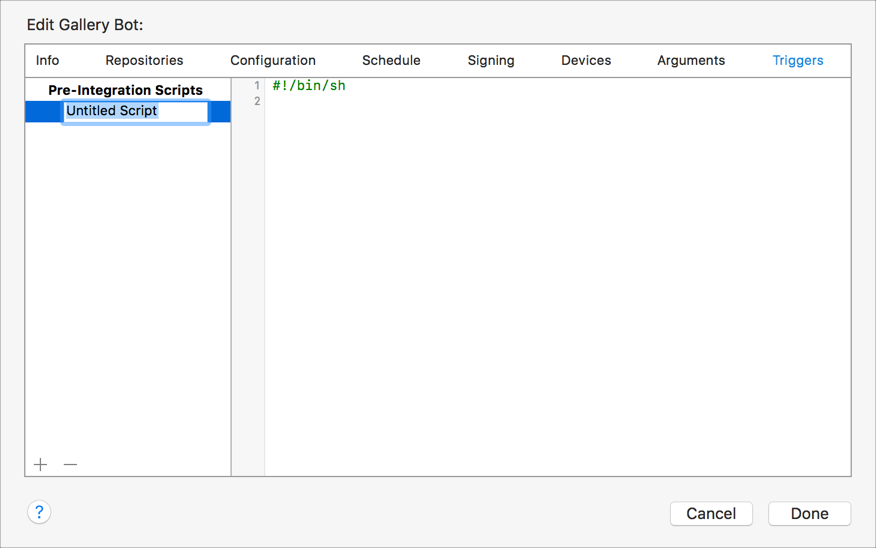
Pre-integration triggers run after your project is checked out from the source control repository and before your project builds.
Click the Add button (+) and choose Pre-Integration Script from the pop-up menu.
In the left column, enter a title for the trigger.
On the right, enter the script in the editor area.
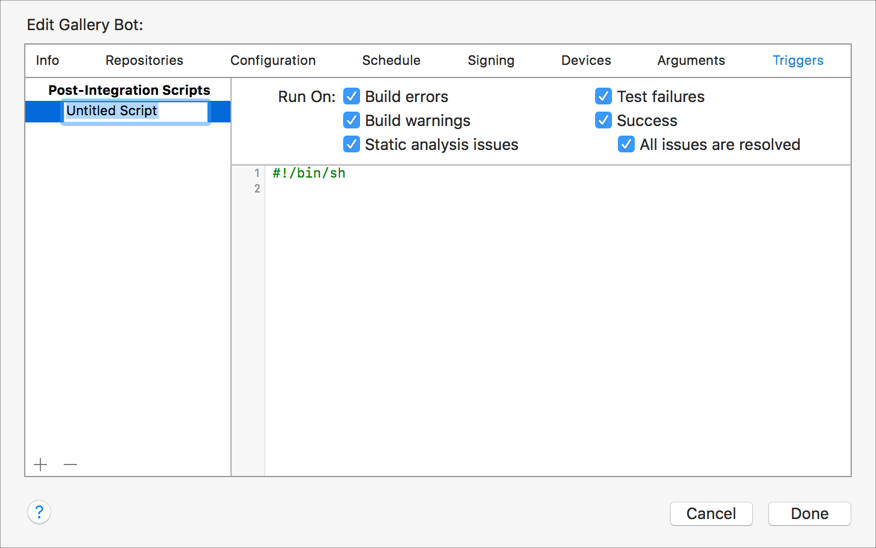
Post-integration triggers run after an integration.
In the lower-left corner, click the Add button (+) and choose Post-Integration Script from the pop-up menu.
In the left column, enter a title for the trigger.
On the right, enter the script in the editor area.
Above the editor, select the checkboxes for the events that you want to trigger the script.
Post-integration triggers may be configured to run conditionally, such as on success, on test failures, on build errors, on build warnings, or on static analysis warnings. Select the appropriate condition checkboxes for your integration.
Email notification triggers run when new issues occur, after performing an integration, daily, or weekly.
In the lower-left corner, click the Add button (+) and choose either New Issue Email or Periodic Email Report from the pop-up menu.
On the right, enter the sender and recipient information.
For a periodic email trigger, choose Daily or Weekly from the Schedule pop-up menu.
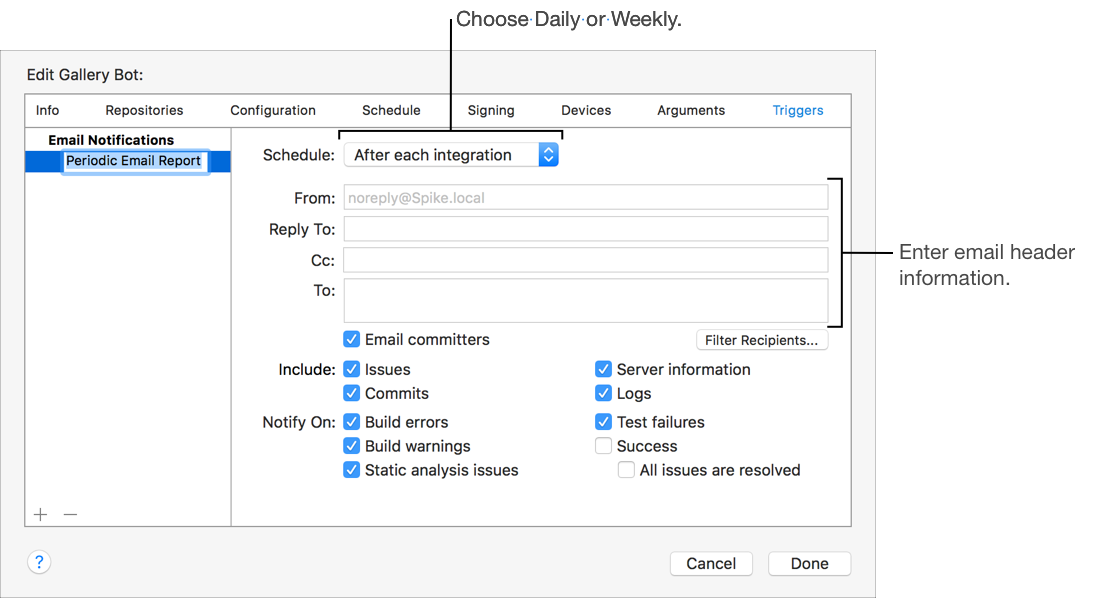
Select the appropriate Options, Include, and Notify On checkboxes to further configure the email trigger.
For periodic reports, specify whether you want email to go to committers. For new issue reports, emails automatically go to committers but you can specify whether to send email when issues are resolved too. Then select the information to include and the conditions under which reports are sent, such as on success, on test failures, on build errors, on build warnings, or on static analysis warnings.
For a new issue email, the settings appear as:

In the left column, select the trigger.
In the lower-left corner, click the Delete button (–).