You can use the Photos editing tools to easily make simple changes to your photos, such as rotating them or cropping them to get the best framing.
When you change a photo, Photos keeps the original so you can always undo your changes and revert to the original look.
Changes you make to a photo appear everywhere the photo appears in your library—every album, project, and so on. If you want to give a photo a unique look that appears in one version of the photo, first duplicate the photo and work on the copy.
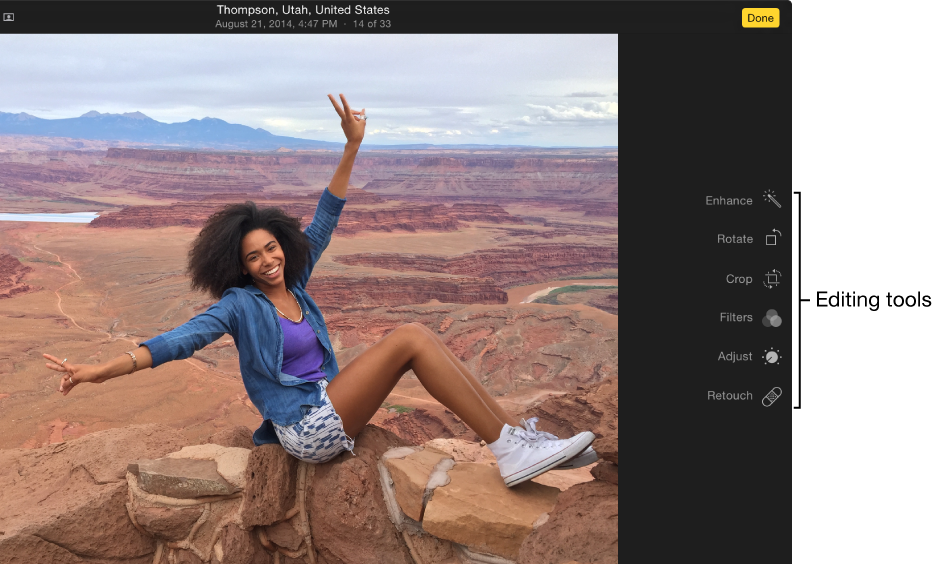
To edit a photo, first you open it in editing view, where you can see the editing tools.
Do one of the following:
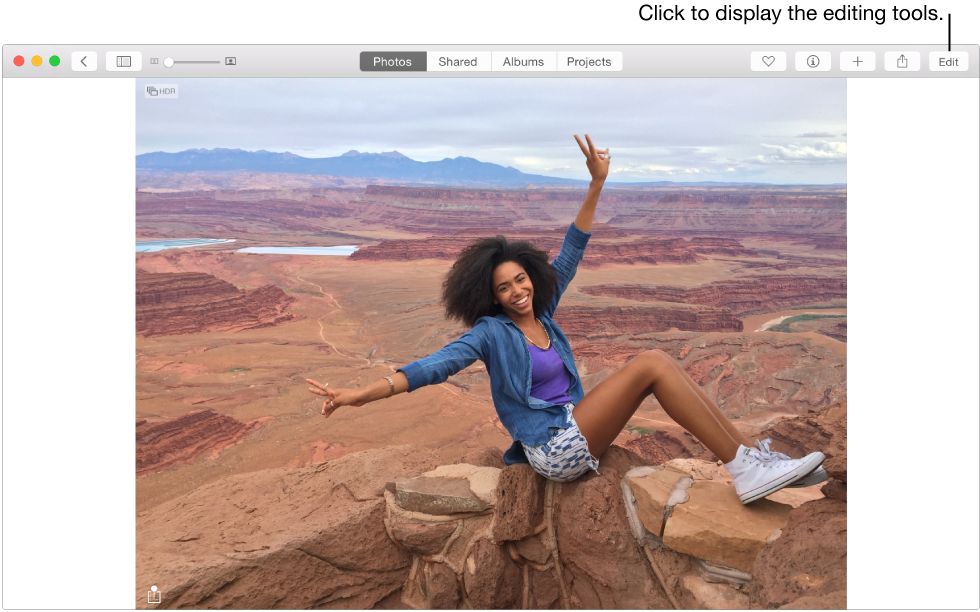
Double-click a photo thumbnail, then click Edit in the toolbar.
Select a photo thumbnail, then press Return.
To stop editing, click Done or press Return.
If you have badges displayed, edited photos appear with a toolbox badge ![]() .
.
For more information about editing a photo in different ways, see Crop and straighten photos, Adjust a photo, Retouch photos, Remove red-eye, and Apply filters for special looks.
If you want to create different versions of a photo, you duplicate it and work on the copy.
Select the photo you want to copy.
Choose Image > Duplicate [number] Photos (or press Command-D).
While editing a photo, you can compare the edited version with the original.
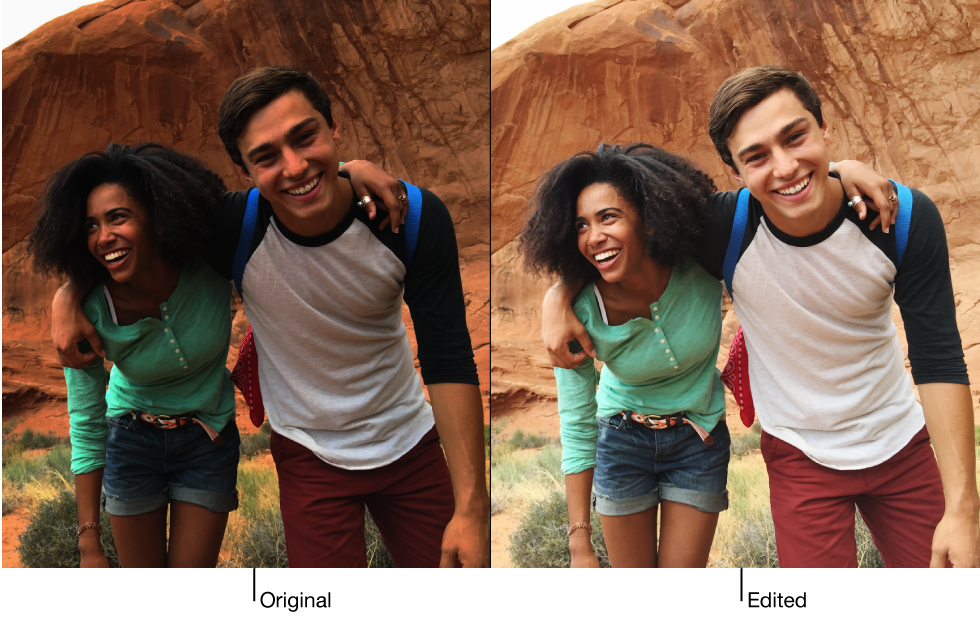
Double-click a photo to open it, then click Edit in the toolbar.
Hold down the M key to see the original photo. Release the M key to see the photo with edits.
Some cameras allow you to shoot photos in both RAW and JPEG formats simultaneously. When you import photos from these cameras, Photos uses the JPEG file as the original—but you can tell it to use the RAW file as the original instead.
Double-click a photo in your Photos library to open it, click Edit in the toolbar, then choose Image > Use RAW as Original.
You can quickly undo any change you don’t like. If you want to discard all the changes you’ve made to a photo and start over, you can revert the photo to the original image.
Undo the last change you made: Choose Edit > Undo, or press Command-Z.
Undo all changes and revert to the original photo: Do one of the following:
While editing the photo, click Revert to Original.

Select the photo and choose Image > Revert to Original.
While in the Adjustments pane in editing view, click Reset Adjustments.