Double-click a photo, then click Edit in the toolbar.
Click the Red-eye button
 .
.Tip: To quickly see the red-eye tool while editing, press E. Press E again when done making changes.
Click Auto.
Photos removes any red-eye that it detects in faces in the photo.
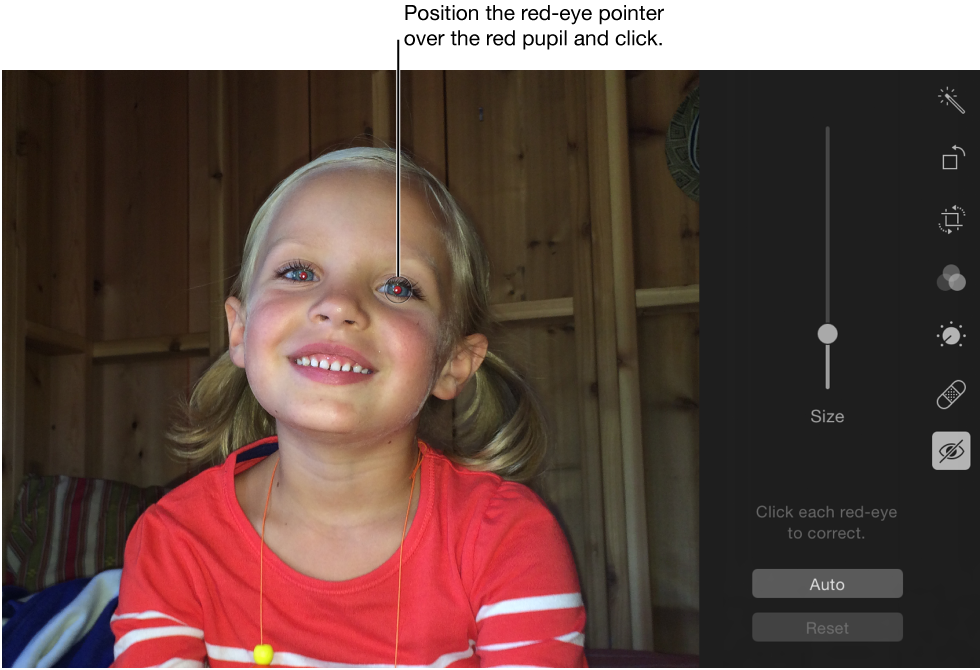
If red-eye still appears, drag the Size slider until the circle is the same size as the red-eye area.
Position the pointer over the red pupil and click. Repeat this step for all other red eyes in the photo.
Tip: At the smallest size, the circle changes to a crosshair. When you position the crosshair over a pupil, Photos detects the red area, so the red-eye disappears with one click.