
Export your app when you want to distribute it directly to users or a group of testers.
In the Archives organizer, select the archive you want to export, then click Distribute App.
Note: If the Distribute App button is disabled, verify that the archive contains a single top-level app.
In the sheet that appears, select the type of distribution method, then click Next.
To learn about the distribution methods, go to Distribution methods. For Developer ID, go to Upload a macOS app to be notarized.
If you created the archive without choosing a team, choose a team now in the next sheet, then click Next.
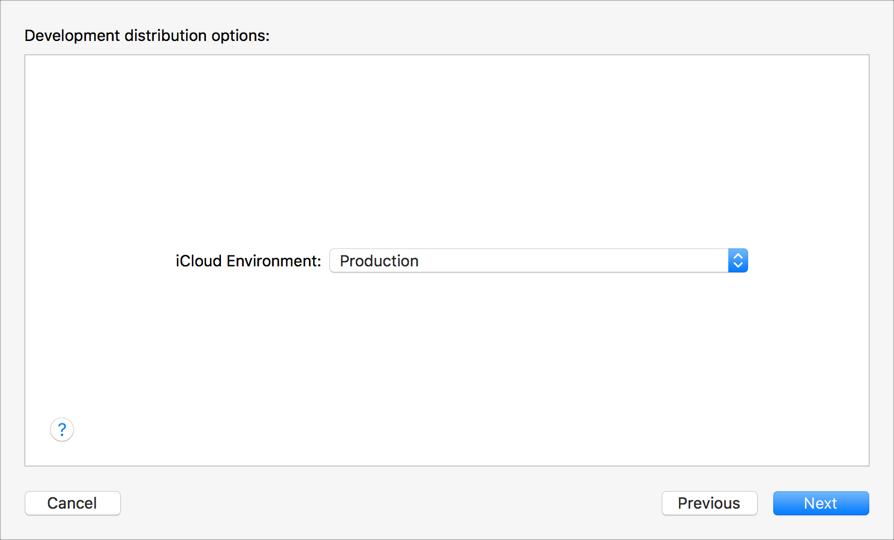
If there are distribution options depending on the configuration of your app, choose the options in the next sheet, then click Next.
To learn about the distribution options, go to Distribution options.
In the sheet that appears, choose a signing option, then click Next.
To learn about the signing options, go to Distribution signing options. If you select “Manually manage signing”, go to Manually manage distribution signing for alternate steps.
If you are missing a required distribution certificate, follow the instructions in the next sheet to create it.
To delete or create a certificate, click Manage Certificates and go to Manage distribution certificates.
Review the signing certificate, provisioning profile, and entitlements, then click Export.
To show the provisioning profile in Finder, click the arrow at the end of the profile name.
In the sheet that appears, choose a folder location, then click Export.
A folder containing the archive export files appears in Finder.