
After you select a crash report in the Crashes organizer, you can view crash logs and go to the source code where the crash occurred in the detail area.
View the previous or next crash log: In the footer, click the page arrows (< or >), or click the page count and choose a page from the pop-up menu.

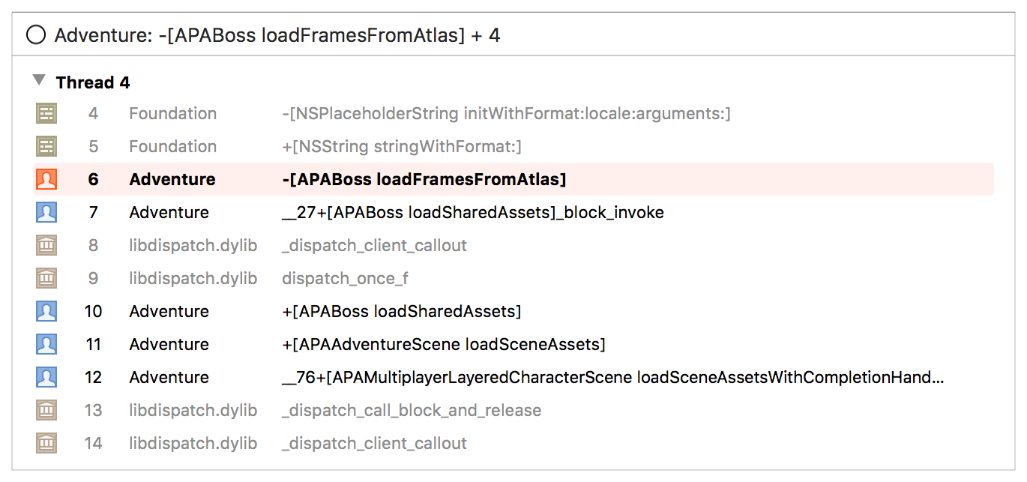
Collapse or expand the crash log: In the lower-left corner in the footer, click the filter icon (![]() ). Collapse the crash log to view only the stack frames in your selected app. Expand the crash log to view all the stack frames, including framework and system stack frames.
). Collapse the crash log to view only the stack frames in your selected app. Expand the crash log to view all the stack frames, including framework and system stack frames.
Go to the source code for a stack frame: Hover over the stack frame and click the arrow that appears to the right.
Go to the source code where the crash occurred: Click the arrow that appears when you hover the pointer over the stack frame that is highlighted.
Change the name of a crash report: Place the insertion point in the header, and edit the text.
Important: To jump to source code, you must have the same project that you archived and distributed open in Xcode. Therefore, save all the archives that you distribute for testing or upload to iTunes Connect, and compare the crash log build and version numbers with the archive build and version numbers. For macOS apps, reproduce a crash using a guest account with a fresh install version of macOS that matches the crash log.
Save all the archives that you distribute for testing or upload to iTunes Connect. When reproducing a crash, make sure to test the exact same build that crashed.