
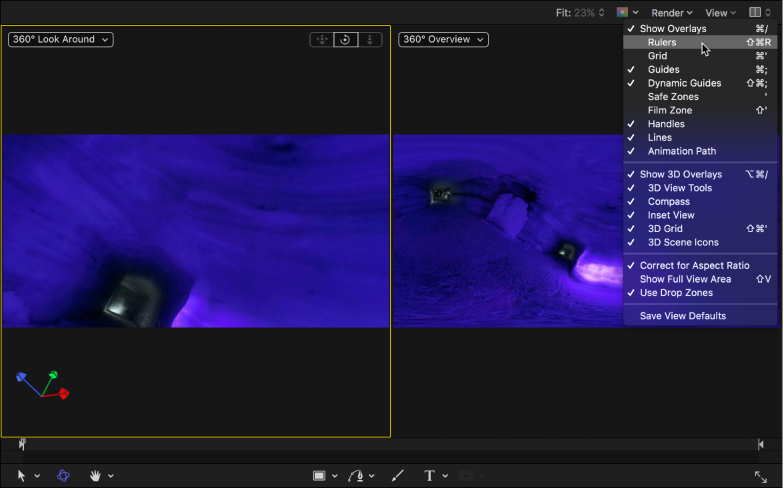
When you create a 360° project, Motion divides the canvas into side-by-side viewports, with the spherical projection of your 360° footage in the left viewport and the equirectangular overview in the right viewport.
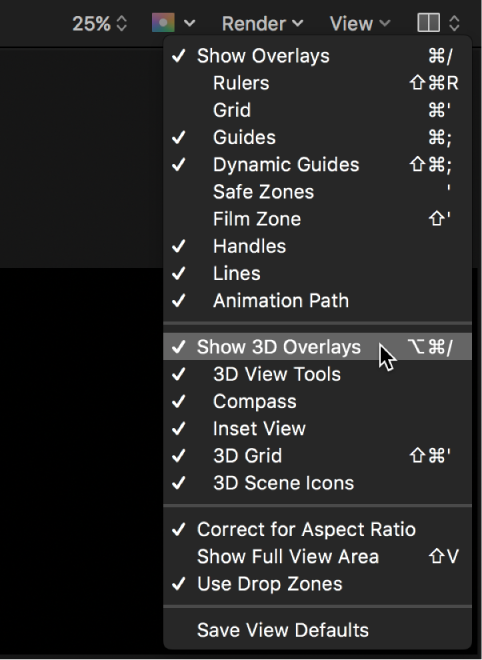
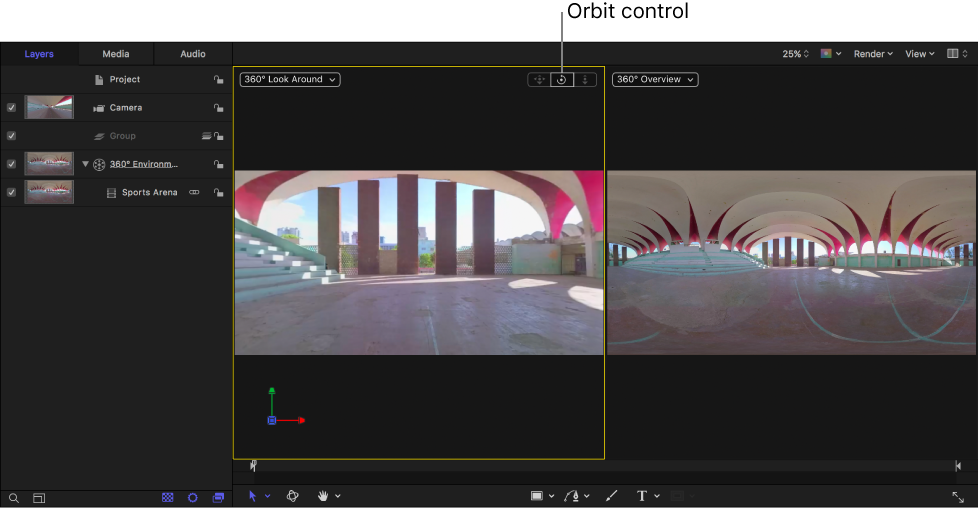
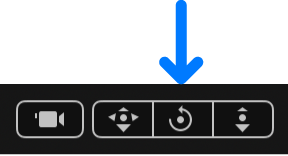
You view and navigate 360° video by using the Orbit control in the canvas to pan and tilt the camera. To display the camera controls in the canvas, make sure Show 3D Overlays in the View menu in the canvas has a checkmark.
Ensure that the Camera pop-up menu in the left viewport is set to 360° Look Around.
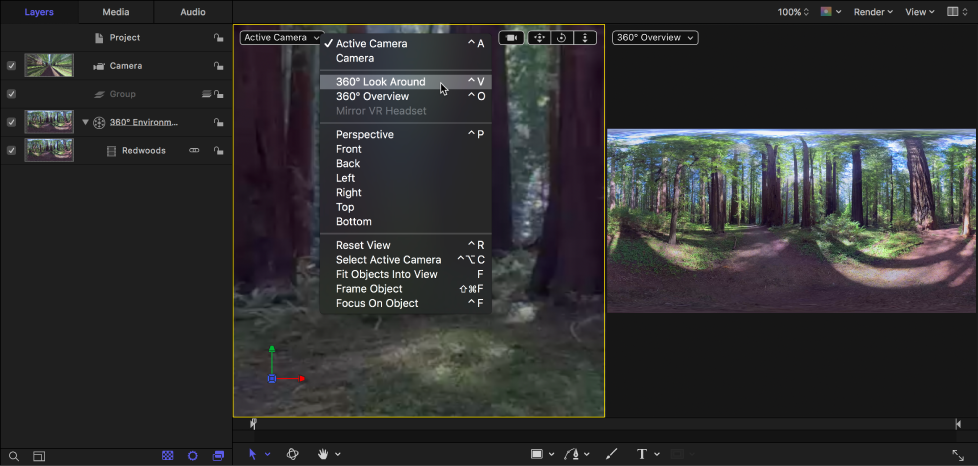
The left viewport displays a nondistorted portion of the spherical projection.
In the canvas, drag the Orbit control in any direction to pan and tilt the camera.
The view is rotated and other areas of the spherical projection become visible. Your media’s default orientation (what viewers will see in the VR headset) is not altered. (To alter the default orientation, see Reorient 360° media.)
You can also use the Orbit control to navigate 360° media during playback.
The spherical projection may appear sharper at the top and bottom. This is because you’re seeing only a portion of the 4K image at once, and the portion within your viewing angle may be closer to 1080p in resolution (or less). Additionally, spherical projections may create uneven pixel spacing.
While the 360° Look Around camera shows you an interactive, “WYSIWYG” view of the 360° effect, the 360° Overview camera displays the equirectangular image in its raw form (distorted). It’s helpful to monitor this view as you make changes to the project.
Ensure that the Camera pop-up menu in the right viewport is set to 360° Overview.
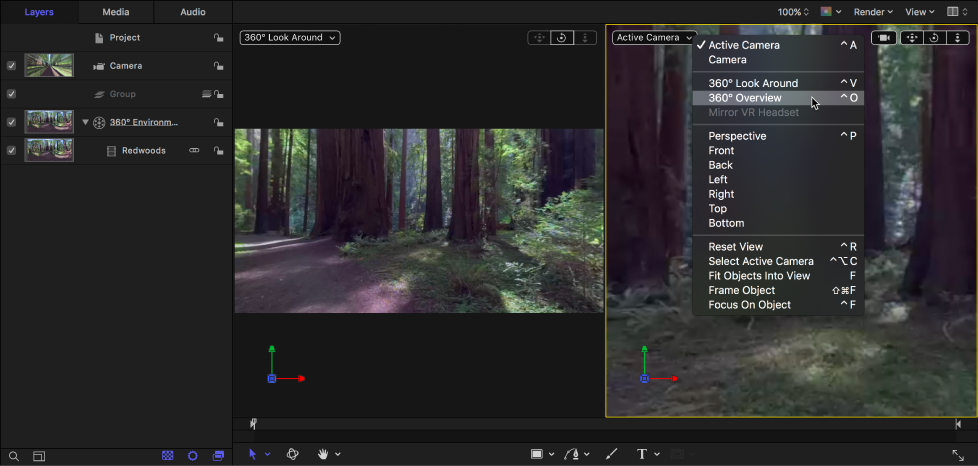
The right viewport displays the entire 360° scene as a flat, equirectangular image. This image represents what is rendered when you share your project.

After you pan the 360° Look Around view using the Orbit control, you can reset the view to its default orientation.
In the canvas, do one of the following:
Click the Camera pop-up menu, then choose Reset View (or press Control-R).
Double-click the Orbit control.
Choose View > 3D View > Reset View.
The footage returns to it’s default (face-forward or “front”) orientation.
To help you keep track of the horizon line as you navigate the 360° video in 360° Look Around view, you can use the canvas rulers or grid as guides.
Do any of the following:
Choose Rulers from the View menu in the upper-left corner of the canvas.
For more information, see Manage layout with rulers and guides.
Choose Grid from the View menu in the upper-left corner of the canvas.
You can customize the grid settings in the Canvas pane of Motion Preferences (press Command-Comma to open Preferences).
When the camera is set to 360° Look Around view, you can zoom the 360° image.
In the Layers list, select the camera.
In the Camera Inspector, adjust the Angle of View slider, dragging left to zoom in, or dragging right to zoom out.
If you zoom out too far, you’ll see the stretched edges of the footage in the viewport. This is normal and expected.
To reset the camera’s angle of view, Click the Animation menu (the down arrow that appears on the right when you move the pointer over the Angle of View parameter), then choose Reset Parameter.

Changing the camera’s angle of view affects only the view within the 360° Look Around viewport or Active Camera viewport—it does not affect the final output of your project. If you’re viewing your 360° video in a VR headset, the camera Angle of View setting is ignored. However, if you’re mirroring the VR headset’s image in the Motion canvas, the Angle of View setting affects the view in the canvas.