
To work with equirectangular footage in Motion, create a new 360° project or convert a normal project to a 360° project.
Open Motion or, if it’s already open, choose File > New (or press Command-N).
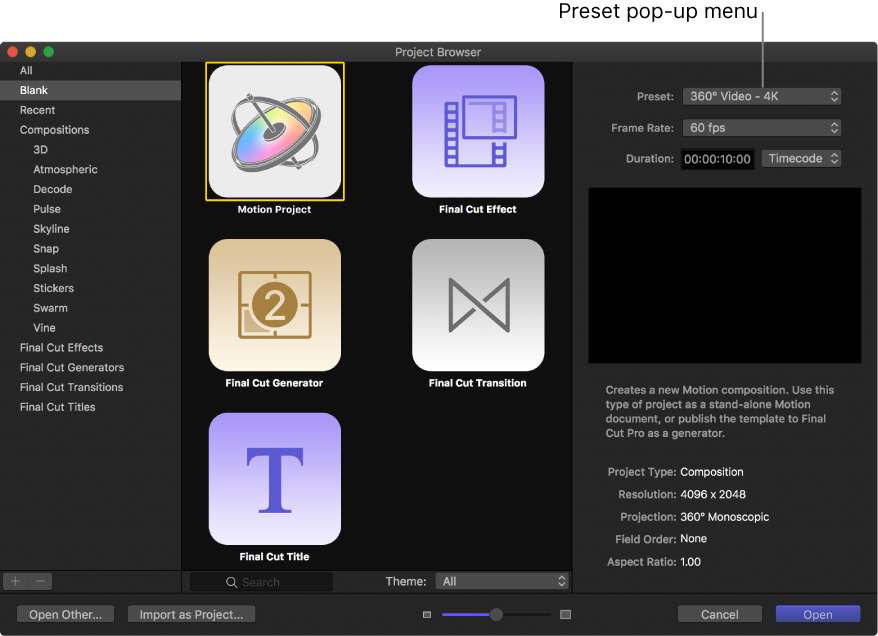
In the Project Browser, click a project icon (such as Motion Project or Final Cut Effect).
In the right column, click the Preset pop-up menu, then do one of the following:
Choose a 360° Video option.
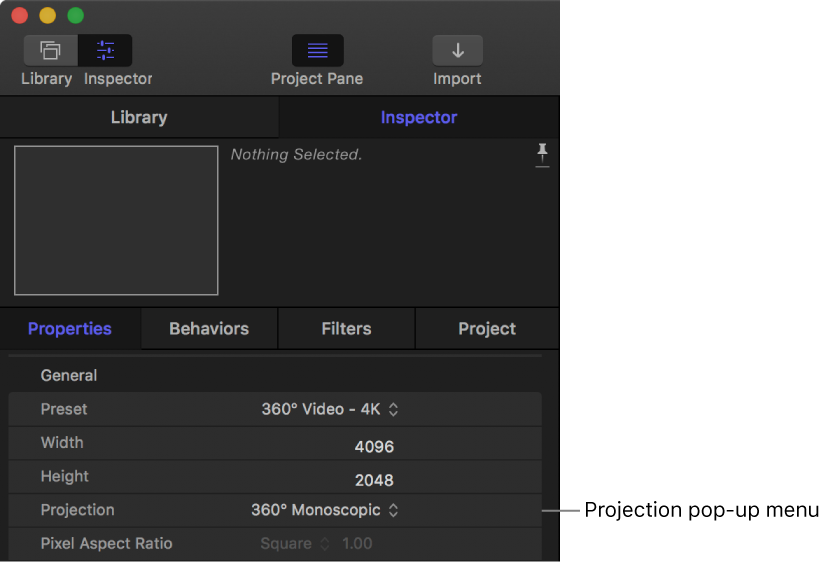
Choose Custom, click the Projection pop-up menu and choose 360° Monoscopic, then manually set the resolution, frame rate, and duration.
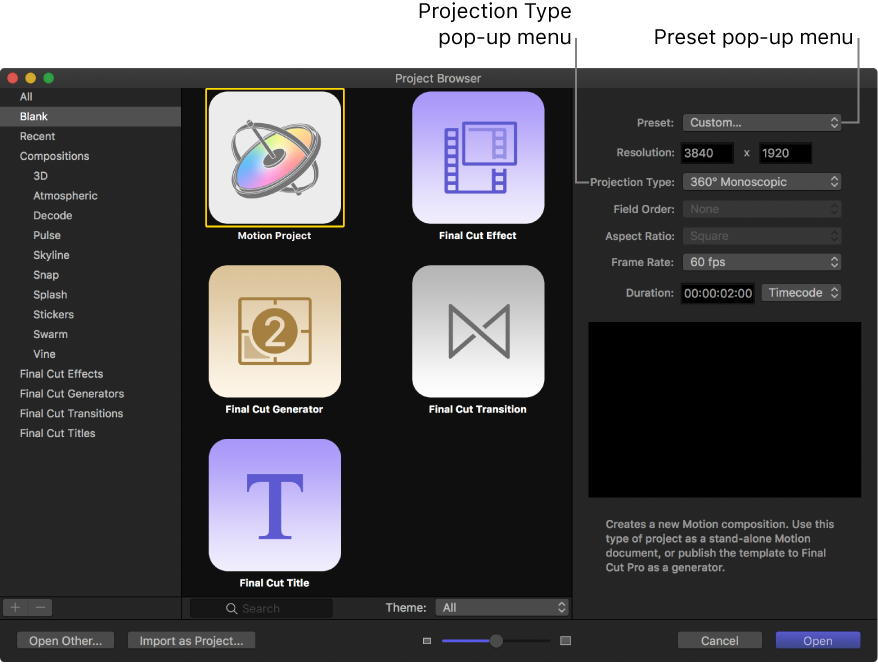
Use the frame size that matches the resolution of your 360° source footage, or of the output you intend to share.
Click Open.
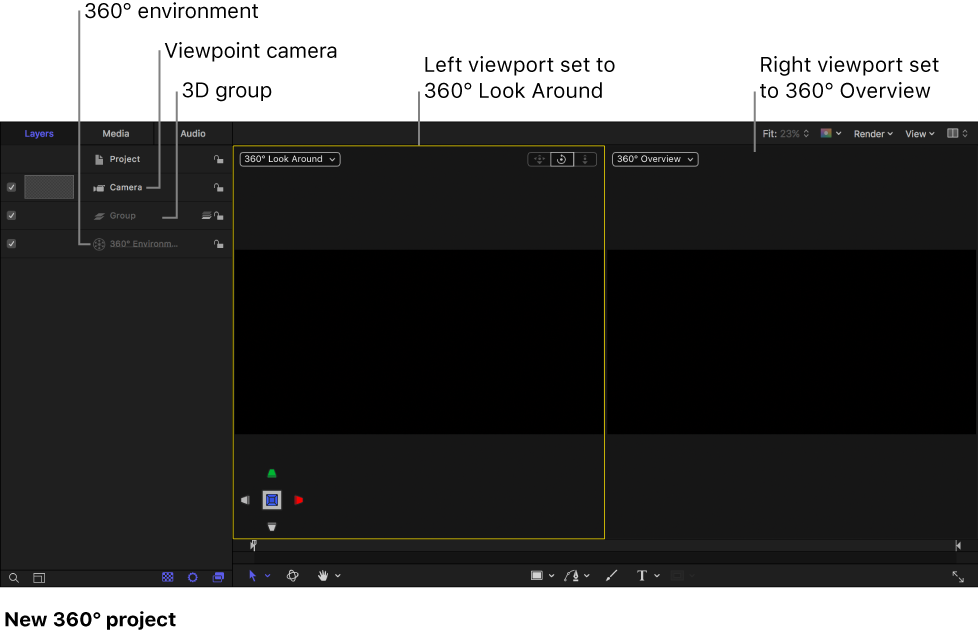
A new, untitled 360° Motion project is created containing a 3D group, a Viewpoint camera, and a 360° environment. The canvas viewport layout is set is to two-up split view. The left viewport, set to 360° Look Around, lets you observe the scene as if looking through a VR headset (but does not alter the camera position). The right viewport, set to 360° Overview, displays the full spherical video as a squished equirectangular image (like a flat world map).
In the Project Properties Inspector, Projection is set to 360° Monoscopic.
For information on the differences between camera types, see About cameras and views.
Do one of the following:
Choose File > Import As > Project (or press Shift-Command-I).
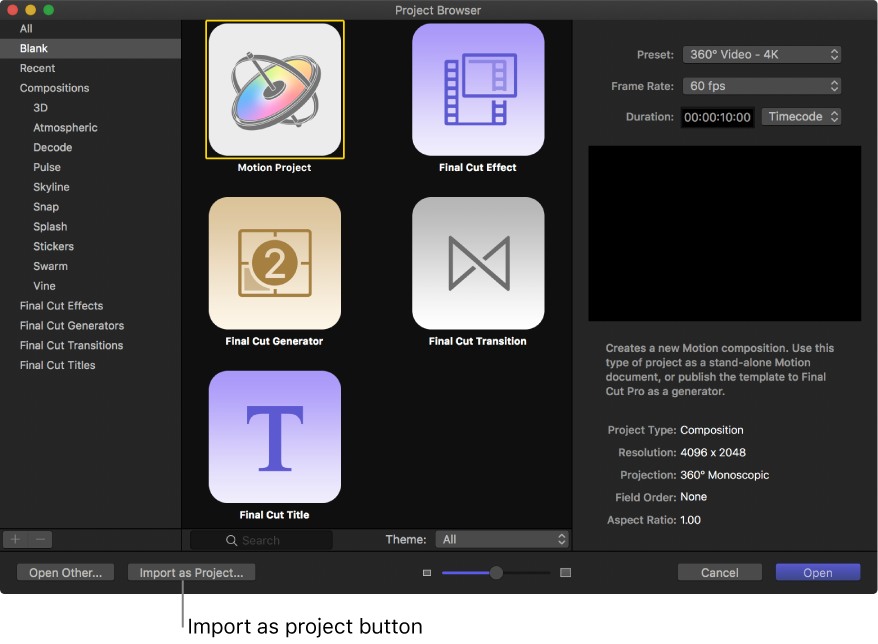
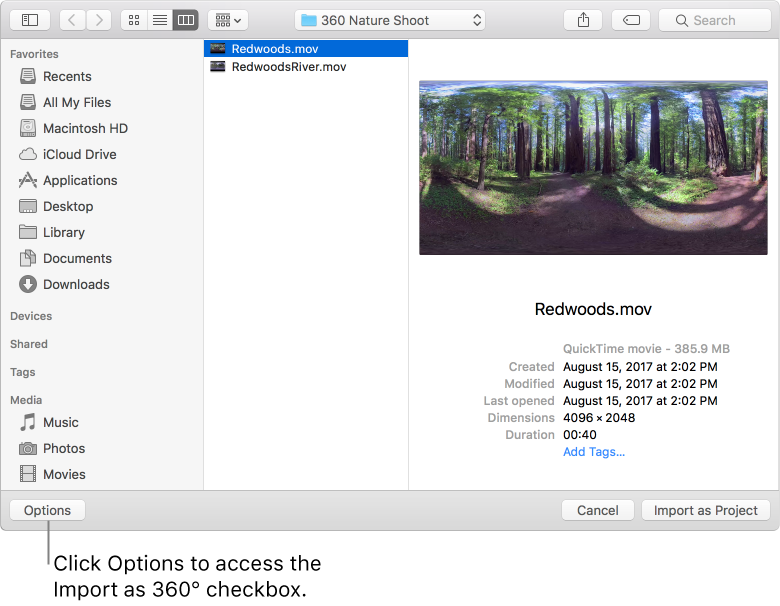
Open the Project Browser, then click Import as Project.
In the dialog that appears, navigate to and select one or more 360° media files.
Click Options.
Format settings appear at the bottom of the dialog. Fixed settings inherent to the selected files remain dimmed, but will propagate to the new project. For example, because 360° movie files have an inherent frame rate, aspect ratio, and field order, those settings are dimmed in the dialog.
If it’s not already selected, select Import as 360°.
Note: If the media contains the correct 360° metadata, the Import as 360° checkbox is automatically selected.
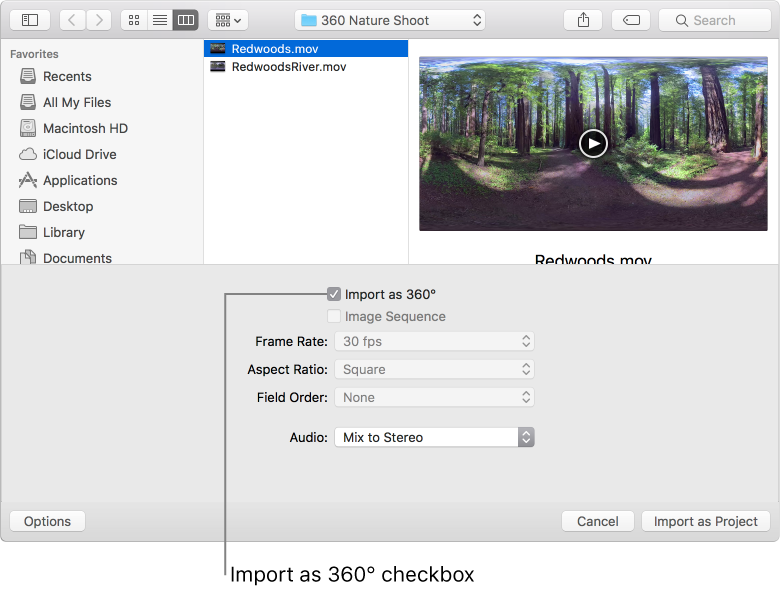
Click Import as Project.
A new 360° project populated with the 360° media you selected opens.
You can convert a normal project to a 360° project by making a few adjustments.
In the Layers list, click the Project object.
In the Properties Inspector, click the Projection pop-up menu, then choose 360° Monoscopic.
Any existing root-level 2D groups in your project are converted to 3D groups. (If the project includes 2D groups nested within 3D groups, the 2D groups remain unchanged.)
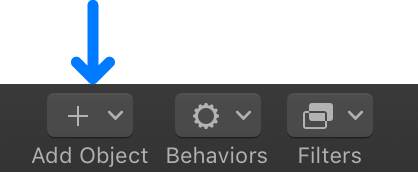
Click Add Object in the toolbar, then choose 360° Environment.
A new 360° environment is added to the Layers list.
In the Layers list, move the 360° environment to the bottom of the list.
Although not required, this step sets up the project to add and composite elements above the 360° environment.
Do one of the following:
If your project does not contain a camera, click Add Object, then choose Camera.
A new Viewpoint camera is added to your project.
If your project contains a camera, select the camera in the Layers list, then in the Camera Inspector, click the Camera Type pop-up menu and choose Viewpoint.
In the canvas, click the gray box in the top-right corner of the canvas, then choose the second arrangement in the list (two-up, split view).
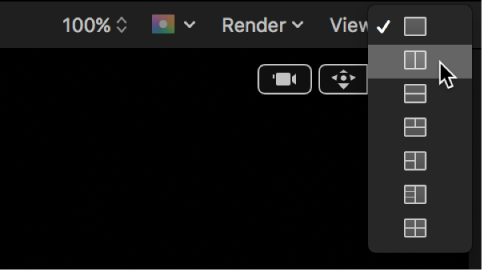
The canvas is split into two viewports.
In the left viewport, click the Camera pop-up menu and choose 360° Look Around.
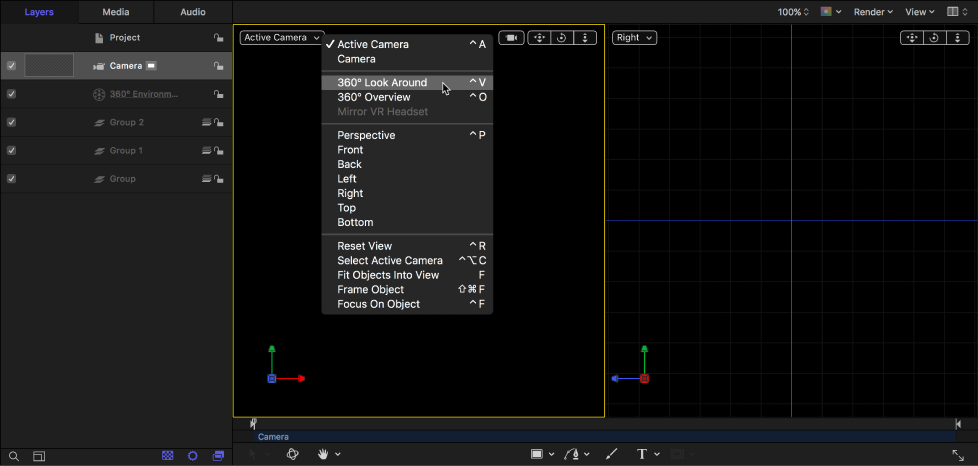
Your project now correctly projects the equirectangular footage. The 360° Look Around view uses the field of view of the active camera.
In the right viewport, click the Camera pop-up menu and choose 360° Overview.
The canvas displays the entire 360° scene as a flat, equirectangular image alongside the spherical viewer. This image represents the final output of your project.
When you convert a normal project to a 360° project, normal footage already in the project is not projected in 360°. Other objects in the project also need to be adjusted. For example, if the project contains a generator that you want projected onto the 360° sphere, you must move the generator inside the 360° environment.
Important: Most generators do not project seamlessly or evenly in a 360° environment. See Add 360° filters and generators.