
Before you upload an app to App Store Connect, validate the archive to determine whether it meets minimum App Store requirements and ensure that it passes standard App Store Connect checks.
In the Archives organizer, select the archive you want to validate, then click Validate App.
Note: If the Validate App button is disabled, verify that the archive contains a single top-level app.
In the sheet that appears, choose App Store distribution options, then click Next.
To learn about the distribution options, go to Distribution options.
In the sheet that appears, choose a signing option, then click Next.
To learn about the signing options, go to Distribution signing options. If you select “Manually manage signing”, go to Manually manage distribution signing for alternate steps.
If you are missing a required distribution certificate, follow the instructions in the next sheet to create it.
To delete or create a certificate, click Manage Certificates and go to Manage distribution certificates.
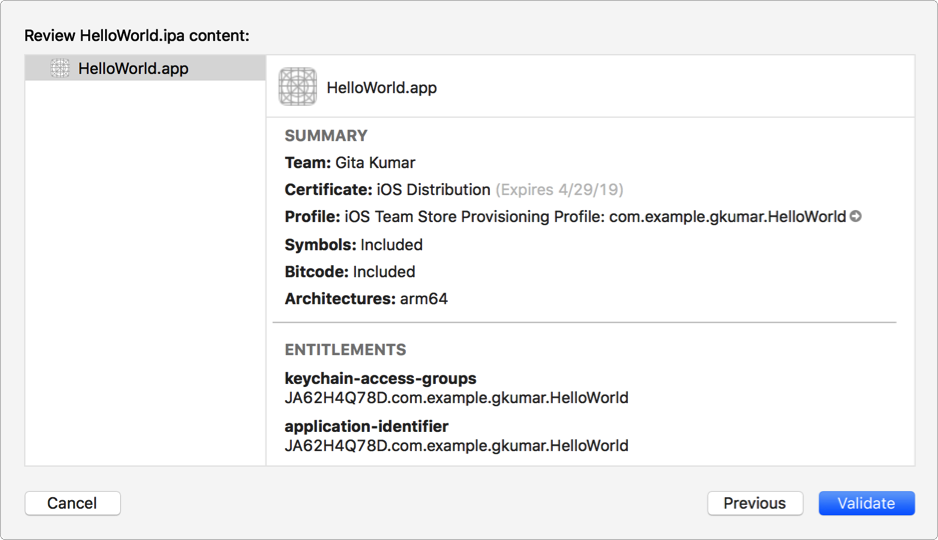
Review the signing certificate, provisioning profile, and entitlements, then click Validate.
Review and correct any validation issues found, then click Done.
If no issues are found, a green checkmark appears.
If Xcode doesn’t find an App Store Connect record for your app, the validation fails with an App Store Connection Operation Error. In App Store Connect, Add an app to your account and ensure that the bundle ID matches the bundle ID in your Xcode project.