
Add a test target to expand the scope of testing in a project.
Click the Add button (+) at the bottom of the Test navigator.
Choose New UI Test Target or New Unit Test Target from the pop-up menu.
Enter a name for the target in the Project Name field.
Choose an implementation language from the Language pop-up menu.
If your workspace includes multiple projects, choose a project from the Project pop-up menu. The test target will be created in the project you specify here.
Choose a target to run tests on from the “Target to be Tested” pop-up menu. This can be any target contained by the project except a test target.
Configure any additional options, such as your team, organization name, and bundle identifier.
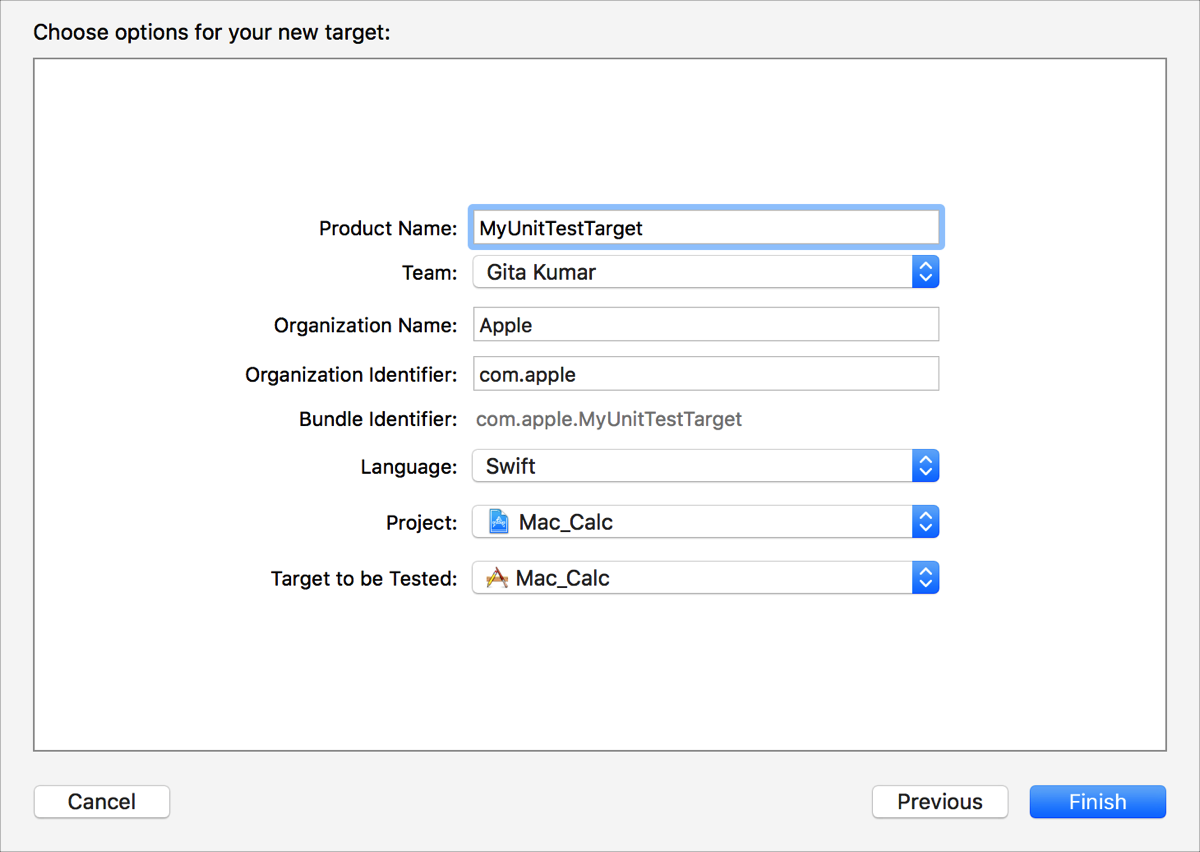
Click the Finish button.
A new test target is added to the project and appears in the Test navigator. The new test target contains a new test class.
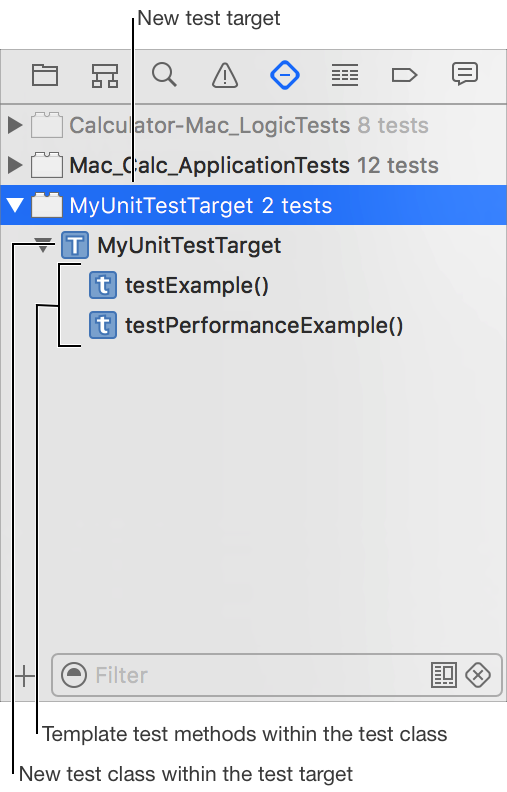
Expand the new test class and add more test classes.