
When you add a table, you choose from a number of predesigned styles that match your template. After you add a table, you can customize it however you like. You can add as many tables as you want to a sheet.
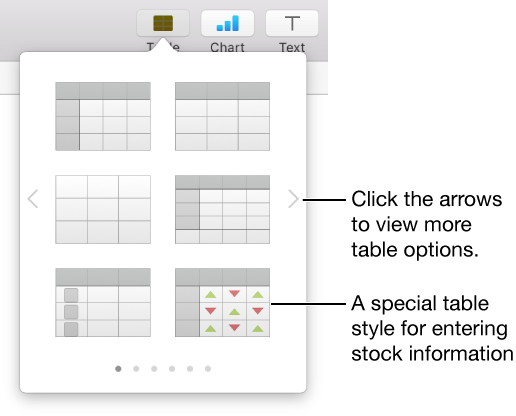
Click ![]() in the toolbar, then click a table or drag one to the sheet.
in the toolbar, then click a table or drag one to the sheet.
Do any of the following:
Type in a cell: Click the cell, then start typing.
Move the table: Click the table, then drag ![]() in the upper-left corner.
in the upper-left corner.
Add or remove rows: Click the table, then drag ![]() in the lower-left corner of the table down or up.
in the lower-left corner of the table down or up.
Resize the table: Click the table, click ![]() in the upper-left corner, then Shift-drag the white square in the lower-right corner to resize the table proportionally.
in the upper-left corner, then Shift-drag the white square in the lower-right corner to resize the table proportionally.
Change the alternating row color setting: Click the table, click the Table tab at the top of the sidebar on the right, then deselect or select Alternating Row Color. (To choose a different color, click the color well). If you don’t see a sidebar, or the sidebar doesn’t have a Table tab, click ![]() in the toolbar.
in the toolbar.
Change the look of a table: Click the table, then use the controls in the Table tab of the sidebar on the right to make changes, such as adding a table outline or changing the table font size.
Click the table, click ![]() in the upper-left corner, then press Delete on your keyboard.
in the upper-left corner, then press Delete on your keyboard.
Note: If a table is linked to a form added in Numbers for iOS, deleting the table clears the form.