
You can tag a version of a branch or an individual commit so that you can find it easily later. For example, tag a version of your project every time you upload an app to App Store Connect. Especially tag a version before you distribute an app using TestFlight (iOS, tvOS, watchOS) or distribute an app through the App Store.
In the Source Control navigator (![]() ), disclose Branches (click the disclosure triangle).
), disclose Branches (click the disclosure triangle).
Control-click a branch, then choose Tag [identifier] from the pop-up menu.
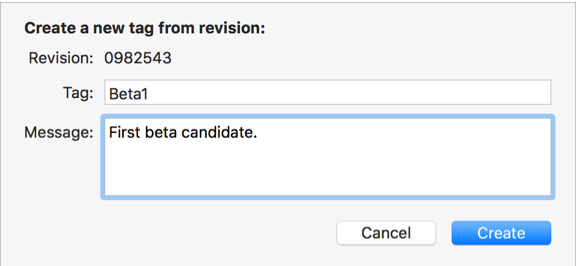
In the sheet that appears, enter a tag name, message, then click Create.
To create a group, enter a group name, a slash, and then the tag name (for example, enter BetaBuilds/Beta1).
In the Source Control navigator (![]() ), disclose Branches (click the disclosure triangle), then select a branch.
), disclose Branches (click the disclosure triangle), then select a branch.
In the history editor on the right, Control-click a commit, then choose Tag [identifier] from the pop-up menu.
In the sheet that appears, enter a tag name, message, then click Create.
To create a group, enter a group name, a slash, and then the tag name (for example, enter BetaBuilds/Beta1).
In the Source Control navigator (![]() ), disclose Tags, disclose a group (if you use them), then select a tag.
), disclose Tags, disclose a group (if you use them), then select a tag.
The commits for that tag appear in the history editor on the right.
Use the search field to filter the commits.
For details, go to Search using filters and Filter by date range.
To view the details of a commit, double-click it.