
Use the scheme management dialog to manage the schemes in your project. Choose Manage Schemes from the scheme menu.
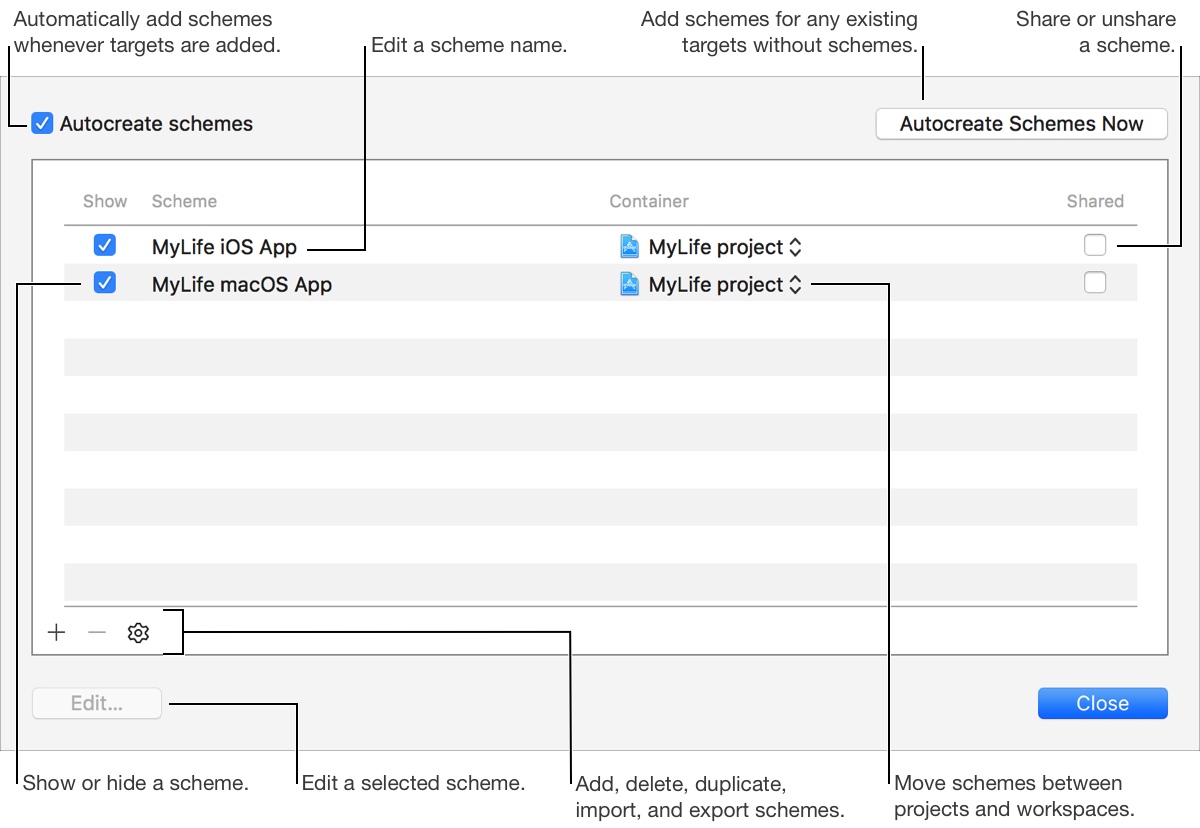
To automatically create new schemes whenever you add new targets, select the “Autocreate schemes” checkbox. To create schemes for any targets that don’t already have schemes, click the Autocreate Schemes Now button.
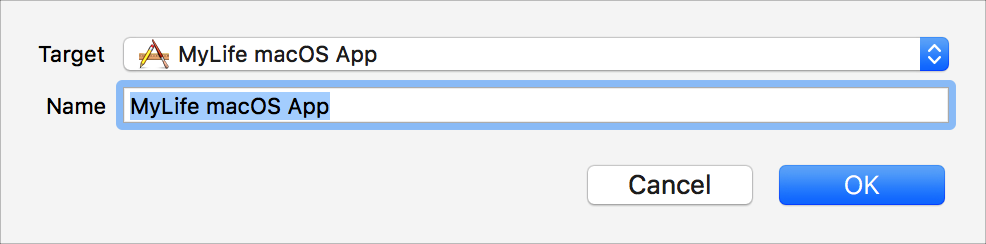
Click the Add button (+).
Choose a target from the Target pop-up menu.
Enter a name for the scheme.
Click OK.
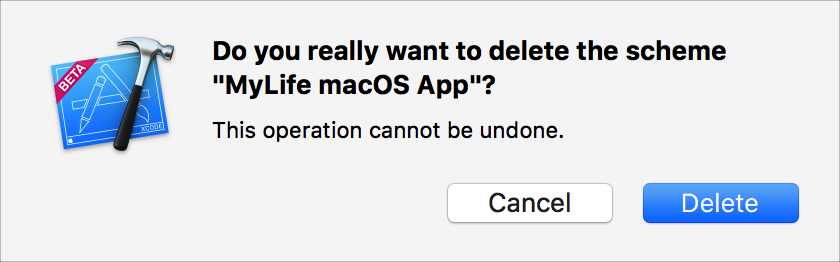
Select a scheme in the list.
Click the Delete button (–).
Click the Delete button in the confirmation dialog.
Select a scheme in the list.
Click the Edit button to display the scheme editor.
To hide a scheme from the scheme menu, deselect the checkbox in the Show column for the scheme. To show a hidden scheme again, select the checkbox in the Show column for the scheme.
Select a scheme in the list.
Click the Action icon (![]() ) at the bottom of the list and choose Duplicate from the pop-up menu.
) at the bottom of the list and choose Duplicate from the pop-up menu.
The scheme is duplicated and the scheme editor opens.
Configure the new scheme.
Click Close to accept your configuration and dismiss the scheme editor.
Select a scheme in the list.
Click the name of the scheme in the Scheme column.
Enter a new name.
Select a scheme in the list and drag it up or down to the desired location.
Select the project or workspace from the pop-up menu in the Containers column for the scheme.
You can export a scheme to
Select a scheme in the list.
Click the Action icon (![]() ) at the bottom of the list and choose Export from the pop-up menu.
) at the bottom of the list and choose Export from the pop-up menu.
Select an output folder on your computer.
Click Export.
Click the Action icon (![]() ) at the bottom of the list and choose Import from the pop-up menu.
) at the bottom of the list and choose Import from the pop-up menu.
Locate a scheme file on your computer.
Click Import.
To share a scheme with Xcode Server or others on your team, select the checkbox in the Shared column for the scheme. To stop sharing a scheme, deselect the checkbox in the Shared column for the scheme.