
Add a test target to expand the scope of testing in a project.
Click the Add button (+) at the bottom of the Test navigator.
Choose New UI Test Target or New Unit Test Target from the pop-up menu.
Enter a name for the target in the Project Name field.
Choose an implementation language from the Language pop-up menu.
If your workspace includes multiple projects, choose a project from the Project pop-up menu. The test target will be created in the project you specify here.
Choose a target to run tests on from the “Target to be Tested” pop-up menu. This can be any target contained by the project except a test target.
Configure any additional options, such as your team, organization name, and bundle identifier.
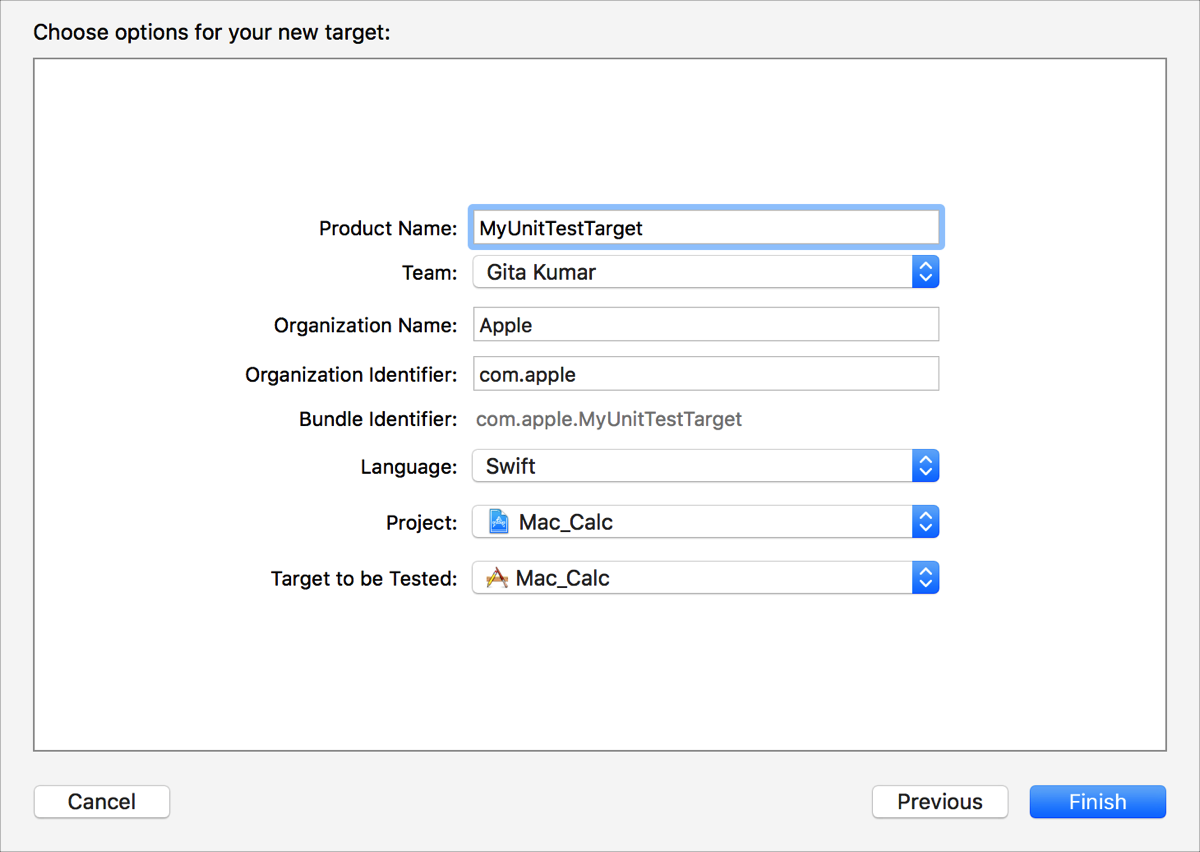
Click the Finish button.
A new test target with a new class is added to the project and appears in the Test navigator. The new class contains templates for setUp, tearDown, testExample, and testPerformanceExample methods.
Select the new class in the navigator and enter the test code in the source editor.