An object is any item you place on your sheet. Photos, shapes, charts, and text boxes are examples of objects. You can change an object’s appearance using controls you see when you tap ![]() .
.
Each object has its own formatting options, which are unique to the properties and characteristics of the object. For example, a line has endpoints, so when a line is selected, you see controls for changing the appearance of the endpoints.
You can quickly change the appearance of an object by tapping one of the styles you see when you tap ![]() . These styles—which consist of coordinating colors, borders, shadows, and more—are specifically designed to look good with your template.
. These styles—which consist of coordinating colors, borders, shadows, and more—are specifically designed to look good with your template.
Tap ![]() , then tap the button for the type of object you want to add.
, then tap the button for the type of object you want to add.
Swipe to see more style options for objects like tables, charts, and shapes.
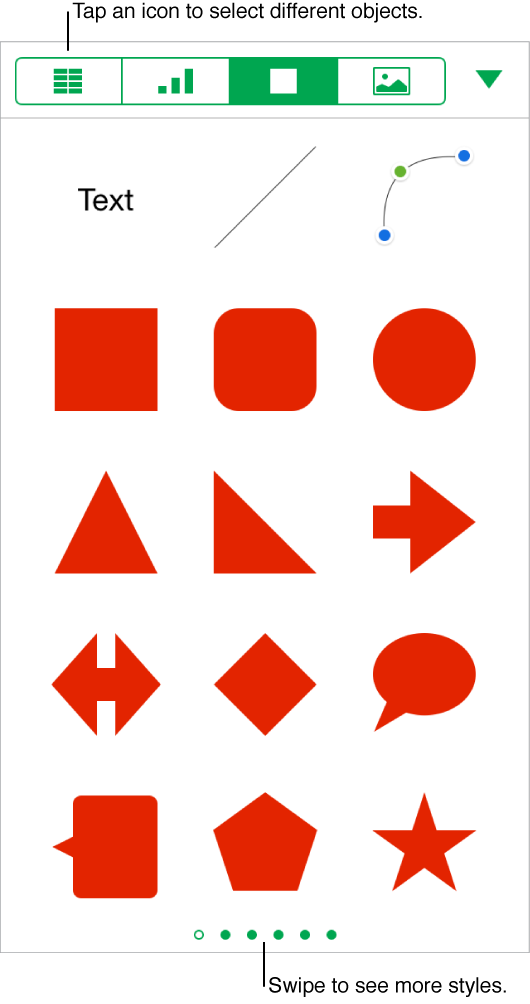
Tap an object to add it, then drag it to where you want it on the sheet.
To change the appearance of the object, select the object (it has blue selection handles when it’s selected), tap ![]() , then tap Style.
, then tap Style.
Tap a style to apply it, or tap Style Options to add a custom border, shadow, reflection, and more.
Swipe up to see all formatting options.