
When you complete your 360° project, you can share it to a variety of video-sharing and social media websites including YouTube’s VR channel, Facebook 360, Vimeo 360, and more. Motion includes the appropriate 360° metadata in the output media file so that it’s recognized and displayed appropriately by the video-sharing sites.
For basic information about sharing to websites, see Publish to video-sharing websites.
Before exporting, you may want to confirm your video’s orientation and review the suggested video specs of the site where you plan to post your 360° videos.
After you’ve navigated around a 360° project, things may appear a bit topsy-turvy in the canvas. Keep in mind that if you’ve changed the active camera view (by zooming in or panning and tilting using the Orbit control), the 360° media is exported with the same default orientation as when it was imported. But if you’ve reoriented the 360° media using the 360° Reorient filter or by rotating the camera, the project will export with the new orientation.
To confirm the orientation of the media in your project’s export, do one of the following:
Click the Camera pop-up menu in the canvas, then choose 360° Overview.
The orientation shown when the 360° Overview camera is active is how your final render will appear.
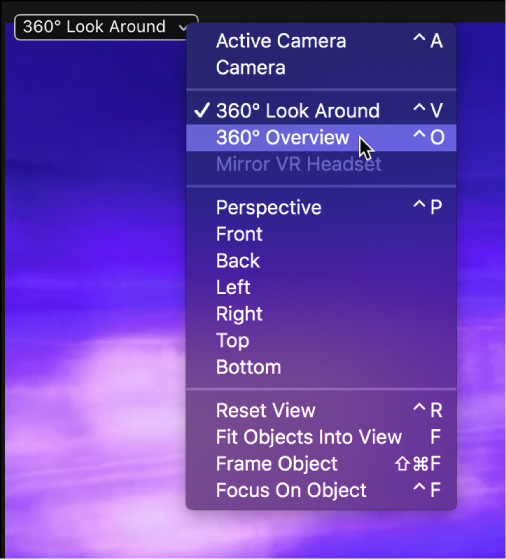
Click the Camera pop-up menu in the canvas, then choose Active Camera.
The view is set to the front (what the viewer sees when they look “straight ahead”).
Choose Share, select an export option (such as Export Movie or YouTube), then review the thumbnail image of the project in the Share window.
The orientation shown in the Share window is how your final render appears.