
You can add a mask to any image layer in a Motion project. After you add the mask, you can make adjustments to fine-tune its effect.
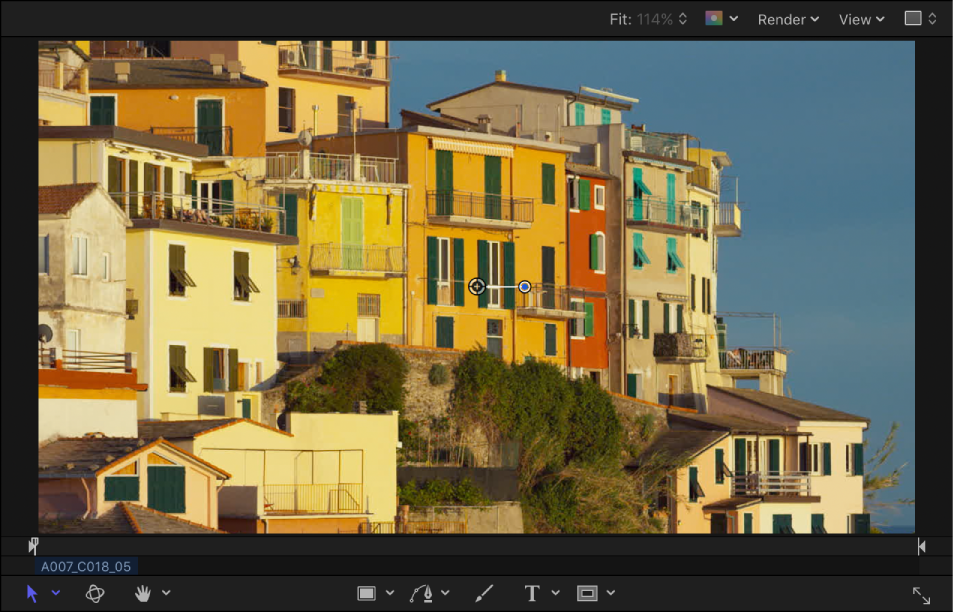
Select a layer in the Layers list or canvas.
In the canvas toolbar, click and hold the mask tools pop-up menu, then choose a mask tool (Rectangle Mask, Circle Mask, Freehand Mask, Bezier Mask, or B-Spline Mask).
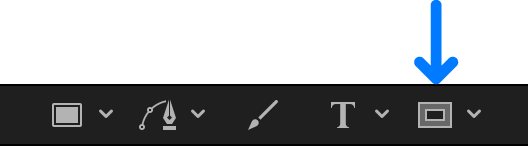
Note: If you haven’t selected a layer, the mask tools are not available.
Do any of the following, based on the mask tool you chose in step 2:
Rectangle Mask tool or Circle Mask tool: Drag in the canvas to create a simple rectangular or elliptical shape mask.
Freehand Mask tool: Drag in the canvas to draw a complex shape with Bezier control points. To close the mask shape, join the end of the shape outline to the target circle at the beginning of the outline. If you don’t reach the beginning of the outline, the mask shape is closed when you lift the stylus or release the mouse button.
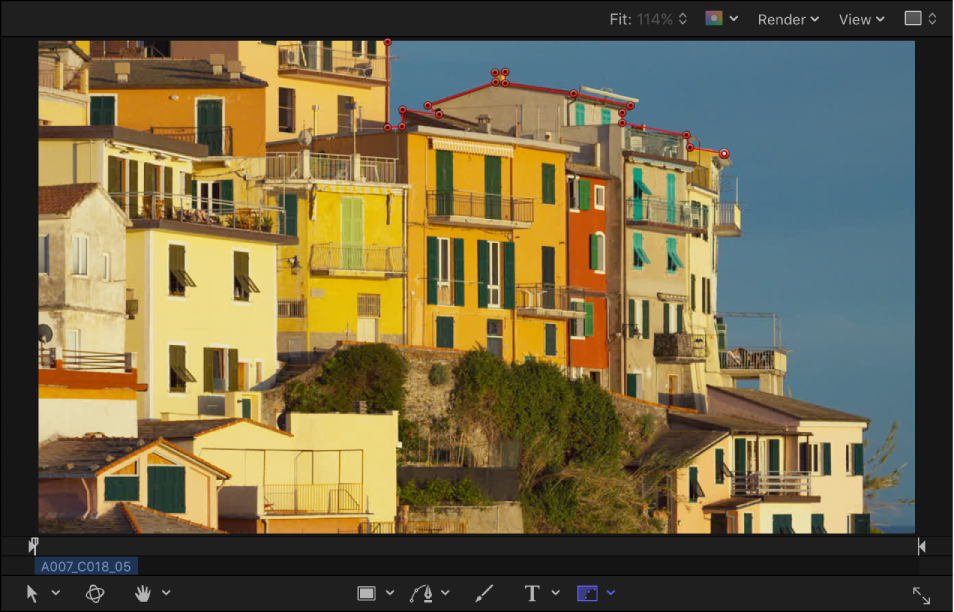
Bezier Mask tool or B-Spline Mask tool: Click in the canvas to add control points to create a complex shape with Bezier or B-Spline control points. To close the mask shape, click the first point you made in the shape outline (or press C, or press Return, or double-click).
Tip: Turn off snapping to prevent your mask control points from aligning with unwanted elements. Press the N key to turn snapping on or off.
For more information about how to draw masks, see Draw simple masks and Draw complex shapes and masks.
The example below uses a Bezier Mask tool.
Note: Unlike standard shapes, masks are always closed.
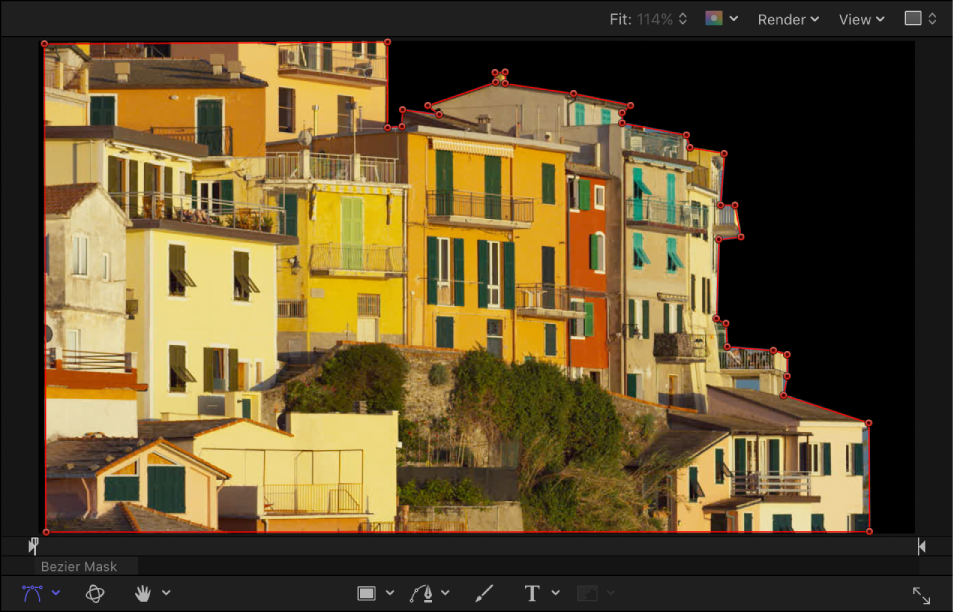
After you finish drawing the mask, the following happens:
In the Layers list, the mask object you created appears nested underneath the layer it’s applied to.
In the canvas, the region of the layer outside the shape becomes transparent, in effect cutting out the background of the layer. In the example below, the black area is the canvas background showing through the transparent region of the fish layer.
Tip: You can turn the effect of the mask on or off while fine-tuning the mask. See “Show or hide the effect of a mask,” below.
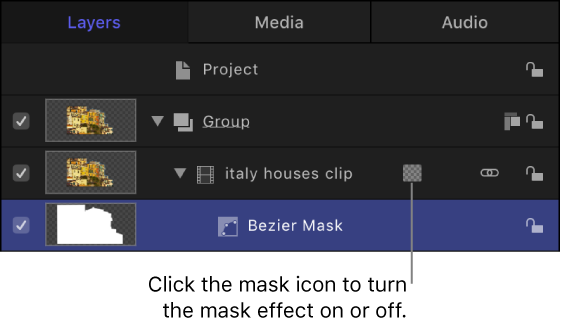
When a mask is attached to a layer, a mask icon appears in the Layers list and Timeline, to the right of the name of the layer.
In the Layers list or Timeline, click the mask icon to turn the mask effect on or off.
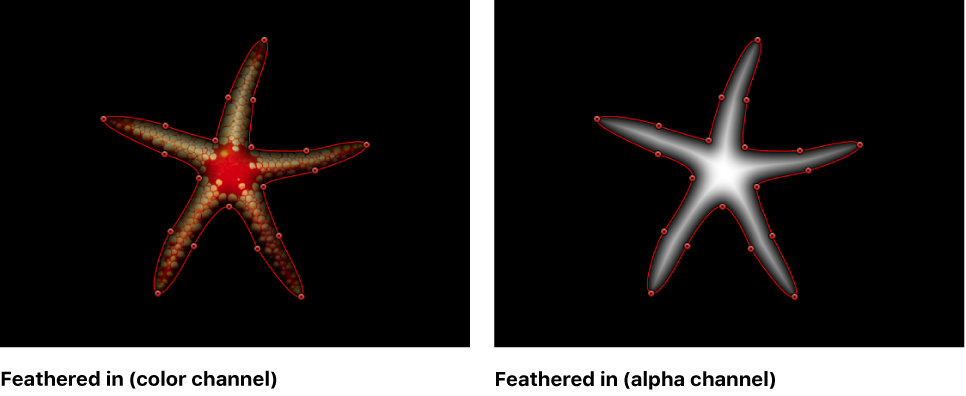
Masks apply an alpha channel (transparency) to a layer. You can view the alpha channel as a grayscale shape, isolating it for further modification.
Choose View > Channels > Alpha (or press Shift-A).
The alpha channel created by the mask is displayed in the canvas. To return to color view, choose View > Channels > Color (or press Shift-C).
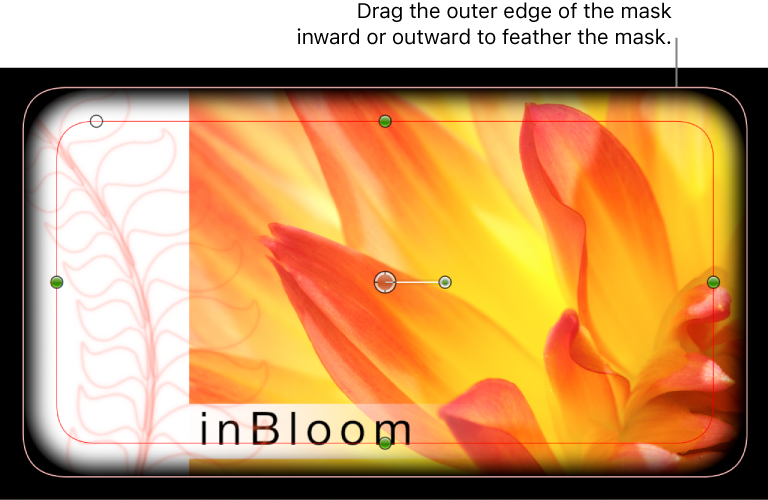
You can soften the edges of a mask (feathering) by a few pixels to make the masked object blend more seamlessly with a background. Feathering a mask by larger amounts creates progressively softer edges for various design purposes.
Select a mask in the Layers list.
Do one of the following:
In the Mask Inspector, drag the Feather slider to the right to feather the mask outward or to the left to feather the mask inward.
If the mask is a simple Rectangle Mask or Circle Mask, drag the outer edge of the mask inward or outward in the canvas.
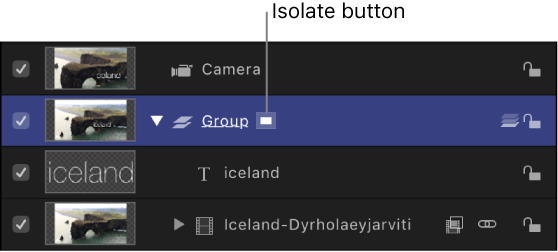
When working in a 3D project, you might want to mask a layer that’s already angled in 3D space. You can immediately switch an angled object into a “work view” using the Isolate command. After you add a camera to a project, the Isolate option becomes available for any layer, group, or camera in the project. For more information about cameras, see Add a camera.
Note: You cannot manipulate masks in 3D space.
In a 3D project, select the layer to mask.
In the Layers list, click the Isolate button (to the right of the layer name) or choose Object > Isolate.
Note: A project must contain a camera before you can access the Isolate option. For more information about cameras, see Add a camera.
The layer is switched into “work view,” allowing you to mask the layer at its original orientation.
To return to your previous view (the view before you isolated the layer), click the Isolate button again.
Note: Clicking a camera’s Isolate button activates that camera’s view.
You can apply masks to the layers in a 3D group, but not the 3D group itself—unless you flatten the 3D group).
Select a 3D group in your project.
In the Group Inspector, select the Flatten checkbox.
Apply a mask to the group.