
The Rectangle Mask and Circle Mask tools create simple masks, which create regions of transparency in layers.
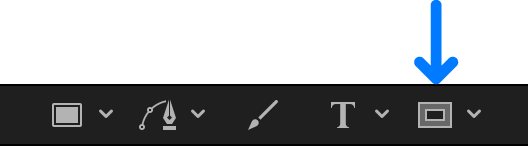
In the canvas, Layers list or Timeline, select the image layer you want to mask, then click the Rectangle Mask tool in the canvas toolbar (or press Option-R).
The Rectangle Mask Tool HUD appears. (If the HUD isn’t displayed, press F7.) To adjust the blend mode, softness, roundness, or spline color before the mask is drawn, adjust the controls in the HUD.
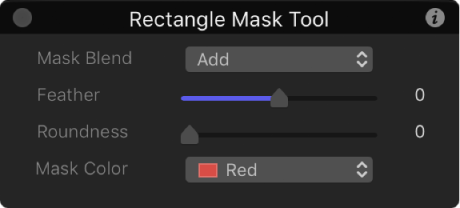
Note: You can also edit the mask parameters after you draw the mask.
Drag in the canvas until the resulting rectangle is the size you want, then release the mouse button.
To draw a perfectly square mask, press and hold the Shift key while you drag. To draw the rectangle mask from its center, press and hold the Option key while you drag.
Do one of the following:
In the canvas, double-click the mask.
In the Layers list, canvas, or Timeline, select the mask, then click and hold the transform tools in the canvas toolbar and choose Edit Rectangle.

Simple shape transform handles appear in the canvas.
Do any of the following:
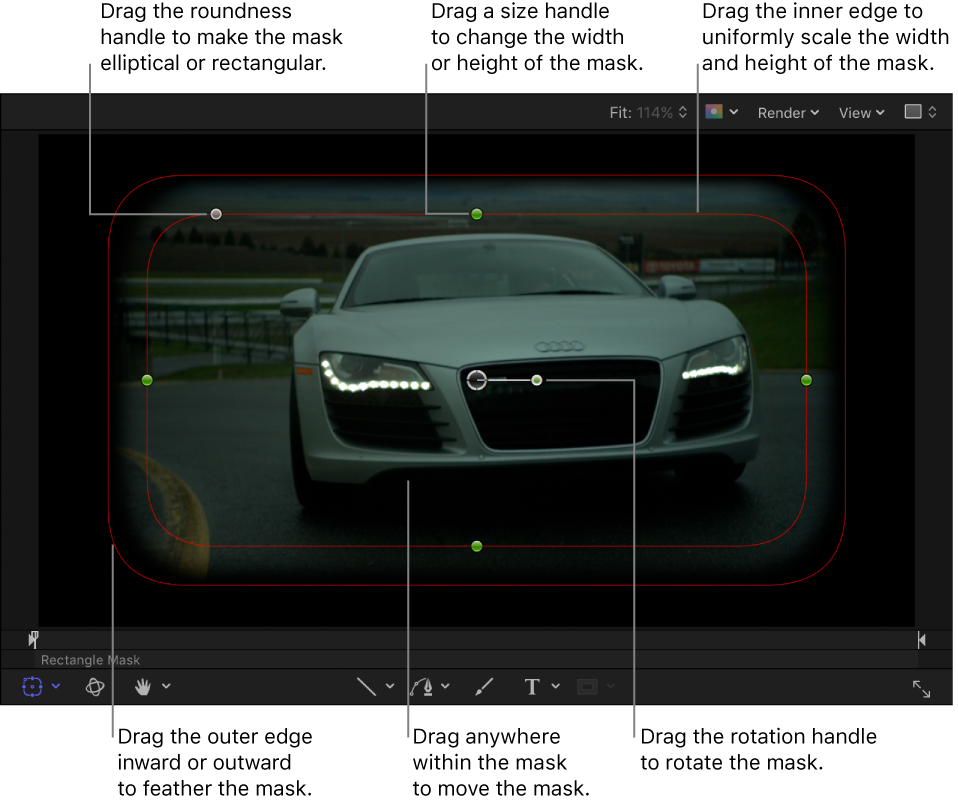
Adjust corner roundness: Drag the roundness handle in the upper-left corner of the mask to smooth the corners of the rectangle.
Adjust size: Drag a size handle (on the side of the mask shape) to adjust the height or width of the rectangle mask. To scale the mask uniformly, drag the inner edge of the mask.
The inner and outer edges overlap by default; you must drag the outer (feather) edge prior to dragging the inner (scale) edge.
Note: You can also press and hold the Shift key while adjusting the radius handles to scale the mask uniformly.
Adjust softness: Drag the mask’s outer edge away from the rectangle to feather outward, or toward the center of the rectangle to feather inward.
Adjust rotation: Drag the rotation handle to rotate the mask.
Adjust position: Drag the center, or anywhere within the mask, to move the mask.
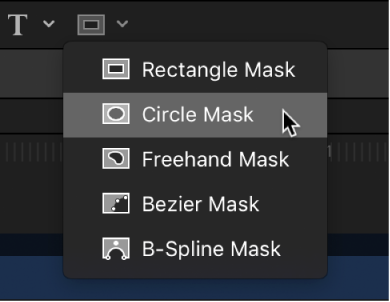
In the canvas toolbar, click and hold the mask tools pop-up menu, then choose Circle Mask (or press Option-C).
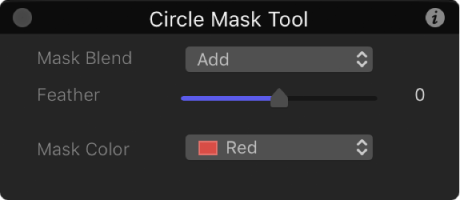
The Circle Mask Tool HUD appears. (If the HUD isn’t displayed, press F7.) To adjust the blend mode, softness, or spline color before you draw the mask, use the controls in the HUD.
Note: You can also edit the mask parameters after you draw the mask.
Drag in the canvas until the resulting ellipse is the size you want, then release the mouse button.
To draw a perfectly symmetrical circle, press and hold the Shift key while you drag. To draw the ellipse from its center, press and hold the Option key while you drag.
Do one of the following:
In the canvas, double-click the mask.
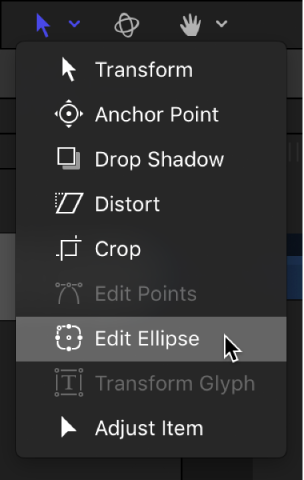
In the Layers list, canvas, or Timeline, select the mask, then click and hold the transform tools in the canvas toolbar and choose Edit Ellipse.
Simple shape transform handles appear in the canvas.
In the canvas, do any of the following:
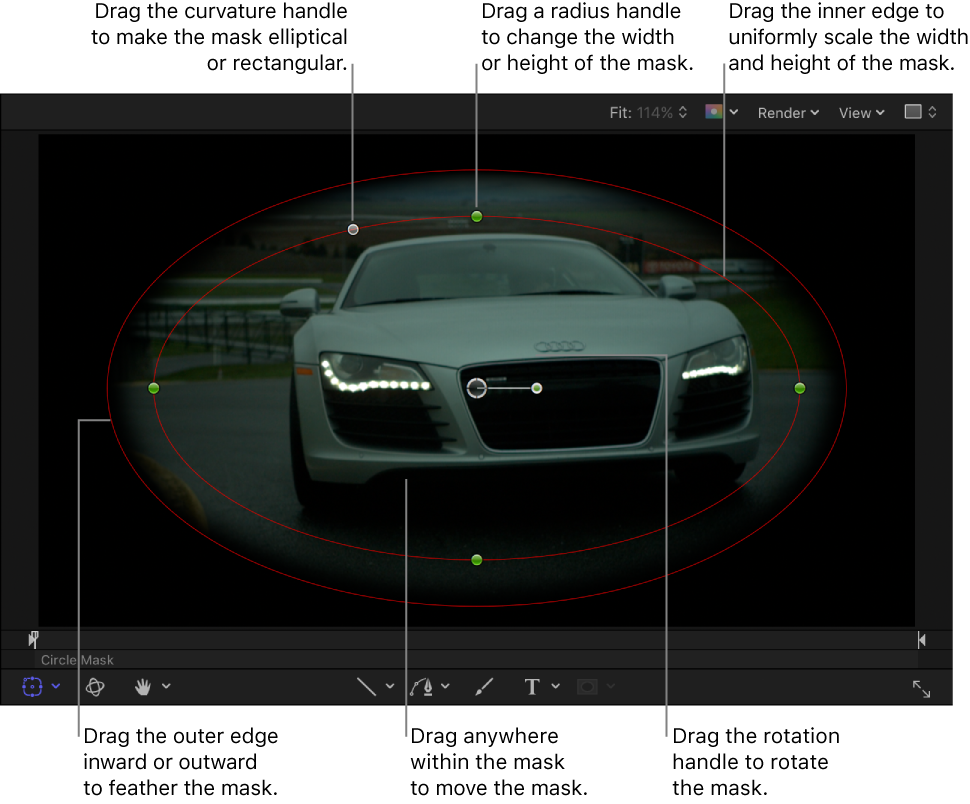
Adjust curvature: Drag the curvature handle in the upper-left corner of the mask to add angular corners.
Adjust size: Drag a radius handle (on the edge of the mask shape) to adjust the height or width of the mask. To scale the mask uniformly, drag the inner edge of the mask.
The inner and outer edges overlap by default; you must drag the outer (feather) edge prior to dragging the inner (scale) edge.
Note: You can also press and hold the Shift key while adjusting the radius handles to scale the mask uniformly.
Adjust softness: Drag the mask’s outer edge away from the mask to feather outward, or toward the center of the mask to feather inward.
Adjust rotation: Drag the rotation handle to rotate the mask.
Adjust position: Drag the center, or anywhere within the mask, to move the mask.