
Use the Texture image well to apply, adjust, animate, and remove textures.
Select text in the canvas, Layers list, or Timeline.
In the Text Inspector, click Appearance to open the Appearance pane.
Choose Texture from the “Fill with” pop-up menu.
The Color (or Gradient) controls are replaced with Texture controls.
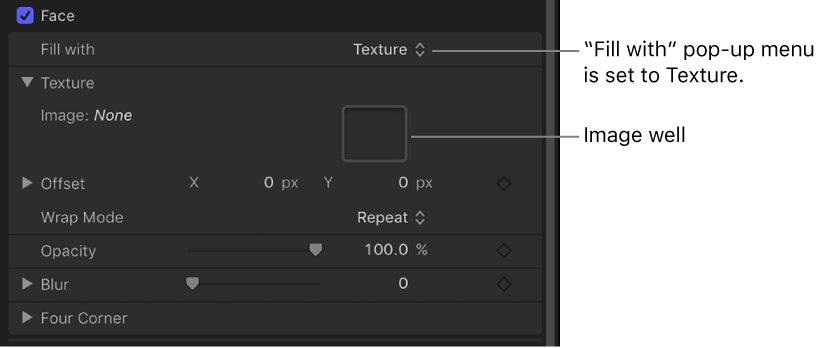
By default, no texture is applied to the text.
Drag an image from the Layers list or Media list into the Image well.
Important: When dragging an image to the well, be sure to click and drag in one movement. If you click the image and release the mouse button, the image is selected and its Inspector appears.
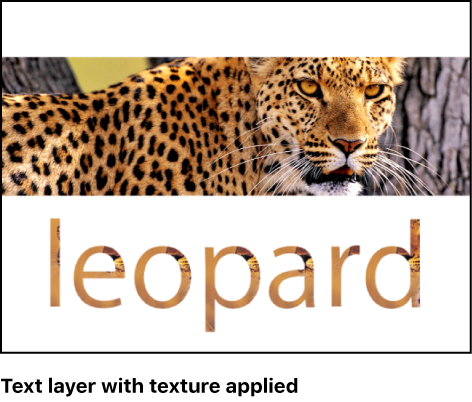
The image appears in the well and is applied to the text.
Tip: When text is filled with an image, the texture is applied to each text character. To learn how to make the texture continuous through all text characters, see Image masks overview.
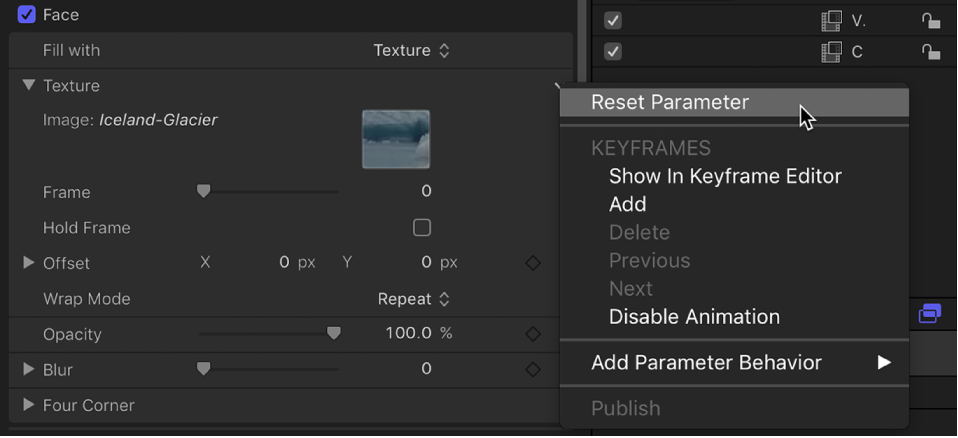
In the Appearance pane of the Text Inspector, do one of the following:
Move the pointer over the right side of Texture controls group until the down arrow appears, then click the down arrow and choose Reset Parameter from the pop-up menu.
Drag the image out of the well, then release the mouse button.
The image disappears.
In the Texture controls group in the Appearance pane of the Text Inspector, do one of the following:
Press and hold the Command key, and drag in the Image well.
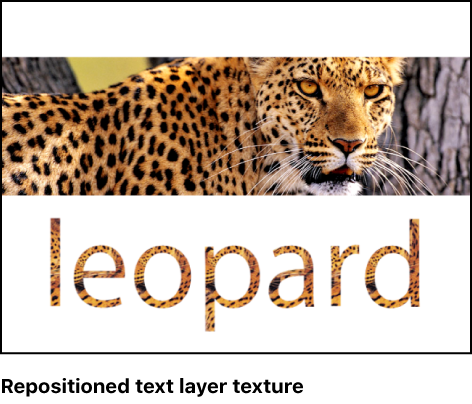
The image moves in the well and is offset in the text in the canvas.
Adjust the Offset value sliders.
The left value slider represents X position values; the right value slider represents Y position values.
Note: You can adjust the position of a texture for a single glyph by selecting the glyph with the Text tool or by using the Transform Glyph tool. For more information on working with glyphs, see Text glyphs overview.
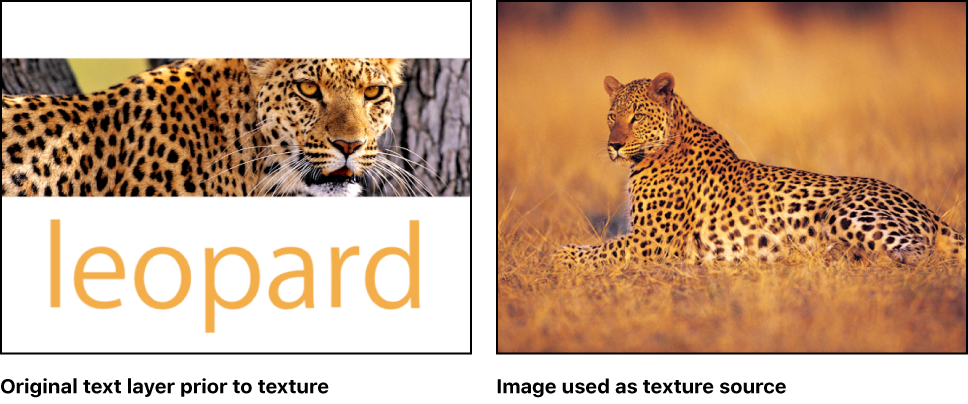
You can set keyframes for the offset values of the texture source to create a moving element within text. In the following example, an image of a leopard lying in the grass is used as the texture source for the text “leopard.”
In the Timeline, move the playhead to the frame where you want the texture animation to begin.
Turn on keyframe recording by clicking the Record button in the timing toolbar (or press A).
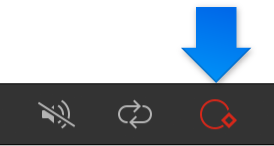
Note: When keyframe recording is enabled, a keyframe is created for any change you make to an object in your project.
To position the texture, do one of the following in the Texture controls in the Appearance pane of the Text Inspector:
Press and hold the Command key, and drag in the Image well.
Adjust the Offset value sliders.
The image within the text moves, and a keyframe is created in the Offset parameters.
Move the playhead to the next frame where you want to set a keyframe.
Repeat step 4 to move the texture to a new position.
Click the Record button (or press A) to turn off keyframe recording.
When you play back the project, the texture is animated.
In the Timeline, move the playhead to the frame where you want the texture animation to begin.
In the Appearance pane of the Text Inspector, move the pointer over the right side of the Offset parameter row until the down arrow appears, then click the down arrow and choose Add.
To position the texture, do one of the following:
Press and hold the Command key, and drag in the Image well.
Use the Offset value sliders to enter an offset value.
The image within the text moves, and a keyframe is created in the Offset parameters.
Move the playhead to the next frame where you want to set a keyframe.
Repeat step 4 to move the texture to a new position.
A keyframe is added.
Note: After a parameter contains a keyframe, any further adjustment to that parameter adds a keyframe at the current playhead position, regardless of the Record button state.
When you play back the project, the texture is animated.
Note: When you use an object with applied filters or behaviors as a texture source for text, the effect of filters is inherited by the texture. However, behaviors are ignored.