Compositing Workflow
After you import the layers you need for your project, the first step in the compositing workflow is to arrange the layers in the Canvas to rough out the general design of your piece. Before you animate anything, you should decide on a layout, taking into account the size, placement, and rotation of the layers in your composition.
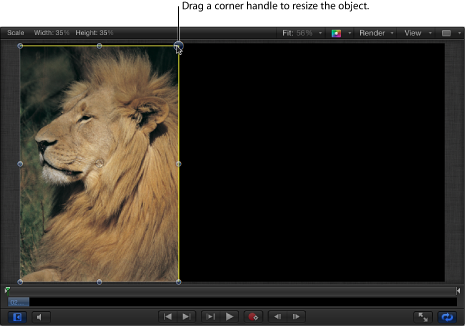
Use the Motion editing tools to perform basic layout tasks: selecting, moving, rotating, scaling, distorting, cropping, changing a layer’s anchor point, and manipulating drop shadows. These editing tools are available on the left side of the toolbar. When you choose an editing tool, specific onscreen controls become available in the Canvas; drag these controls to perform the selected action.
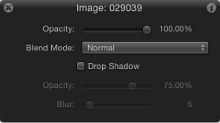
Additional controls in the HUD let you change each selected layer’s opacity, blend mode, and drop shadow settings.
The onscreen controls and the HUD controls correspond to parameters that appear in the Properties Inspector. Adjustments made in the Canvas are simultaneously updated in the Inspector and HUD, and vice versa. For example, if you’re using the Select/Transform tool and you change a layer’s scale by dragging its corner handles in the Canvas, the layer’s Scale parameter is updated in the Properties Inspector.
When you begin to lay out a composition, it’s a good idea to start by creating a static layout of your project that represents how it looks at the beginning, end, or at a particular moment in time. In addition to manipulating the geometry of layers in your project, you can also alter their opacity to adjust how overlapping elements of your layout merge together. Blend modes provide further control over the appearance of overlapping layers, accentuating or stylizing the colors of the topmost layers based on the colors of underlying layers.
After you create an initial layout, you can animate the layers you’ve added to set your project in Motion. For more information about animating layers and their properties, see Keyframing in Motion.