Keyframing Shape Animation
You can also keyframe a shape’s animation parameter to animate adjustments to its individual control points. This opens up powerful animation possibilities, because you can reform an entire shape using keyframe animation.

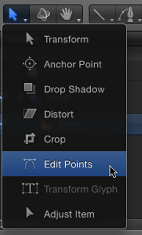
Use the Edit Points tool (in the 2D tools pop-up menu) to select the shape to animate.
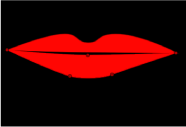
The shape’s control points appear in the Canvas. In this example, the selected shape is the lower lip of the mouth illustration.
Turn on keyframe recording in the transport controls under the Canvas (or press A).

Move the playhead to the frame where you want to change the shape, then make any necessary changes to the shape’s control points.

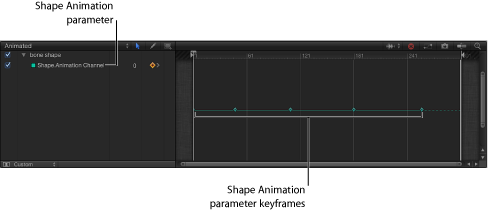
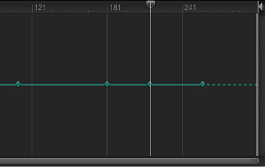
In the Keyframe Editor (and also in the Timeline, if the Show/Hide Keyframes button is turned on), a keyframe appears for each adjustment you make at a new frame.
Note: Adjusting a shape while the playhead is on an existing keyframe adjusts the shape at that keyframe.
Continue advancing frames and making changes.
Every time you make a change to the shape at a new frame, you create a keyframe in that shape’s Shape Animation parameter.
When you are done animating the shape, disable Record.
The animated shape object interpolates between each keyframed shape. If you don’t like how the interpolation is working, you can add more keyframes to force the control points to follow the path you want.

You can also create, delete, and edit the timing of Shape Animation keyframes in the Keyframe Editor. For simplicity, each change you make to a shape is recorded as a single keyframe, no matter how many control points are edited. The Shape Animation parameter only allows keyframes set to linear interpolation. You cannot use any other form of keyframe interpolation.
The process used to animate both shapes and masks is identical. To see an example of mask animation, see Keyframing a Mask’s Shape for Animation and Rotoscoping. For more information on keyframing in general, see Keyframes and Curves.