Sorting, Grouping, and Renaming Files in the Audio Bin
The Audio Bin lists all audio files in your project, along with information about file sampling rate, bit depth, format (mono/stereo), and size. It is the ideal place to sort, rename, copy, or move your audio files.
Note: Detailed information on the methods used to add audio files to the Audio Bin (and your project) are found in Adding and Removing Audio Files.
Sorting Audio Files
Information on every currently loaded audio file is shown in the Info column of the Audio Bin. You can switch this display on or off by choosing View > Show File Info.
Choose any of the following View > “Files sorted by” criteria to reorganize the listing of audio files:
- None: The audio files are listed in the order that they were loaded or recorded.
- Name: The audio files are listed in alphabetical order.
- Size: The audio files are listed by size, with larger files at the top of the list.
- Drive: The audio files are sorted by storage medium (the hard disk, removable drive, or partition they are stored on).
- Bit Depth: The audio files are listed by it depth, in decreasing order.
- File type: The audio files are listed by file type (AIFF, WAV, SDII, MP3, and so on).
Tip: You can quickly sort all audio files by name by clicking the Name column header.
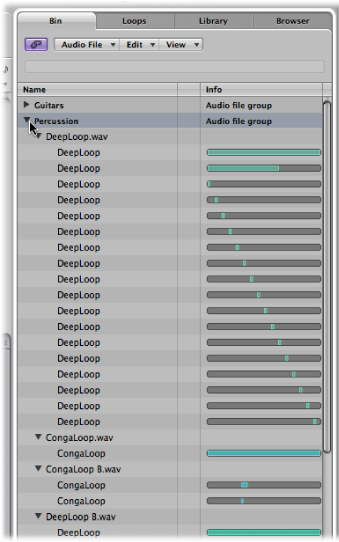
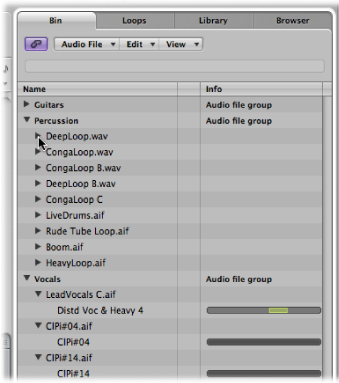
Grouping Files in the Audio Bin
You can group audio files together, making handling of large numbers of files easier and faster. In the following image, you see a Guitars and Vocals group, with several files in each.
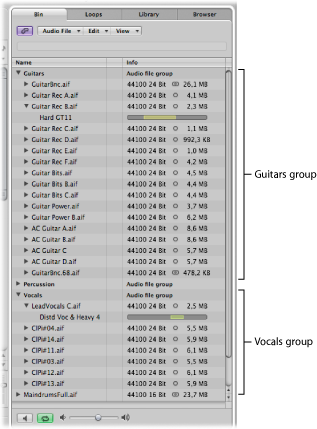
Separating files into categories simplifies handling, particularly if all files are similarly named. For example, audio imported from another application may be named “audio01,” “audio02,” “audio03,” and so on, regardless of whether a vocal, guitar, or drum part. When creating a large arrangement, grouping files into categories can be a life-saver.
Select the files you want to group in the Audio Bin.
Choose View > Create Group (or Control-click the Audio Bin or use the corresponding key command).
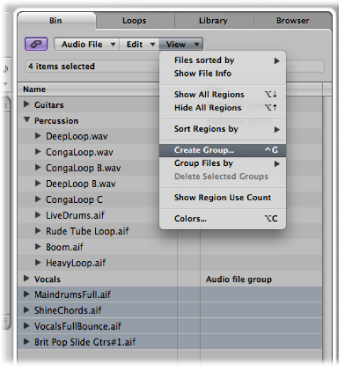
Type a group name in the Group Name field (labeled “Enter name for new group”), then press Return.
Select the files you want to group in the Audio Bin.
Do one of the following:
Choose View > Group Files by > Location to create groups that are alphabetically sorted by the names of the parent folders of selected files. These folder names are automatically used as group names.
Choose View > Group Files by > File Attributes to create groups based on the attributes of selected files (file type, stereo/mono, bit depth). Group names are displayed as a summary of the file attributes (“16 bit AIFF Stereo,” for example).
Choose View > Group Files by > Selection In Arrange to create groups based on regions selected in the Arrange area. Group names are based on the first of the selected regions.
Note: If existing groups have been created, a dialog asks if you want to add all files to one of these groupings, thereby deleting the existing groups, or if you only want to add files that are not yet group members. Click the appropriate button.
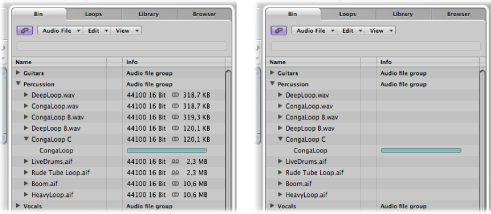
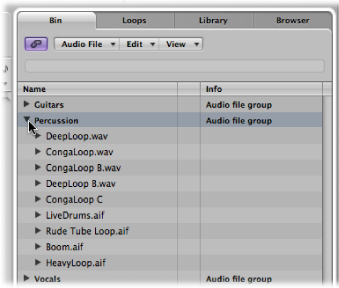
Click the disclosure triangle to the left of a group name.
This expands or collapses the clicked group.
Option-click the disclosure triangle to the left of any group name.
This expands or collapses all groups, including the audio files in the Option-clicked group.
Option-click the disclosure triangle to the left of any audio file within a group.
This expands or collapses all audio files in the Option-clicked group, without affecting other groups.
Option-click a group name to select all files in the group.
Select a group, then choose View > Delete Selected Groups (or press Delete).
The audio files of deleted groups reappear in the upper level of the Audio Bin list.
Renaming Audio Files
To rename audio files in the Audio Bin, double-click the filename in the list. A text input box appears, allowing you to type in a new name.
Important: Before renaming audio files, you should check to see if the audio file that you want to rename is used by another project. If it is, do not rename the file, or it won’t be found or played by other projects that use the file.
Logic Pro helps you in these situations:
Logic Pro alters the name of an audio file in all currently opened projects that use the file.
If the file is half of a split stereo pair, Logic Pro automatically assigns the new name to the other half of the stereo pair.
Logic Pro also renames any backup files on the same disk drive.
If you rename a stereo file, Logic Pro automatically assigns the new name to up to five files (the mono files used in Logic Pro, their backups, and the stereo file). In this situation, it’s a good idea to store all files in the same location.
Note: You can freely rename regions whenever you like, but you should note that regions named after their parent audio files automatically adopt the new name of renamed audio files. This does not occur when regions have been given a new name.