Editing and processing audio in the Audio File Editor are possible only after you select an area within the waveform display. Any editing or processing you perform will only affect the selected area.
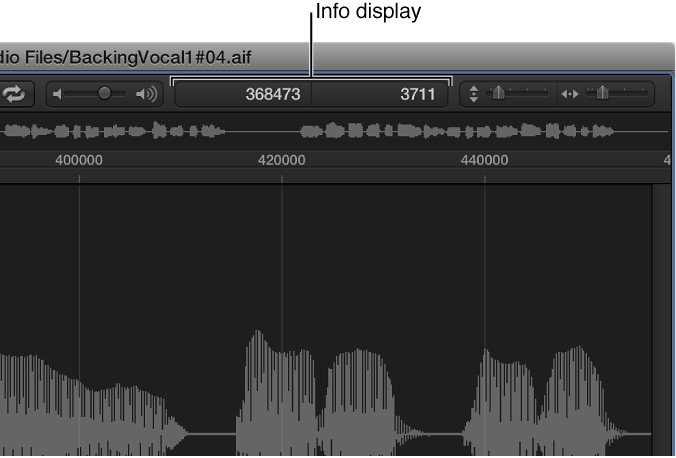
The start point and length of the currently selected area are shown in the info display—above the waveform overview. The format of the information is based on the setting chosen in the View menu. For more information, see Change the ruler display.
Use the basic selection techniques outlined below to select an entire audio file, or part of an audio file, for editing or processing.
For tips about accelerating the selection process, see Navigate audio files in the Audio File Editor.
Choose Edit > Select All (default key command: Command-A).
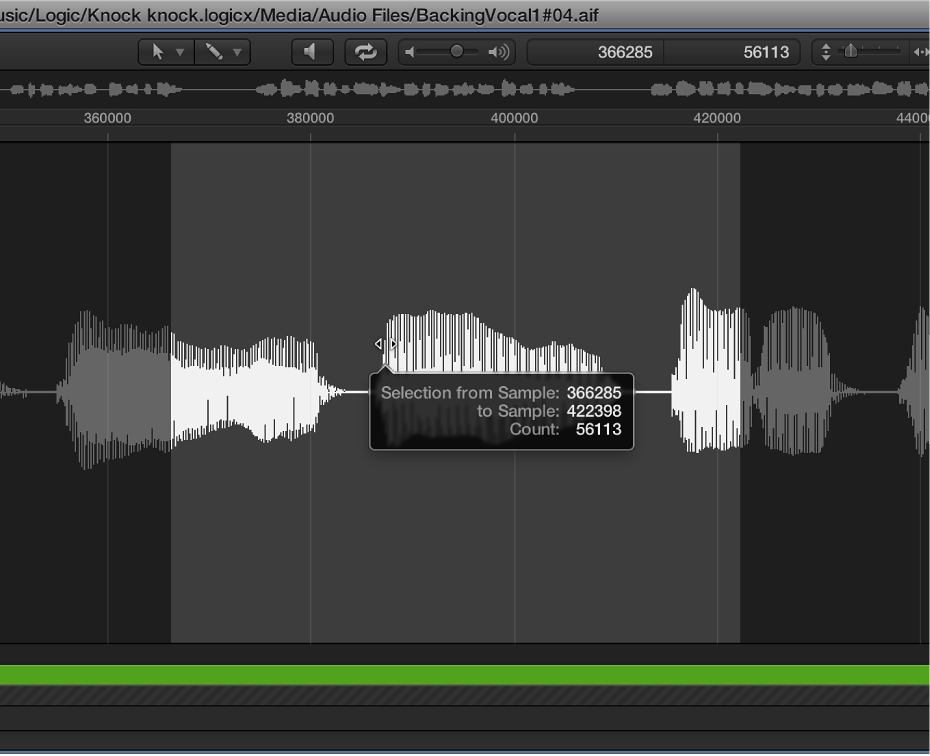
Click-hold the start or end of the area you want to select in the waveform display, then drag to the right or left.
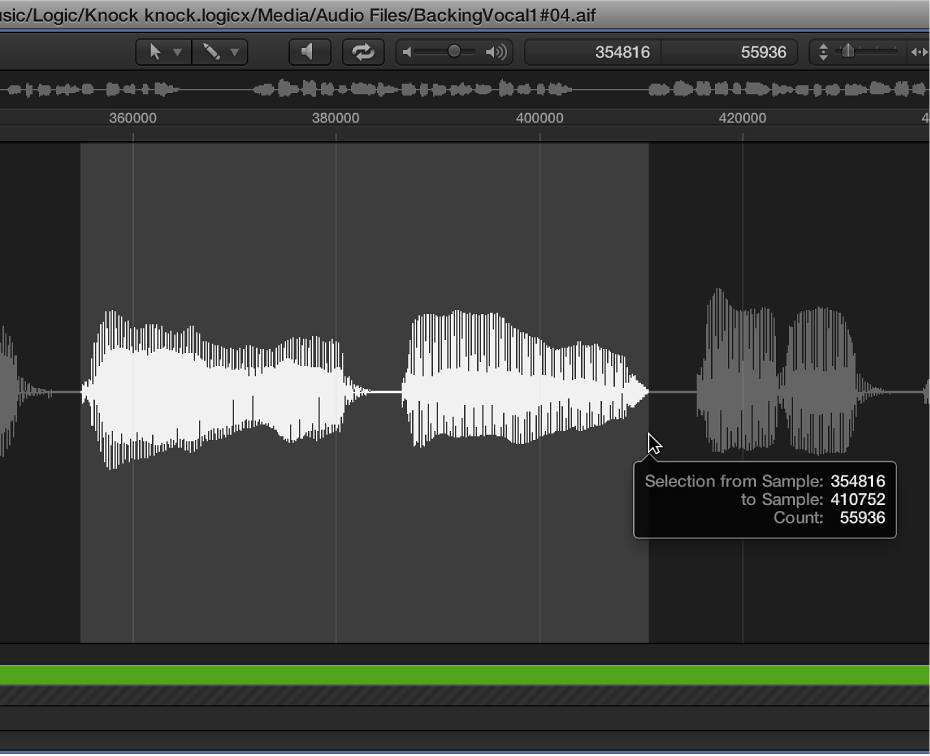
The start point and length are displayed (as sample words) in a help tag while you make your selection.
Do one of the following:
Choose Edit > Select All Previous (or use the corresponding key command).
Choose Edit > Select All Following (or use the corresponding key command).
Select a region in the Browser or main window, then choose Edit > Region → Selection.
This function is useful if you want to reselect the entire region for cycled playback—after performing a number of edits, for example.
The reverse can also be done, allowing you to redefine the length of an existing region by choosing Edit > Selection → Region.
You can modify selections by changing their start or end point, or you can move the entire selected area completely.
Note: If you choose Edit > Snap Edits to Zero Crossings, any length adjustments to audio region start or end points will snap to the nearest zero-crossing point of the waveform.
Do one of the following:
Shift-click in the waveform display to move the start or end point.
Shift-click-drag the start or end point of the selected area in the waveform display.
Using either method, the proximity of your click—to the start or end of the selected area—determines whether you change the start or end point boundary. The closest one wins.
Tip: If you hold down Option-Shift, the more distant selection boundary is changed (rather than the nearer).
Option-click in the waveform display (the pointer turns into a two-headed arrow), then drag to move the whole selection, without changing its length.