You can add content to a table in several ways. You can type new content directly into cells, copy and paste content into cells from somewhere else, or let Keynote complete patterns for you with autofill. You can always edit or clear a cell after you add content to it.
Note: If you can’t add content to a table, make sure it’s unlocked. Click the Arrange tab at the top of the sidebar on the right, then click Unlock (if Unlock is dimmed, the table isn’t locked). If you don’t see a sidebar, or the sidebar doesn’t have an Arrange tab, select the table, then click in the toolbar.
Edit cell content
Add content to an empty cell: Click the cell, then start typing.
Edit content: Double-click the cell to make the insertion point appear, then type. To move the insertion point, click where you want it, then type. You can insert a paragraph break by pressing Option-Return.
Replace content: Click the cell, then start typing. The existing content is overwritten.
Delete all content: Click the cell, then press Delete on your keyboard.
Remove the content but preserve the cells’ data format, text style, and cell style: Press Delete on your keyboard.
Remove all data, formatting, and styling: Choose Edit > Clear All (from the Edit menu at the top of your screen).
Autofill cells
You can quickly fill cells, or a row or column, with the same data or a logical sequence of data—for example, a series of numbers, letters, or dates.
Do any of the following:
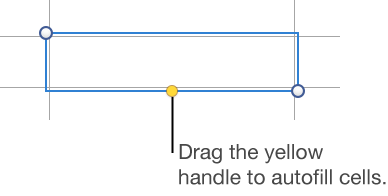
Autofill one or more cells with content from adjacent cells: Select cells with the content you want to copy, then move the pointer over a border of the selection until a yellow autofill handle (a dot) appears. Drag the handle over the cells where you want to add the content.
Any data, cell format, formula, or fill associated with the selected cells is added, but comments aren’t. Autofilling overwrites existing data with the value you’re adding.
Autofill cells with sequential content or patterns from adjacent cells: Type the first two items of the series in the first two body cells (not header or footer cells) of the row or column you want to fill; for example, type A and B. Select these cells, move the pointer over a border of the selection until a yellow autofill handle (a dot) appears, then drag the handle over the cells you want to fill.
You can also autofill cells using a pattern of values. For example, if two selected cells contain 1 and 4, the values 7 and 10 are added when you drag over the adjacent two cells (values are incremented by 3).
Autofilling doesn’t set up an ongoing relationship among cells in the group. After autofilling, you can change the cells independently of each other.
When you autofill cells, any formulas that refer to those cells are updated automatically to use the new value.
Show a cell’s row and column
You can temporarily highlight a cell’s row and column in blue as you move the pointer over a table. In a large table, this can help you identify column and row references for specific cells.
Hold down the Option key while you move the pointer over a cell.