Use alignment and spacing guides to help you place objects precisely. When guides are turned on, they appear as you drag an object on a slide in alignment with, or equidistant to, another object. You can turn the guides off and on as needed.
Choose Keynote > Preferences (from the Keynote menu at the top of your screen), then click Rulers at the top of the preferences window.
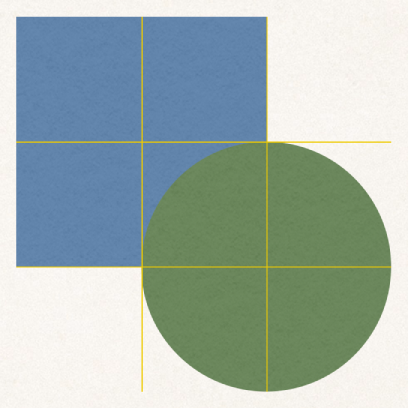
Select any of the alignment guides:
Center guides: Indicate when an object’s center aligns with another object’s center or the center of the slide.
Edge guides: Indicate when an object’s edges align with another object’s edge or an edge of the slide.
Sizing guides: Indicate when an object matches another object’s size in a particular dimension (for example, height).
Spacing guides: Indicate when three or more objects are placed equally apart in a line.
You can add alignment guides that remain visible on the slide while you’re working, even if you leave the slide and return to it later. You can add as many guides as you like and position them to suit your needs. Alignment guides are unique to each slide in a presentation.
To add persistent alignment guides, the rulers must be showing.
If you don’t see rulers, click ![]() in the toolbar, then choose Show Rulers.
in the toolbar, then choose Show Rulers.
Move the pointer over the vertical or horizontal ruler, then drag to the slide.
To change the location of an alignment guide, drag it.
Do any of the following:
Remove a horizontal guide: Drag it to the top of the slide.
Remove a vertical guide: Drag it to the left of the slide.
Hide all guides: Choose View > Guides > Hide Guides (from the View menu at the top of your screen).
To show all guides, Choose View > Guides > Show Guides.
Clear all guides: Choose View > Guides > Clear All Guides on Slide.
Choose Keynote > Preferences (from the Keynote menu at the top of your screen), then click Rulers.
Click the color well next to Alignment Guides, then choose a color.
Tip: You can add a button to the toolbar to show and hide guides.