Reduce red-eye
Select the photo and click the Edit button.
If the Quick Fixes tab (at the top of the Edit pane) isn’t selected, click it.
Click Fix Red-Eye.
If iPhoto detects faces in the photo, it removes the red-eye for you. If the red-eye disappears, skip to step 6.
If red-eye is still apparent, drag the Size slider until the circle is the same size as the red-eye area.
You can fine-tune the size by pressing the Left Bracket ( [ ) and Right Bracket ( ] ) keys.
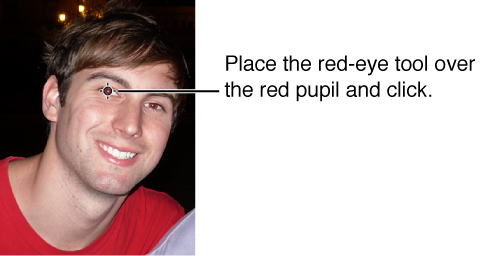
Position the circle over the red-eye pupil, and then click. Repeat this step for all other red-eye pupils in the photo.
Tip: At the smallest size, the circle changes to a crosshair. When you position the crosshair over a pupil, iPhoto detects the red area, so the red-eye should disappear with one click.
Do one of the following:
To save your changes, click Done.
To leave red-eye view without saving your changes, press Escape (Esc).
To cancel all changes made during this edit session (in any of the Edit panes), click “Revert to Previous.”
Note: If you’ve made only one edit, the button is labeled “Revert to Original.”