
For iCloud document storage and CloudKit, you can specify the containers your app uses and create containers directly in Xcode. Your app can use multiple containers and apps developed by the same team can share containers. For CloudKit apps, use the CloudKit Dashboard web app to manage the data in the containers during development.
The default container ID is iCloud.$(CFBundleIdentifier) which matches the explicit App ID.
Important: Only the Account Holder or Admin role can manage containers.
You can select an existing container ID, possibly used by another app, or create a new one.
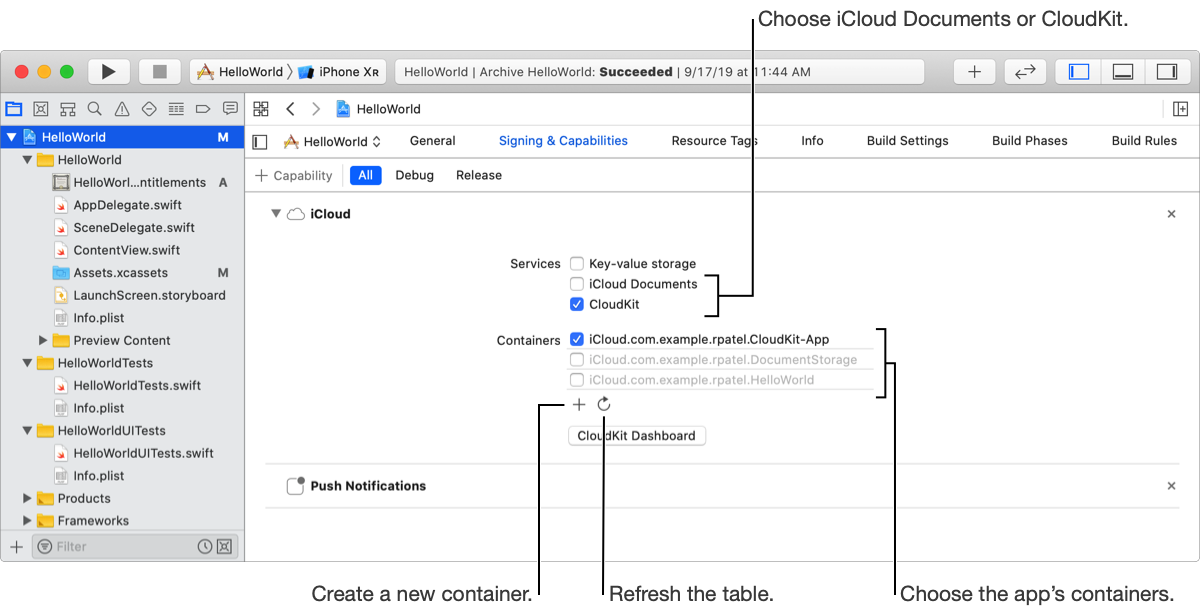
In the project editor, choose a target, then click Signing & Capabilities.
Click the disclosure triangle next to iCloud to review the settings.
In the Services section, select either the iCloud Documents or CloudKit checkbox.
If necessary, click the Refresh button below the table to download container IDs used by other apps.
To use a container (or not use a container), select the checkbox to the left of the container ID.
Xcode updates the list of container IDs in the Xcode project entitlements file (a file with a .entitlements file extension).
Create containers if you need multiple containers for your app, or you want multiple apps to share a custom container. For example, app-specific data can be stored in the default containers, and shared app data stored in a separate custom container.
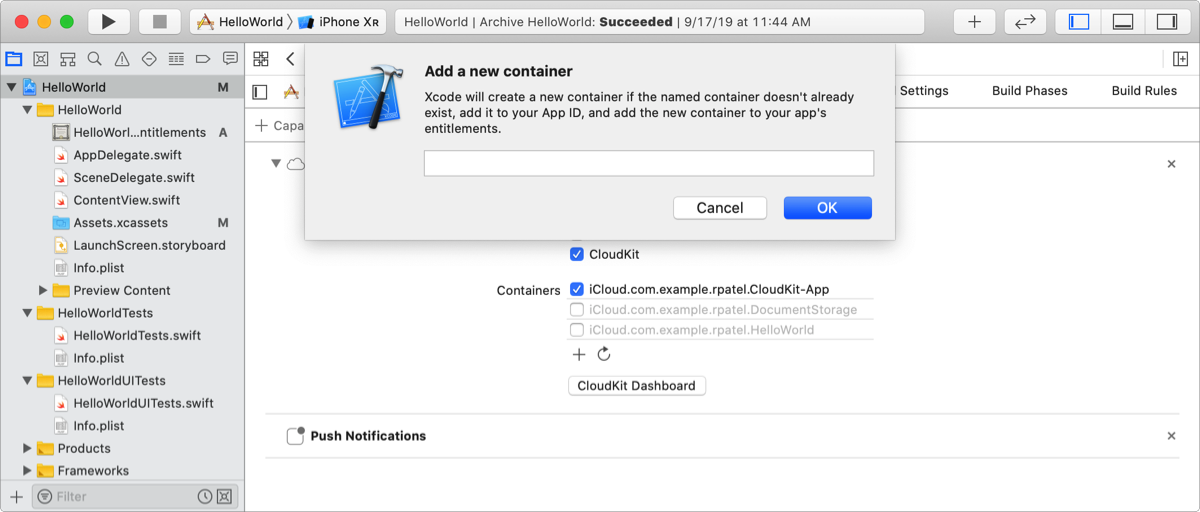
In the Containers section, click the Add button (+) at the bottom of the table.
In the dialog that appears, enter an identifier for the container you want to add.
A container ID should begin with iCloud. followed by a string in reverse DNS notation, as in iCloud.com.example.gkumar.shared. If you don’t enter iCloud., Xcode appends it to the container ID for you.
WARNING: You can’t delete a container ID so choose the string carefully.
Click OK.
Xcode adds the new container ID to the Xcode project entitlements file and your developer account.