
When you create an Xcode project, you first choose a template for a common style of app or framework, then modify the project as you like. Xcode templates include essential project configuration and files that help you start developing your app quickly.
Launch Xcode, and in the “Welcome to Xcode” window, click “Create a new Xcode project.”
Alternatively, choose File > New > Project.
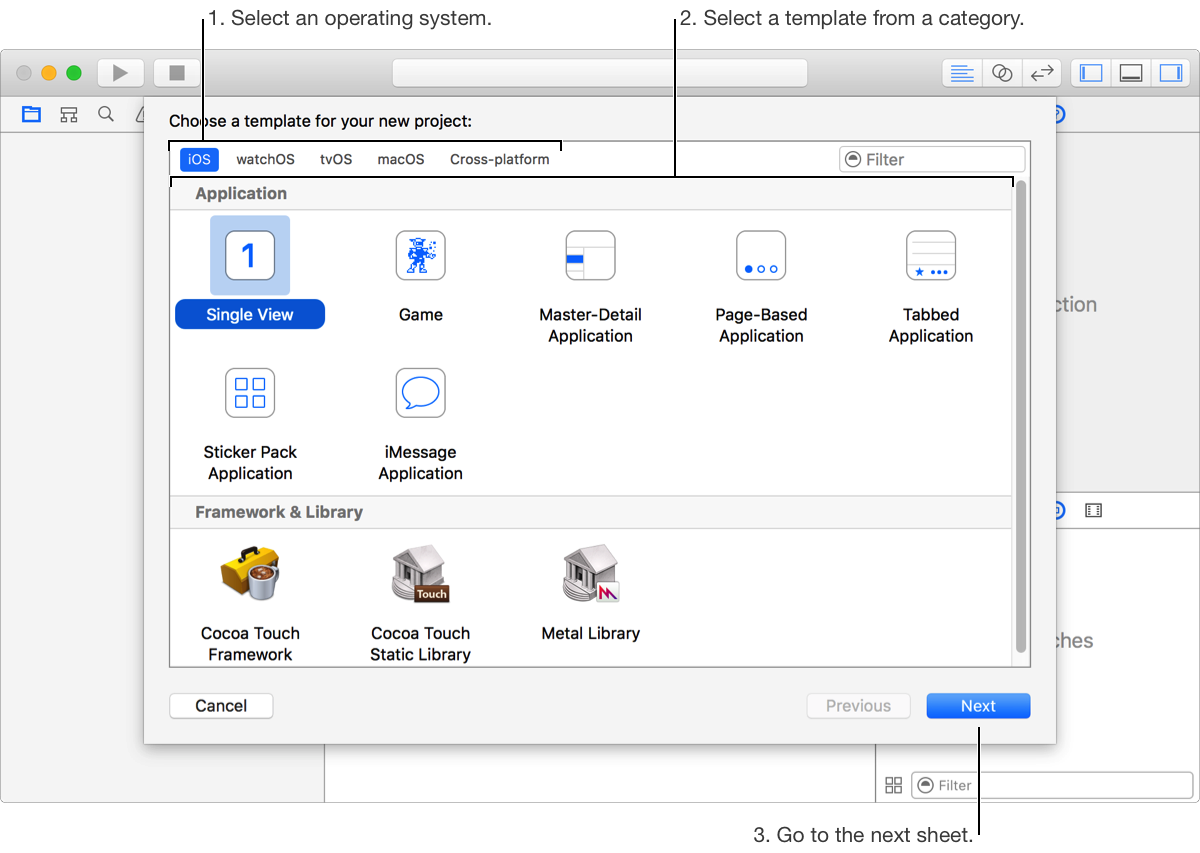
In the sheet that appears, select the target OS.
Under Application, select a template, and click Next.
For example, to create an app with a single empty window, for iOS apps, select Single View Application; for macOS apps, select Cocoa Application.
In the sheet that appears, fill in the text fields and choose options from the pop-up menus to configure your project.
You must enter a product name and organization identifier to continue to the next sheet. You should also enter an organization name (if you don’t belong to an organization, enter your name). The following screenshot shows options for creating an iOS app.

From the Team pop-up menu, choose your team.
If the “Add account” button appears, optionally add an account and select a team now. Otherwise, skip this step and assign a team later.
From the Language pop-up menu, choose a programming language.
To add test targets to your project, select Include Unit Tests and Include UI Tests.
Click Next.
A sheet asks you where to save your project.
Specify a location for your project, optionally select “Create Git repository on” to use source control, and click Create.
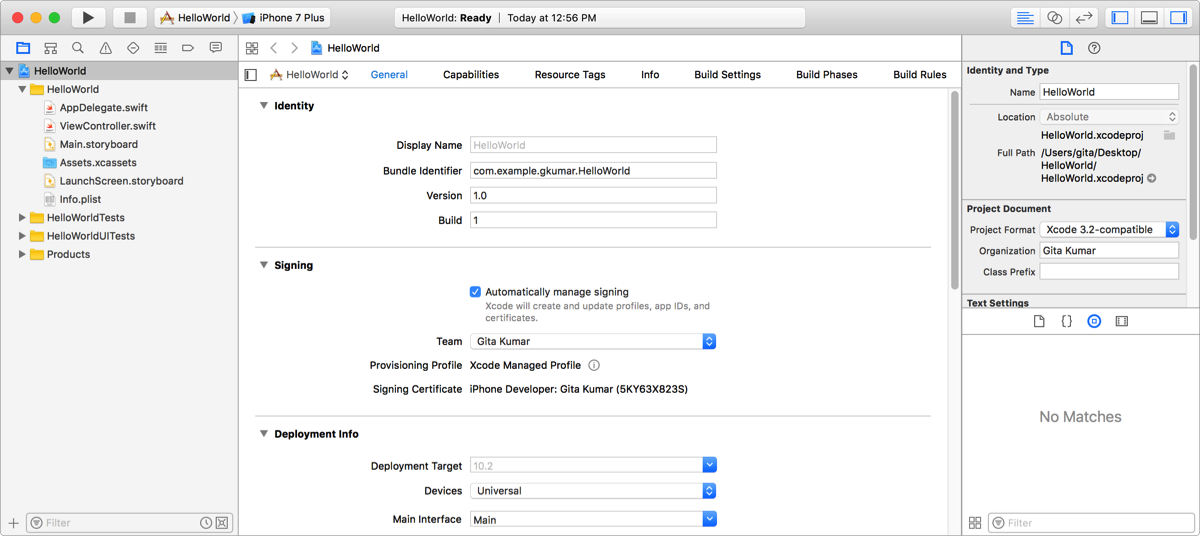
The main window for your project appears, similar to the iOS app main window below.
Next Step: Run your app in Simulator.