Create albums

You can create albums to better organize your photo library.

Create an album

  1. Click Create button 
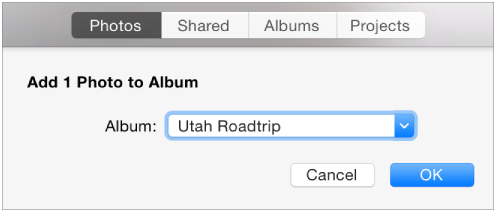
in the toolbar and choose Album, then choose New Album from the Album pop-up menu.

    Create New Album dialog
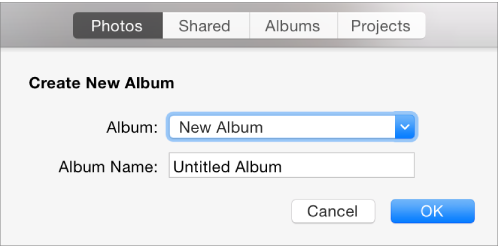
  2. Type a name for your new album and click OK.

Tip:   If you already know what photos you want to add to the album, you can select them before you create the album, and they’ll be included in your new album.

Add photos to an album

  1. Select the photos you want to add to an album.

  2. Click Create button in the toolbar and choose Album.

  3. Click the Album pop-up menu and choose the album that you want.

    Album pop-up menu with an album chosen to place photos into
  4. Click OK.

Add photos to an existing album from a folder in the Finder

Remove or rearrange photos in an album

Double-click the album to open it, then do any of the following:

Select a key photo for an album

You can choose an album’s key photo—the photo that represents the album in the Photos window.

  1. Double-click an album to open it, then select the photo you want as the key photo.

  2. Choose Image > Make Key Photo.