
The first time you save a document, you name it and choose where to save it—on your desktop or in a folder, for example. Thereafter, Pages automatically saves your document as you work. You can rename a document at any time or create a duplicate of it with a different name.
Click anywhere in the document window to make it active, then choose File > Save (from the File menu at the top of your screen).
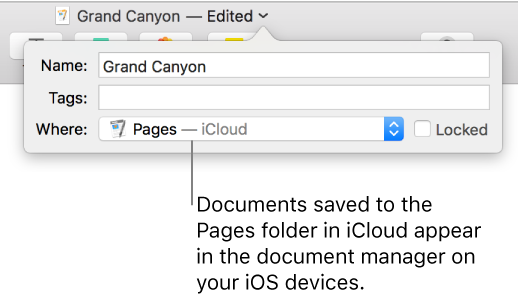
Enter a name in the Save As field, then enter one or more tags (optional).
To choose where to save the document, click the arrow next to the Where pop-up menu, then choose a location (for example, a folder or your desktop) in the dialog.
In macOS High Sierra 10.13, click the arrow next to the Save As text field.
To make the document appear in Pages on all of your iOS devices set up with iCloud Drive, save the document in the Pages folder in iCloud Drive. (To see this option, iCloud Drive must be set up on your Mac.)
Tip: To create a new folder for the document, choose a location for the folder, then click New Folder at the bottom of the Save As dialog. Enter a name for the folder, then click Create.
Click Save.
Click the document name at the top of the Pages window, type a new name, then click anywhere outside the dialog to dismiss it.
With the document open, hold down the Option key on your keyboard and choose File > Save As (from the File menu at the top of your screen).
Type a name for the copy, then press Return.
The copy is saved to the same location as the original. You can change where the copy is saved or send the copy to someone.
To save a copy of a document in another format (for example, Microsoft Word, PDF, or Pages ’09), you make a copy of the document in that format. To learn how, see Export to Word, PDF, or another file format.