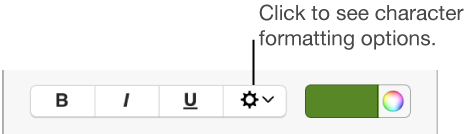
Click the Style button near the top of the sidebar on the right.
If you don’t see a sidebar, or the sidebar doesn’t have a Style button, click in the toolbar. If the text is in a text box, table, or shape, first click the Text tab at the top of the sidebar, then click the Style button.
In the Font section, click , then select or deselect the Outline checkbox.
Click the Style button near the top of the sidebar on the right.
If you don’t see a sidebar, or the sidebar doesn’t have a Style button, click in the toolbar. If the text is in a text box, table, or shape, first click the Text tab at the top of the sidebar, then click the Style button.
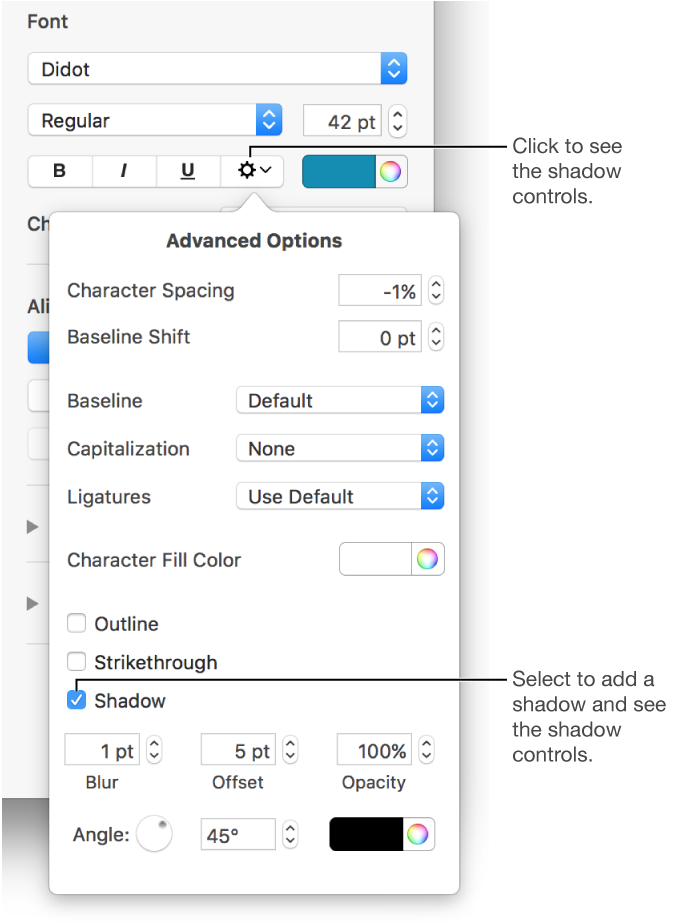
In the Font section, click , then select the Shadow checkbox.
Use the controls to adjust the appearance of the shadow:
Blur: Click the arrows to increase or decrease the sharpness of the shadow.
Offset: Click the arrows to change the amount of space between the text and the shadow.
Opacity: Make the shadow more or less transparent.
Angle: Drag the Angle wheel to change the direction of the light source. You can also enter a value in the field next to the wheel.
Color: Click the left color well to choose a color for the shadow that coordinates with other template elements. To choose any color, click the color wheel on the right.
To remove a shadow, select the text, then deselect the Shadow checkbox.
 in the toolbar. If the text is in a text box, table, or shape, first click the Text tab at the top of the sidebar, then click the Style button.
 , then select or deselect the Outline checkbox.