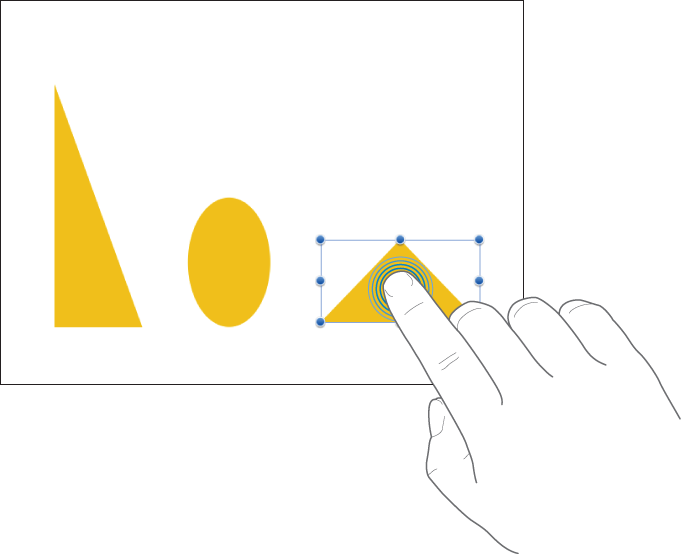
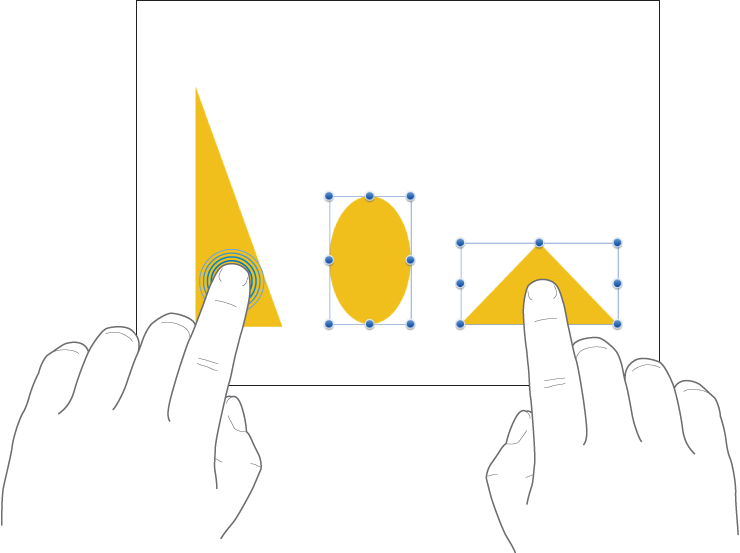
Tap
Using one finger, quickly and firmly touch the screen, then lift your finger. Use this gesture to select an object or activate a button.
Gestures are critical when using Numbers on your iOS device. These are the gestures you need to know:
Tap
Using one finger, quickly and firmly touch the screen, then lift your finger. Use this gesture to select an object or activate a button.
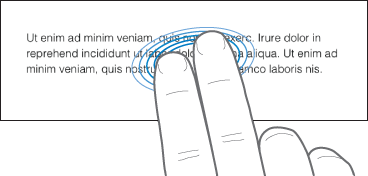
Two-finger tap
Using two fingers simultaneously, quickly and firmly touch the screen, then lift your fingers. Use this gesture to select an entire paragraph within a text box.

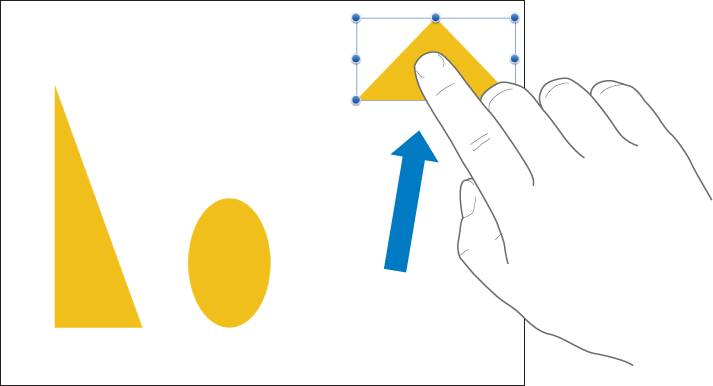
Drag
You can drag to move an object, or to resize an object or selection range.
To move an object, touch and hold the object, then drag it to where you want it. To resize an object, tap it, touch and hold one of the selection handles, then drag to resize.
Select multiple objects
Select as many objects as you want by touching and holding one object on the screen, then tapping the other objects with another finger. Use both hands if it’s easier.
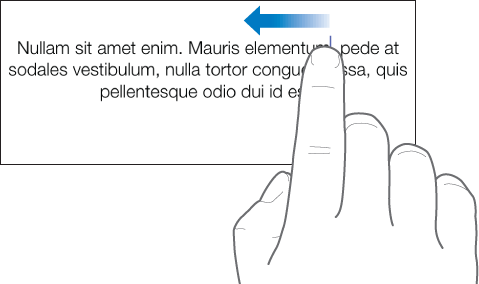
Swipe to move the insertion point through text
After you place the insertion point within a paragraph, you can quickly move the insertion point around by swiping left or right with one finger, two fingers, or three fingers at a time.
Swipe across the paragraph with one finger to move the insertion point one character in the direction that you swipe.
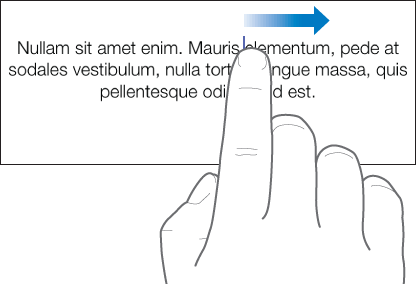
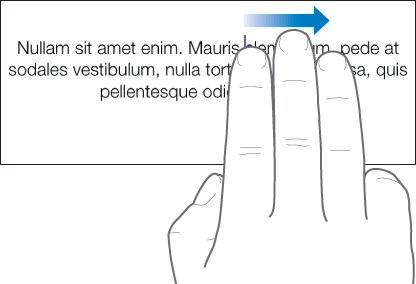
Swipe across the paragraph with two fingers to move the insertion point to the beginning or end of the current word.
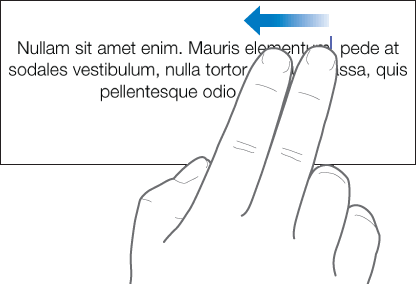
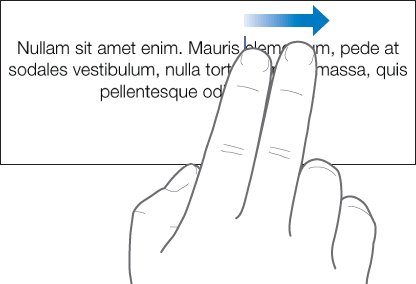
Swipe across the paragraph with three fingers to move the insertion point to the beginning or end of the current line.

Pinch open to zoom in
Place two fingers on the screen and spread them apart. This allows you to see a close-up of items on the screen. If you’re beginning with the sheet size at 100 percent in Numbers (the normal view), pinch open quickly to immediately increase the sheet size up to 150 or 200 percent. If you want an in-between size, pinch open more slowly. An indicator shows you the current magnification level as you pinch.

Pinch closed to zoom out
Place two fingers on the screen and bring them together. This allows you to see more items on the screen. If you’re beginning with the sheet size at 100 percent in Numbers (the normal view), pinch closed quickly to decrease the sheet size to 50 percent. If you want an in-between size, pinch closed more slowly. An indicator displays the current magnification level as you pinch.

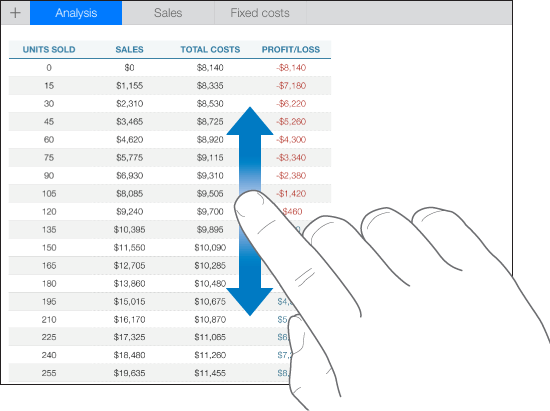
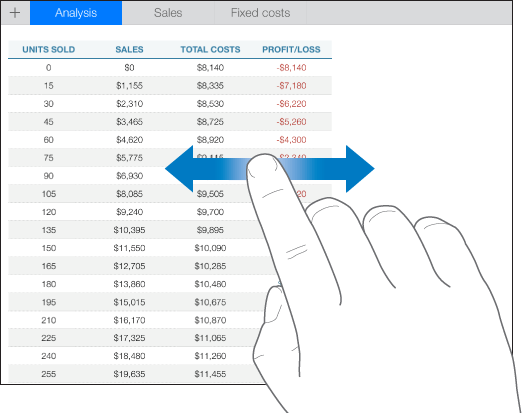
Scroll, swipe, flick
Scroll slowly by sliding one finger up and down or side to side on the screen. Scroll quickly (swipe or flick) by whisking one finger rapidly across the screen. Scrolling allows you to see more rows and columns in a table, any items that are currently beyond the edges of the screen, or more options and controls within a window.
Any header rows or columns in your table are frozen by default. This means that they stay put as you scroll within the body of the table.
You can turn header freezing off or on. To learn how, see the task about freezing header rows or columns in Add and rearrange table rows and columns.
Accessibility
To learn about using universal access features, including VoiceOver, see the Accessibility chapter in your device’s user guide.