The opacity and blending controls for each layer appear in the Properties Inspector and in the default HUD for any selected layer.
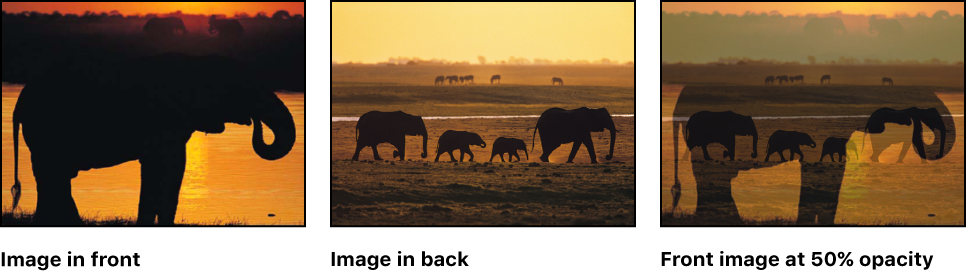
By stacking layers with varying opacities, you can merge images together in ways not otherwise possible. For example, if you have two full-screen background images you want to use together, you can set the opacity of the layer in front to 50%, allowing the layer in back to show through.
You can overlap as many layers as you want, and by varying their opacities, selectively reveal layers in the back.
Do one of the following:
In the Layers list or canvas, select a layer.
Do one of the following:
In the Properties Inspector, adjust the Opacity slider (in the Blending section).
In the HUD, adjust the Opacity slider.
Note: Some layers, such as text and shapes, have additional opacity parameters in their respective panes in the Inspector. For example, setting a shape’s Opacity value in the Properties Inspector and setting its Opacity value in the Style Inspector require separate controls that have multiplicative effects. In other words, if Opacity is set to 50% in the Properties Inspector, then set to 50% in the Style pane of the Shape Inspector, the resulting opacity for the text is 25%.
The Preserve Opacity checkbox in the Properties Inspector lets you limit a layer’s visibility to areas of the canvas where the layer overlaps nontransparent regions of other layers.
With a layer (the dolphin image in this example) selected in the canvas or Layers list, select the Preserve Opacity checkbox in the Properties Inspector.

The only area of the layer visible is the area that overlaps the layer behind it.