
Selecting the Distort tool activates canvas controls to reposition a layer’s corner points independently and to shear (slant) its midsection points horizontally or vertically.

Note: The Distort tool is not available for layers within a 360° environment.
Select a layer in the Layers list or canvas.
A bounding box appears around the selected layer in the canvas.
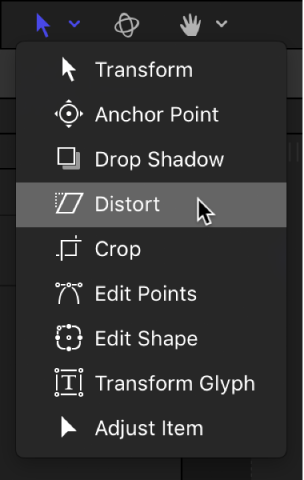
In the canvas toolbar, click and hold the transform tools pop-up menu, then choose Distort.
In the canvas, a bounding box with eight handles appears around the selected layer.
Do any of the following:
Stretch the layer into an irregular shape: Drag any of the four corner handles.
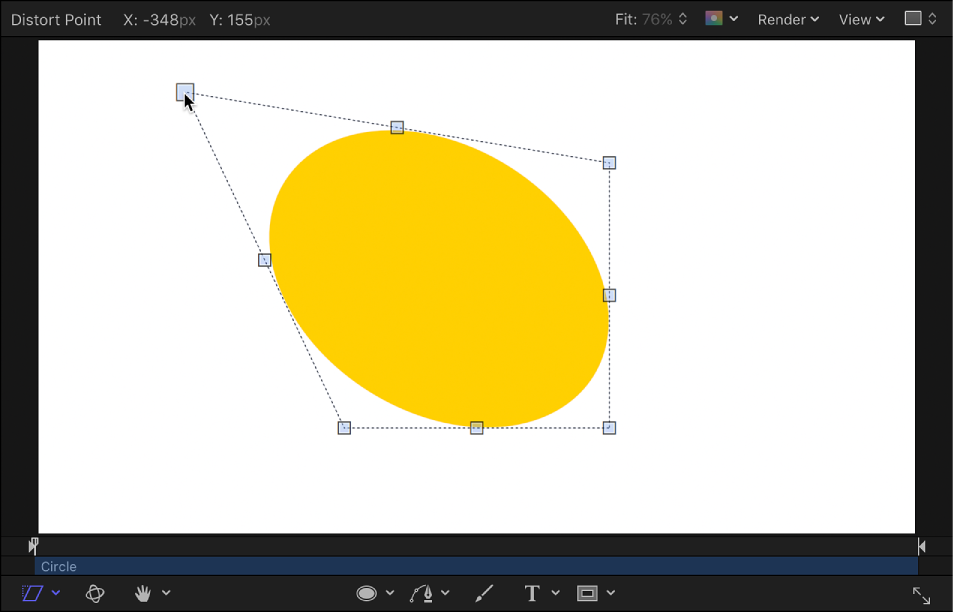
Shear (slant) the layer: Drag any of the side handles or top and bottom handles. The top and bottom handles shear the layer horizontally. The left and right handles shear the layer vertically.
Note: Shearing a layer using the Distort tool does not affect the Shear parameter in the Transform area of the Properties Inspector. Instead, the Distort tool modifies the Four Corner parameters in the Properties Inspector to simulate a Shear effect. You can still modify the Shear parameter, effectively shearing the shear simulation for interesting results.
After you distort a layer, you can revert to the layer’s original shape by deselecting the layer’s Four Corner checkbox in the Properties Inspector. Doing so resets the shape of the layer without resetting the shape you defined by dragging in the canvas.