
Although several Motion filters are animated (Bad Film, Bad TV, and Overdrive, for example), most are not. However, it’s easy to create filter animations by using keyframes to change parameters over time.
Select an applied filter in the Layers list, Timeline, or canvas.
In the timing toolbar (above the Timeline), click the Record button (or press A) to enable keyframe recording.
Move the playhead to the frame where you want to add a keyframe.
In the Filters Inspector or HUD, change one or more parameters to a new value.
A keyframe is added when you modify a parameter value.
Move the playhead to the next frame where you want a keyframe.
Repeat steps 4–5 until you finish.
Click the Record button again to turn off keyframe recording.
Click the Play button (or press the Space bar) to see the results.
Select an applied filter in the Layers list, Timeline, or canvas.
If the filter has an onscreen control, the Adjust Item tool is selected in the canvas toolbar and the onscreen controls appear in the Inspector.
In the timing toolbar (above the Timeline), click the Record button (or press A) to enable recording.
Move the playhead to the frame where you want to add a keyframe.
In the canvas, drag the onscreen control.
A keyframe is added when you modify a parameter value using the onscreen control.
Move the playhead to the next frame where you want a keyframe.
Repeat steps 4–5 until you finish.
Click the Record button again to turn off keyframe recording.
Click the Play button (or press the Space bar) to see the results.
Select an applied filter in the Layers list, Timeline, or canvas.
Move the playhead to the frame where you want to add a keyframe.
In the Filters Inspector, do one of the following:
Position the pointer over the right side of the row of the parameter to animate. When the Add Keyframe button (a plus sign in a gray diamond) appears, click it.
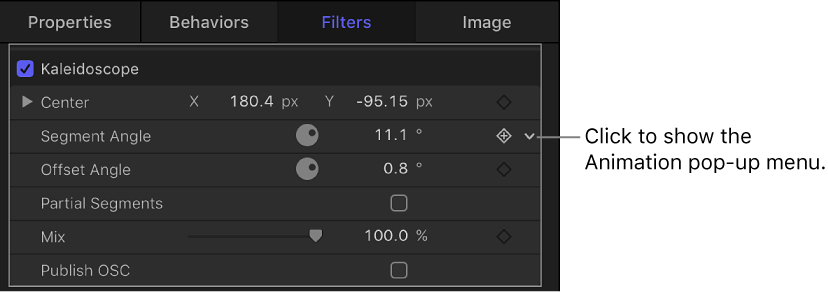
Position the pointer over the right side of the parameter row, click the down arrow to open the Animation pop-up menu, then choose Add.
Control-click the parameter name, then choose Add from the shortcut menu.
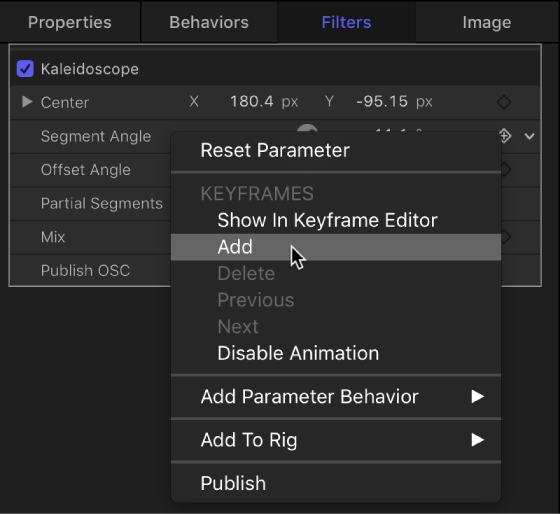
A keyframe is added at the current playhead position.
In the Inspector or HUD, or via the onscreen controls (if available), adjust the parameter value.
Move the playhead to the next frame where you want a keyframe.
Repeat steps 4–5 until you finish.
Click the Play button (or press the Space bar) to see the results.
For more detail on using the Animation menu to add keyframes, see Animation menu.