
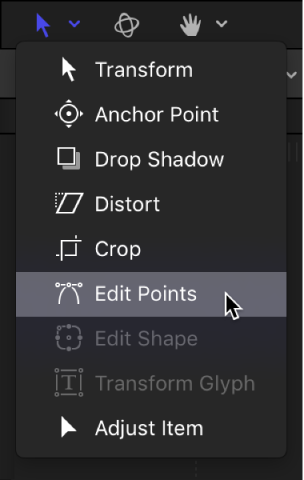
For all of the following procedures, the Edit Points tool (in the transform tools pop-up menu in the canvas toolbar) must be selected.
Do one of the following:
Click any control point.
Drag a selection rectangle over multiple control points.
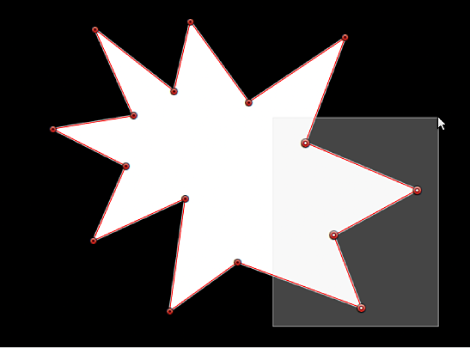
Shift-click unselected control points to add them to the selection.
Shift-drag a selection rectangle around unselected control points to add them to the selection.
Note: In Edit Points mode, when you place the pointer over a control point, an info window appears identifying the control point name. When dragging a control point, the status bar displays the point’s name and coordinates. You can choose not to display the info window by opening the General pane of the Motion Preferences window and deselecting Show Tooltips. For more information on showing and hiding the status bar, see View dynamic canvas feedback.
Choose Edit > Select All (or press Command-A).
Do one of the following:
Shift-click selected points.
Pressing and holding the Shift key, drag a selection rectangle over selected points.
Do one of the following:
Click the canvas anywhere outside the selected shape.
Choose Edit > Deselect All (or press Shift-Command-A).
By default, shape control points are numerically labeled in the order they were created in the canvas.
In the canvas, position the pointer over any control point.
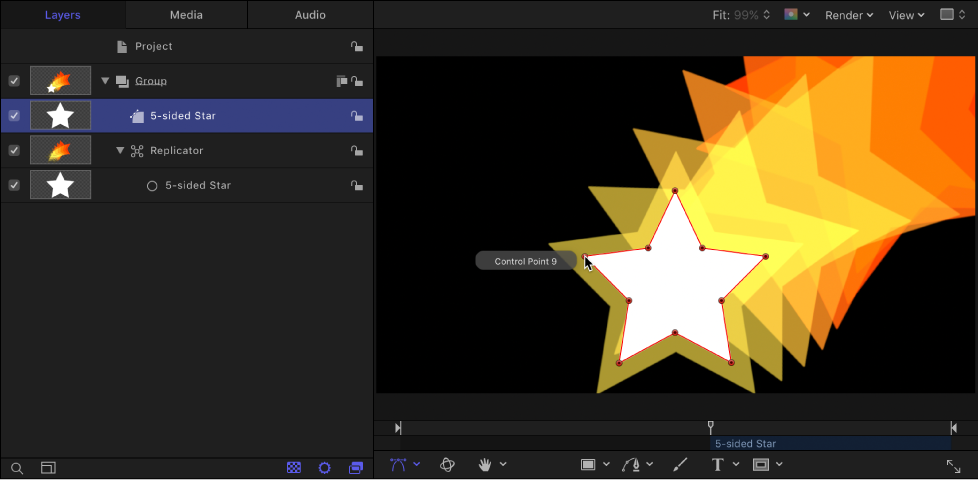
The numeric name of the control point (“Control Point 1,” for example) is displayed.
Note: Shape control points are also listed by number in the Geometry pane of the Shape Inspector.
You can lock control points in a shape to fix them in place and prevent accidental modification. A shape with locked points can still be moved.
Do one of the following:
Lock a control point: Control-click a control point, then choose Lock Point from the shortcut menu.
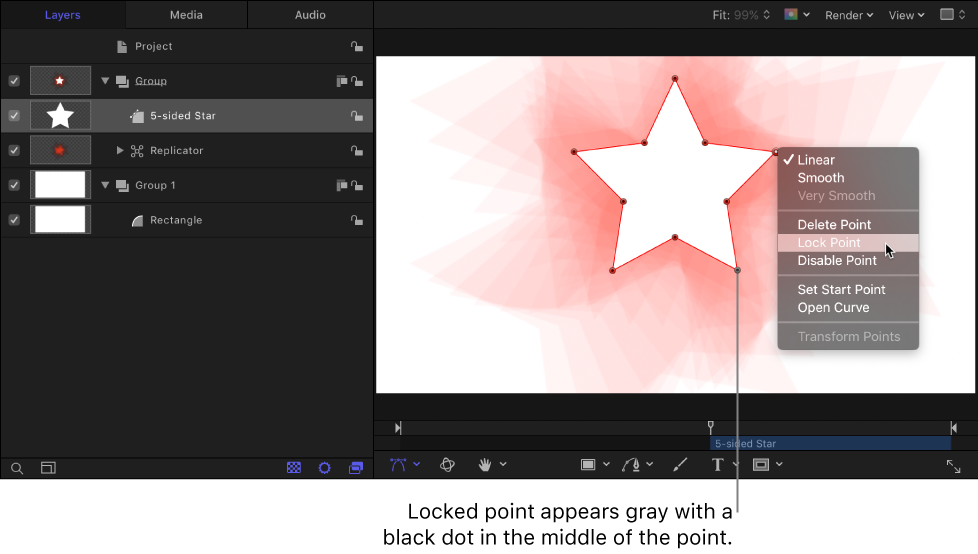
Unlock a control point: Control-click a locked control point, then choose Unlock Point from the shortcut menu.