
You can create a custom margin using the Margins controls in the Layout pane of the Text Inspector.
In the canvas toolbar, select the Text tool, click in the canvas, then enter some text.
When the Text tool is selected, clicking in the canvas (without dragging) creates a blank text layer.
In the Layout pane of the Text Inspector, click the Layout Method pop-up menu, then choose Paragraph.
A bounding box appears in the canvas surrounding the text.
In the Margins section of the Layout pane, adjust the sliders to set the left, right, top, and bottom margins.
Press Esc to exit text-editing mode.
Note: Alternatively, you can create text margins by selecting the Text tool, then dragging in the Canvas. For more information, see Add paragraph-style text with margins that wrap.
This task uses paragraph-style text with margins (as described in the previous task).
Double-click paragraph-style text in the canvas.
The Text tool is selected, and a bounding box appears in the canvas surrounding the paragraph-style text.
Do one of the following:
In the canvas, drag one of the scale handles on the bounding box.
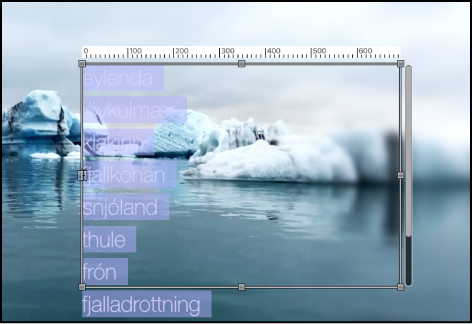
Note: The Text tool must be selected when you drag in the canvas. If the Text tool is not selected, dragging scale handles resizes the text itself, not its margins.
In the Layout pane of the Text Inspector, adjust the Margins controls.
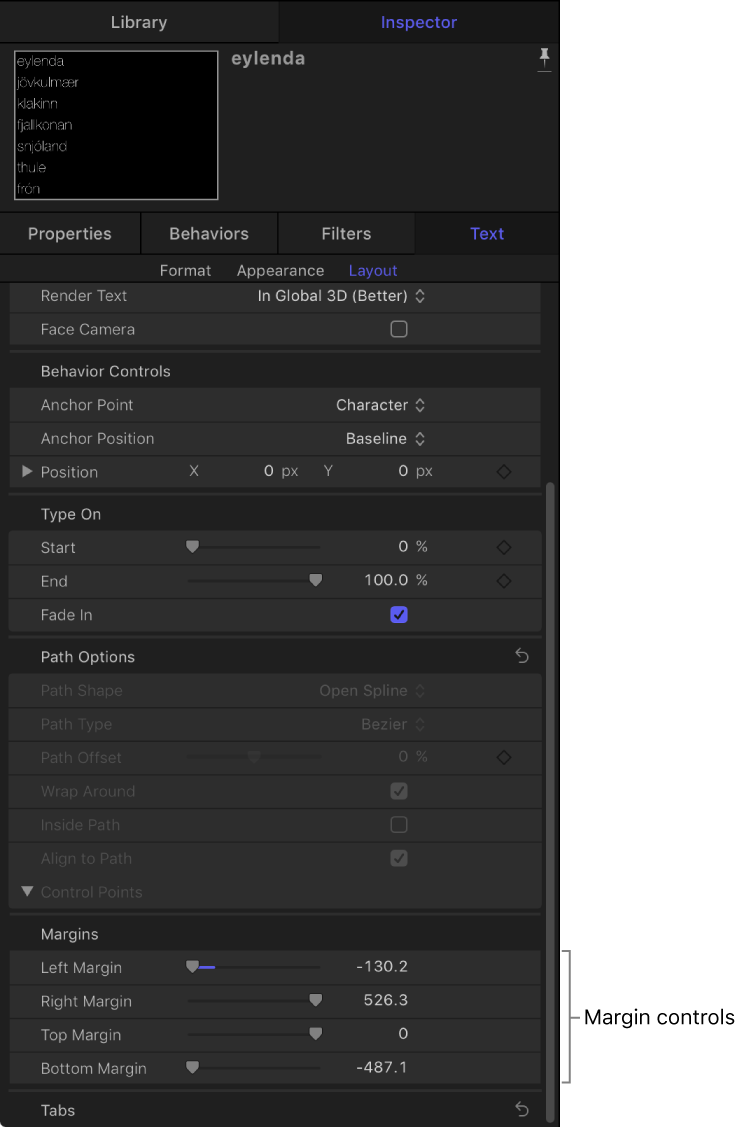
The text margins change, and the text inside the bounding box adjusts to the new margins.
Note: When text is deleted from a paragraph, the paragraph margins remain in their original locations.