
The Path layout method lets you place text on a baseline path that you can warp to create curving or angular trails of text. After you create text on a path, you can modify or extend the path, add or remove control points, or animate text on the path (see Animate text on a path).
You can always edit text on a path, changing text characters or fonts, tracking, and kerning, as well as Appearance pane settings.
Note: To view and edit a text path, the Text tool (in the canvas toolbar) must be selected.
Select text in the canvas, Layers list, or Timeline.
In the Layout pane of the Text Inspector, click the Layout Method pop-up menu, then choose Path.
The Path Options controls become available, near the bottom of the Layout pane.
In the canvas toolbar, select the Text tool (or press T), then click the text in the canvas.
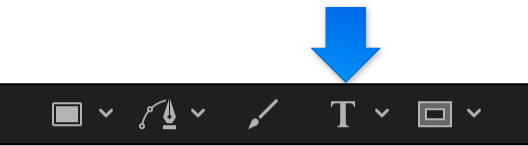
Step 3 is important—the Text tool must be selected to view or edit the text path.
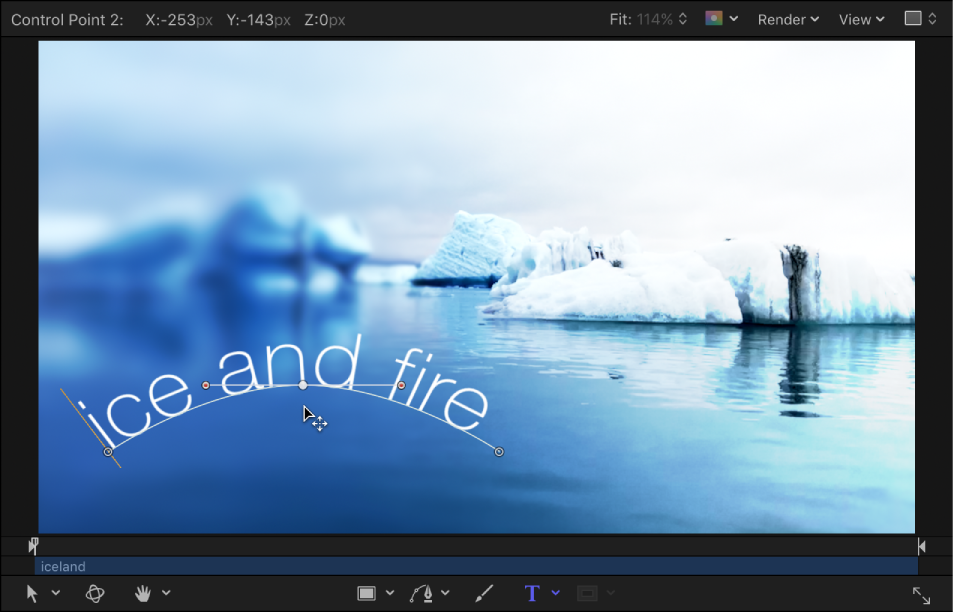
The path appears below the text. The default path shape is a straight line (an open spline) with three control points.

With the Text tool selected, drag a path control point to change the shape of the path.
When you add additional text characters to text on a path, you may need to extend the default path, by dragging it in the canvas.
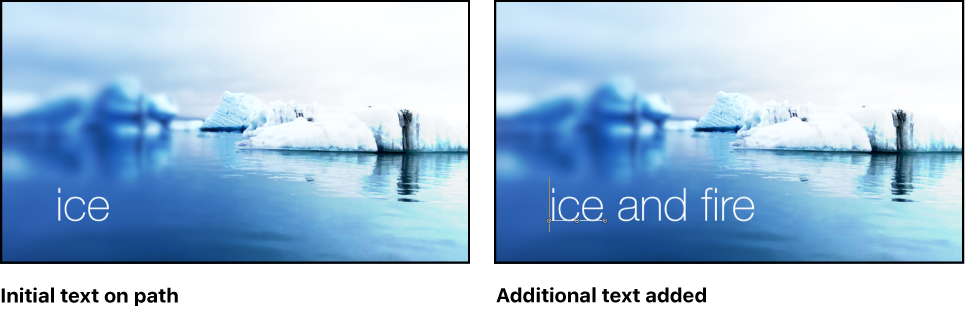
With the Text tool selected, drag the last control point of the text path toward the end of the text.
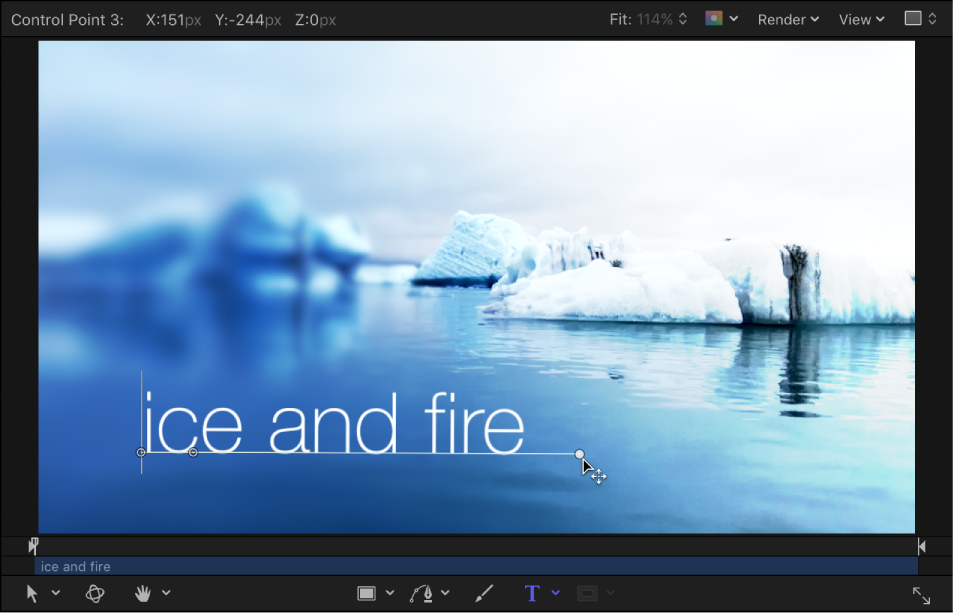
Tip: When dragging, press Shift to constrain the path to a straight line.
After you extend a path, you can add control points to further manipulate the shape of the path, as described in the next task.
Do any of the following:
Add a control point: Option-click or double-click the text path.
Note: If nothing happens, make sure the Path Shape pop-up menu (in the Path Options group of controls in the Layout pane) is set to Open Spline or Closed Spline.
Remove a control point: Select a point on the text path, then press Delete.
You can also Control-click the point, then choose Delete Point from the shortcut menu.
Create a linear point: Control-click a point on the text path, then choose Linear from the shortcut menu.
Create a smooth (Bezier) point: Control-click a point on the text path, then choose Smooth from the shortcut menu.
When Path Type is set to B-Spline (in the Path Options group of controls in the Layout pane), the Very Smooth option becomes available in the shortcut menu.
Lock a point: Control-click a point on the text path, then choose Lock Point from the shortcut menu.
A locked point cannot be edited.
Unlock a point: Control-click a point on the text path, then choose Unlock Point from the shortcut menu.
Text paths are modified in the same way as shape control points. For complete information, see Shapes, masks, and paint strokes overview.
Note: Clicking any path control point and holding down the mouse button displays the point number (based on the order the points are drawn on the path) and X, Y, and Z coordinates in the status bar (above the canvas). Path control points are also listed by number in the Path Options group of controls in the Layout pane of the Text Inspector.