
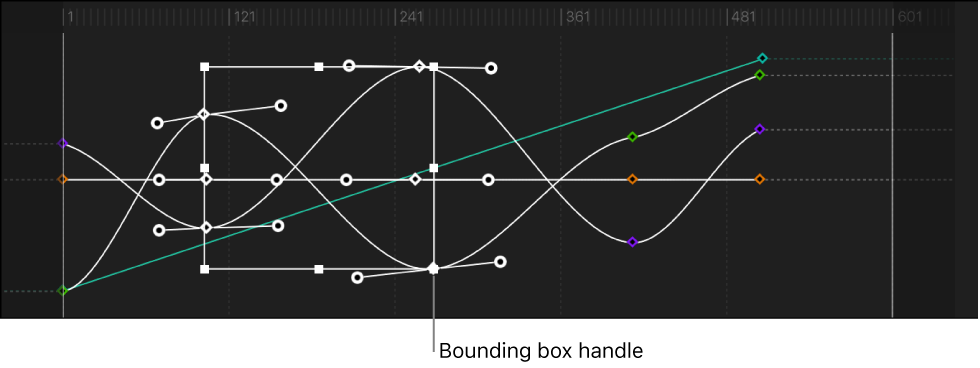
Use the Transform Keyframes tool to drag a selection rectangle around multiple keyframes and then manipulate their positions by dragging the bounding box or adjusting its handles. Dragging the bounding box moves the selected keyframes in whatever direction you move. As a result, you can affect where the keyframes are positioned in time or you can affect their parameter values, or you can do both at the same time. Adjusting a bounding box handle scales the keyframes, changing their timing and parameter values.
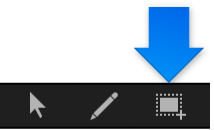
Select the Transform Keyframes tool (above the parameter list in the Keyframe Editor).
In the graph area, drag to create a selection rectangle enclosing the keyframes you want to manipulate.
A bounding box with eight handles appears in the graph area.
Important: When transforming keyframes using the Transform Keyframes tool, by default keyframes are adjusted in whole-frame increments. You can adjust keyframe in sub-frame increments if the “Allow sub-frame keyframing” checkbox is selected in the Time pane of Motion Preferences. Sub-frame adjustments allow greater precision, but use the Next/Previous Keyframe controls (or keyboard shortcuts) to move the playhead to keyframes that are between frames. If you move a sub-frame-adjusted keyframe using the pointer, the frame snaps to the nearest whole frame.
Drag inside the bounding box to move the box and the enclosed keyframes.
Moving left and right repositions the keyframes in time, and moving up and down increases and decreases the parameter values of the keyframes.
Note: No matter where you drag the box, only the keyframes you selected are manipulated—even if the repositioned box overlaps keyframes outside the original selection. To manipulate additional keyframes, redraw the selection box in the graph area.
Drag any handle to resize the selection box.
The selection box changes shape relative to the handle on the opposite side or corner of the box, which remains locked in place.
Pressing and holding the Option key, drag a handle of the bounding box.
Both sides of the box scale up or down around its center as you drag along the axes.
Pressing and holding the Command key, drag a corner handle of the bounding box.
Each corner handle moves independently of the other three corner handles of the bounding box.
Do one of the following:
In the Keyframe Editor, click once anywhere outside the bounding box.
Choose the Edit Keyframes tool.
The bounding box disappears.
Tip: You can also draw a new bounding box outside of the old one to surround a different group of keyframes.