Share menu options are configured to provide results that work well for common situations. However, at times you might need to customize the settings. Compressor, a professional transcoding application that works with Motion, gives you maximum control over media-conversion specifications and encoding workflows.
Important: To export using Compressor, you must have Compressor installed. Compressor must be purchased separately. For more information, see the Compressor website.
Here are some ways you can use Compressor:
If you have Compressor installed: You can send your project to Compressor via the Share > Send to Compressor command, to take advantage of the options available in Compressor to customize your output.
If you have Compressor installed, or have copied Compressor settings to your computer: You can apply Compressor settings (either the Apple-supplied setting or custom settings you create) in Motion via the Share > Export Using Compressor Settings command. Exporting a project in this manner lets you render your project using Compressor settings without opening your project in Compressor. Each Compressor setting you select results in an additional version of your project being rendered. After you choose settings and click Save, your project is rendered in the background.
Send a project to Compressor
Choose Share > Send to Compressor.
Compressor opens, adding the project to the batch area.
Drag one or more settings from the Settings pane to your project in the batch area, then click Start Batch.
In the window that appears, select a setting from one of the folders.
You can search for a specific setting, such as H.264 or 1080p, in the Search field that appears below the project preview.
If you’ve set In and Out points in the Timeline, click the Duration pop-up menu to choose whether to export the entire project or the play range (the portion between the In and Out points).
Select Open with Application to have the exported file automatically open.
To see details about files to be output, click Summary.
Click Next.
Enter a file name, choose a save location for the output files, then click Save.
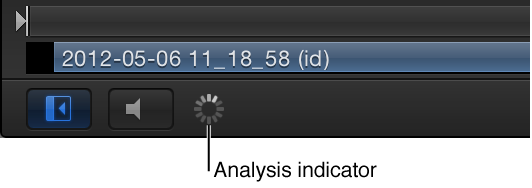
Your project begins rendering, as shown by a analysis indicator on the left side of the Motion toolbar.