Using Replicators in 3D Space
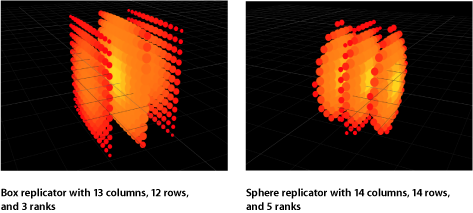
Two replicator pattern styles in the Shapes pop-up menu have 3D properties: Box and Sphere. The Box and Sphere shape options are available only when the 3D checkbox is selected in the Replicator Inspector. Box and Sphere replicators build a pattern of elements in 3D space. The 2D Rectangle and Circle replicator shapes have columns (in the Y plane) and rows (in the X plane), but Box and Sphere have an additional Ranks parameter, which adds depth to the replicator.
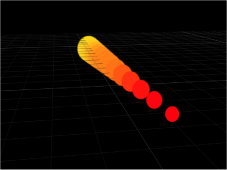
Line and Wave replicator shapes have quasi-3D properties: Their start and end points can be moved into Z space. In the following image, the Z Start Point (yellow end of the pattern) is set to 20 and the Z End Point is –18 (red end of the pattern).
Although the Rectangle, Circle, Line, Wave, Image, and Geometry replicators have no inherent 3D parameters, they can be moved and rotated in 3D space. Pattern elements can also be pulled out of their plane when behaviors are applied. The replicator must be a member of a 3D group to be pulled out of the X and Y planes by a behavior.
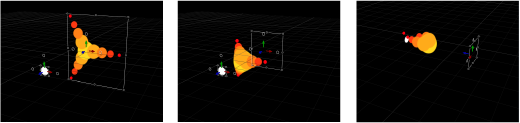
The following illustrations demonstrate replicator pattern elements pulled into Z space. In the illustration on the left, the Burst replicator’s Z position is set to 0 and the white circle’s Z position is set to 225. An “Attracted To” Simulation behavior is applied to the replicator, with the white circle set as the target object. As the project plays, as shown in the center illustration, the replicator elements move forward in Z space toward the attractor. In the right illustration, the camera is rotated to look behind the replicator. Under the behavior’s influence, the replicator elements move past their attractor element, and return to their original position.
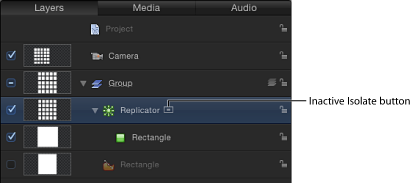
Tip: When working with elements in 3D, you can snap an object back to its original orientation by using the Isolate command.
In the Layers list (or Timeline), click the Isolate button.
Control-click the layer or group, then choose Isolate from the shortcut menu.
Choose Object > Isolate.
Click the Isolate button again to return to your previous view.
Note: Clicking a camera’s Isolate button activates that camera’s view.