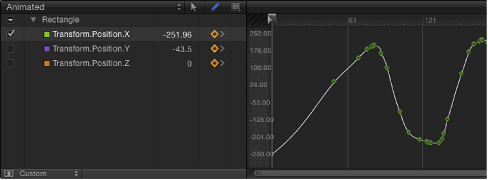
Keyframe Thinning
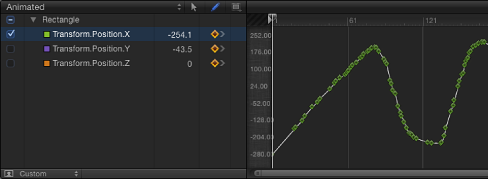
When a parameter contains at least one keyframe, or when the Record button is on, a keyframe is added every time you modify a parameter at a new playhead position. If you animate while the project is playing, you create a keyframe at every frame. This doesn’t cause a problem until you want to modify the curve.
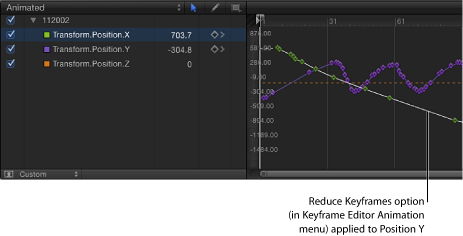
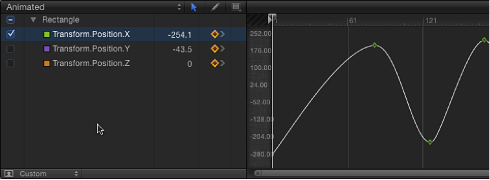
In many cases, the curve created by your animation can be represented using fewer keyframes. Often, this provides a smoother rate of change and lets you take advantage of interpolation methods such as Bezier or Continuous.
You can simplify your keyframes in two ways: while you are recording them, or afterwards, by simplifying an existing animation curve using the Reduce Keyframes command in the Animation menu for that parameter.
Click the Animation menu (the fifth column in the Keyframe Editor parameter list), then choose Reduce Keyframes from the Animation menu.
The Reduce Keyframes dialog appears.
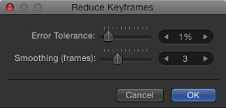
Adjust the Error Tolerance and Smoothing parameters to obtain the curve you want.
Recording Options
The Recording Options dialog allows you to adjust the Keyframe Thinning setting or to disable recording during playback.
The Keyframe Thinning setting applies to recording animation while playing back. This setting has no effect on ordinary keyframing.
Choose Mark > Recording Options (or press Option-A).
Double-click the Record button (under the Canvas).
The Recording Options dialog appears. Choose a thinning option, then click OK.
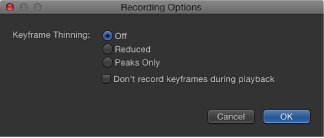
The Recording Options dialog contains the following options:
Disabling Animation While Playing
If the Record button is on or a parameter contains at least one keyframe, keyframes are added when you make parameter adjustments. To prevent creating accidental animation, you can restrict automatic keyframing so it happens only when the project is not playing.
Choose Mark > Recording Options.
The Recording Options dialog appears.
Select “Don’t Record keyframes during playback.”
Click OK.