Understanding How Arrange Window Areas Interact
The Arrange window contains various areas that interact with each other. This gives you access to all files, editing methods, and track and channel strip parameters in one place, making your workflow much faster. The following task outlines how these Arrange window areas work in harmony, to accelerate music production.
Open the Media area by clicking the Media button in the Arrange toolbar.
Click the File Browser tab, then browse to a folder that contains audio files.
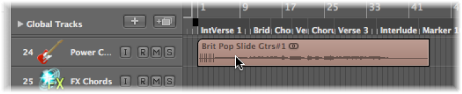
Select the audio filename and drag it to an audio track lane in the Arrange area.
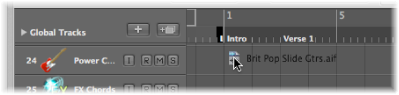
Release the mouse button when the help tag displays position 1 1 1 1. A region is created in the Arrange area.
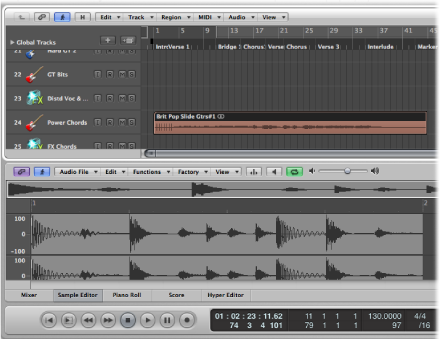
Click the Sample Editor button at the bottom of the Arrange area.
The Sample Editor is shown, displaying the contents of the region you just created in the Arrange area.
Click the Audio Bin tab.
The Bin contains the audio file you just added to the project.
Click the Loops tab, then click a category button to see matching loops in the Loop Browser’s Search Results list.
Select a loop with a green icon and drag it to a software instrument track in the Arrange area.
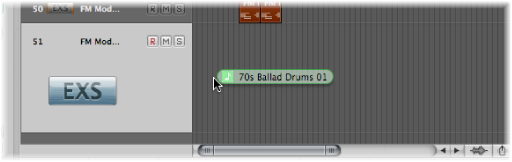
Release the mouse button when the help tag displays position 1 1 1 1. A MIDI region is created in the Arrange area.
Tip: If no software instrument track exists, you can also drag the Apple Loop from the Loop Browser directly into the blank Arrange area. A track and corresponding channel strip are automatically created, and the Apple Loop is loaded.
Click the Piano Roll button at the bottom of the Arrange area.
The Piano Roll Editor is shown, displaying the contents of the region you just created in the Arrange area.
Move the playhead to the beginning of your project by clicking the Go to Beginning button in the Transport bar.
Play your project by clicking the Play button in the Transport bar.
You will hear the audio file and instrument loop you added to the project. You may like the melody of the software instrument loop, but not its sound. Utilize the Library to assign another sound to the software instrument track.
Select the software instrument track, then click the Inspector button.

The left channel strip displays the software instrument and effect of the selected track.
Click the Library tab, and browse through the displayed channel strip settings.
Because this is a software instrument track/channel strip, only software instrument channel strip settings are shown in the Library.
Select one of the channel strip settings to load it.
Start playback again to audition the new sound.