Creating Markers
You can create markers at any project position. This section describes all marker creation options.
Tip: You can use the Create Marker key commands to add markers on the fly during playback.
In the Marker List, choose Options > Create.
In any workspace, choose Options > Marker > Create from the main menu bar (or use the Create Marker key command, default assignment: Shift-Command-').
Note: If a marker already exists at a bar position (or up to a quarter note before or after it), no new marker is created.
The length of the marker automatically extends to the start point of the next marker, or to the end of the project or folder, if no ensuing markers exist.
In the Marker track, do one of the following:
Set the playhead to a project position, then click the Create button.
Select the Pencil tool, then click a project position.
Option-Command-click a project position in the lower part of the Bar ruler.
Note: This option only works if the Marker track isn’t displayed.
In the Marker List, choose Options > Create Without Rounding.
In any workspace, choose Options > Marker > Create Without Rounding (or use the Create Marker without rounding key command, default assignment: Command-').
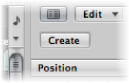
In the Marker List, click the Create button.
Click in the Marker List area with the Pencil tool, then enter a position in the position input field.
In the Marker track, do one of the following:
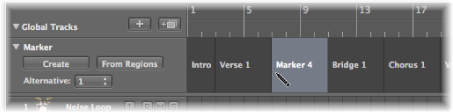
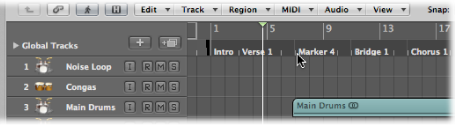
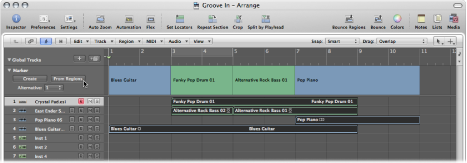
Click the From Regions button.
Drag a region from an arrange track onto the Marker track.
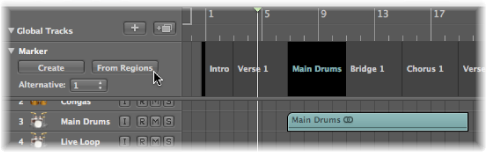
In any workspace, choose Options > Marker > Create by Regions from the main menu bar (or use the Create Marker by Regions key command, default assignment: Command-Up Arrow).
Markers created in these ways are automatically assigned the names, bar position, length, and color of the regions they are derived from.
Drag the cycle down into the Marker track or into the lower third of the Bar ruler.
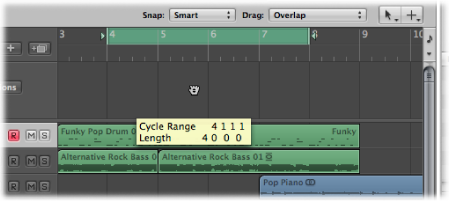
Dragging the cycle in the Bar ruler is limited to either horizontal or vertical movements. This ensures that you do not accidentally:
Move the cycle when creating markers (by dragging the cycle into the lower third of the Bar ruler or into the Marker track).
Create markers when moving the cycle area.
The following explains how marker movements and the cycle interact:
When dragging the cycle to the marker area in the Bar ruler, the pointer turns into a hand with up/down arrows. As soon as you move the pointer horizontally in the marker area of the Bar ruler, the pointer becomes a hand (without arrows). The Copy Cycle to Marker action is canceled.
If you first move the cycle horizontally, and then try to drag it to the marker area of the Bar ruler, no Marker is created.
When you hold Shift, after click-holding the cycle, the cycle can be moved horizontally, and then dragged to the marker area in one go.
Note: When you hold Shift, before clicking the cycle, the nearest cycle border is set to the clicked position.