Accessing Project Settings
There are several ways to access project settings in Logic Pro.
Via the File > Project Settings menu
Via the Settings button in the Arrange toolbar
Via local menus (in the Score Editor, for example), buttons on the Transport bar, or shortcut menus
These and several other access methods are outlined throughout the chapter.
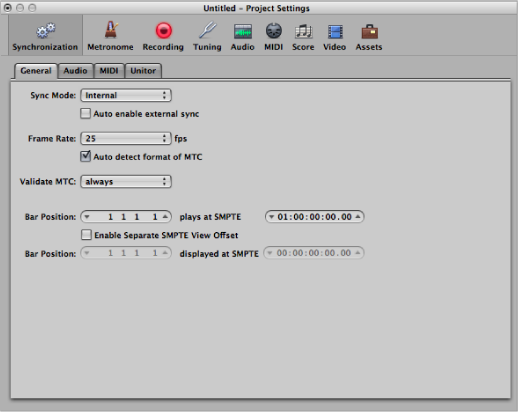
The Project Settings window features a number of icons and tabbed panes. These behave much like menus and submenus. To adjust a given setting, select the icon you want, then the appropriate tab. Once the pane or window is shown, activate or deactivate the setting, or make your selection from a pop-up menu. Close the window once you’ve made your selections.
In some instances, you’ll find a button that links to related parameters in the Preferences window, and vice versa. Clicking this button opens the Preferences window, and automatically selects the relevant pane. For example, the File > Project Settings > Score > Global pane features a Score Preferences button. Clicking this button opens the Preferences > Score pane.
Both the Project Settings and Preferences windows can be visible at the same time, making setup of operating parameters faster and clearer.