Working with Movie Scene Markers
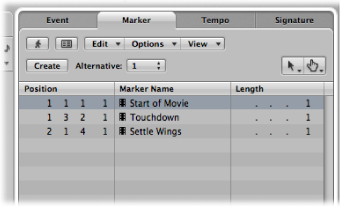
Scene markers are SMPTE-locked markers: they remain at the same absolute time position, regardless of any tempo changes, and they are automatically deleted if the current movie is removed from the project. Scene markers are identified by a movie frame symbol.
Creating and Deleting Movie Scene Markers
You can use the Create Movie Scene Markers function to search the movie for significant content changes (scene cuts), and automatically generate scene markers for each of them.
The Create Movie Scene Markers function uses a fixed threshold value, which works quite well for most types of movies (cartoons, real life, CGI, and so on).
Choose a movie range in the Options > Marker > Create Movie Scene Markers menu.
The Auto Range setting follows the decision path outlined below, when determining which part will be evaluated:
Marquee selection
Cycled project part
Selected regions
All—if none of the above criteria are met
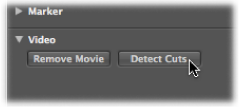
Click the Detect Cuts button in the Video track.
Use the Create Scene Markers (Auto Range) key command.
Choose the relevant option in the Options > Marker > Remove Movie Scene Markers menu.
Use the Remove Scene Markers (Auto Range) key command.
Converting Movie Scene Markers
You can use the Marker List to convert a scene marker into a standard marker, and vice versa.
Select the scene marker in the Marker List, and choose Options > Convert to Standard Marker.
Select the marker in the Marker List, and choose Options > Convert to Scene Marker.