Getting to Know Common Object Parameters
Each Environment object has several parameters that control its operation. These parameters can be viewed and changed in the Object Parameter box, shown in the Environment window Inspector when an object is selected.
The Object Parameter box also appears in the Arrange window Inspector when you select a track assigned to the object. These are the same parameters—changes in one location are reflected in the other. There is one type of object, however, that differs slightly in this regard: the audio channel strip.
An Object Parameter box containing a reduced parameter set is shown for audio channel strips when displayed in the Arrange window. The full parameter set for these objects is only available in the Mixer layer of the Environment window. There are two main reasons why the Arrange window and Environment representations of audio channnel strips differ: to save onscreen space, and to provide the tools you need for music creation, rather than setup tasks.
This separation is made even clearer—for all audio, instrument, and external MIDI channel strips—by the use of two terms throughout the manual:
Track Parameter box (in the Arrange window, to illustrate that the channel is controlling the corresponding track)
Object Parameter box (in the Environment, where you are interacting with the underlying object)
The following parameters are shared by all object types:
The name of the object is shown next to the triangle, and can be selected for editing by clicking it. You can also edit the name by clicking the object with the Text tool.
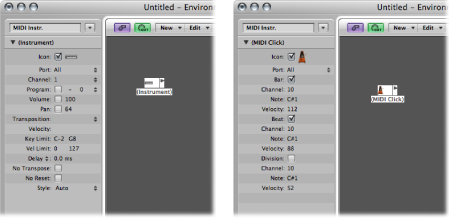
Select the checkbox beside Icon to make the object visible in the Arrange area’s Track Assignment menu. (See Assigning Tracks to Environment Objects.) This is obviously useful for instrument objects, but can also be handy for other objects such as arpeggiators, touch tracks, and chord memorizers.
Once made visible, you can Control-click an arrange track, and reassign the track to one of these objects. The object, in turn, can be routed into an instrument channel, for example.
The upshot of this is that selecting an arpeggiator object (routed into a software instrument channel) in the track list results in a real-time arpeggiation of the instrument sound when you play chords on your keyboard while Logic Pro is running.
Objects not in the Track Assignment menu can still be assigned to tracks by dragging them from the Environment onto the track list, or by using the Environment’s MIDI Thru tool.
If you move a multi-instrument object into the track list, the selected sub-channel is set as the track instrument. If no sub-channel is selected, all initialized sub-channels (sub-channels that are not crossed out) are set for the destination track, and the tracks below that. If there are no tracks below the destination track, new tracks are automatically created and assigned to sub-channels of the multi-instrument object.
If the checkbox is not selected, the object and its icon will still appear in the Environment. You should only select the Icon checkbox if the object will be used as a track destination.