Understanding the Concept of Beat Mapping
Beat mapping involves two steps: first, you graphically connect musical events to the appropriate bar positions in the Beat Mapping track, by drawing lines between them with the mouse. Logic Pro will automatically insert a tempo change event for each of these bar position locations. This results in the note/event being played at its previous absolute time position, despite its altered bar position. A beat mapped Logic Pro project will contain the same tempo variations as the original recording.
Assuming accurate beat mapping, everything will be in time with the metronome tempo, affording you a number of advantages for further project development:
The metronome click can be used when recording additional regions.
Quantize functions can be applied to newly recorded regions.
Loops (both MIDI and Apple Loops) will automatically adjust to the tempo when used in the arrangement.
MIDI regions recorded without a click will be displayed in a musically meaningful way in the Score Editor.
Additional MIDI regions can also be created via the Step Input function, without sounding too stiff. This looser feel is due to the parts being played back with all of the tempo changes created by the beat mapping process.
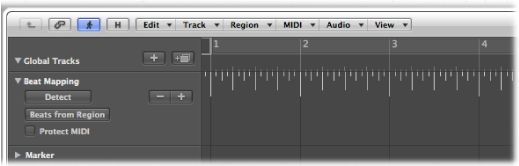
By default, the global Marker, Signature, and Tempo tracks are visible when you enable the display of global tracks. If the Beat Mapping track is not displayed, choose View > Configure Global Tracks, and select the Beat Mapping checkbox. For detailed instructions, see Hiding or Showing Global Tracks.