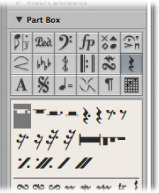
Learning About Part Box Groups
The following section provides a basic overview of the individual Part box groups. Detailed information on note and other object editing (as applicable) is found in General Editing in the Score Editor.
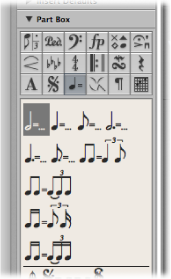
Note Objects in the Part Box
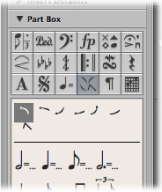
The Part Box Group menu square that represents notes, in the top section of the Part box, is divided into three parts: notes, dotted notes, and triplet notes. These correspond to three note object groups.
Click the corresponding symbol (note, dot, or 3) within the note square.
Inserting any of these symbols creates a MIDI note event, of the exact note length value. For display purposes, however, all of these MIDI notes are interpreted by Logic Pro as if they were recorded in real time.
Adjust the Display Parameter box settings to correctly display inserted notes. See the Display Parameter box section in Transcribing MIDI Recordings.
Sustain Pedal Symbols in the Part Box
These two symbols are the only score symbols—apart from notes—that directly represent MIDI events (MIDI controller #64, sustain pedal on and off), and thus affect MIDI playback. Logic Pro intelligently inserts the on or off version of the symbol, depending on the status of the type that preceded it. (A sustain off always follows a sustain on, and vice versa.)
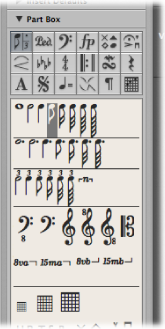
Clef Objects in the Part Box
The clefs in the Part box are generally intended for clef changes in the middle of a part, for a short section of the music; for example, cello or bassoon parts, when the part changes to a higher register. Inserted clefs change the score display, starting at the precise insert position (which can even be in the middle of a bar).
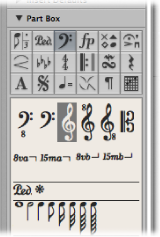
Note: You shouldn’t use the Part box clefs to change the clef of a whole MIDI region. In this situation, choose an appropriate staff style for the region. See Working with Staff Styles.
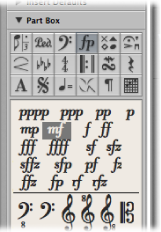
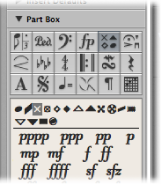
Dynamic Symbols in the Part Box
Dynamic symbols can be inserted at any position in the score. They are purely graphic symbols, and have no effect on the playback of regions they are placed in.
Note Head Symbols in the Part Box
If you drag one of these symbols onto a note, the note head changes to that of the selected symbol. If multiple notes are selected, dragging the note head onto any one of the notes attaches it to all notes in the selection. Altered note heads do not affect MIDI playback.
If you want to return an altered note head to a standard display, use the same method, with the black, round note head selected.
The gray note head makes a note’s head, and associated ties, invisible. This note is displayed with a gray note head onscreen, allowing further edits. Nothing but the stem is visible in the printout.
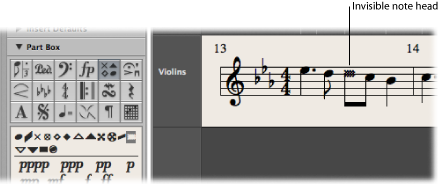
If you combine this feature with the Attributes > Stem > Hide command, you can completely hide these notes in the printed score.
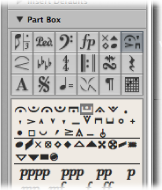
Symbols Attached to Notes in the Part Box
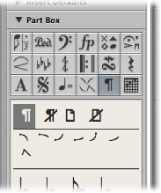
This group contains symbols that usually only refer to one note at a time. This includes fermatas, accents, phrasing symbols, and bow markings, for example. (Trills are in a separate group.)
Drag the symbol onto a note head. (Watch the help tag to ensure accurate placement.)
These symbols are automatically positioned when assigned to a note. They also move with their parent notes, when transposed or otherwise graphically altered.
Press the Option key during insertion.
This technique allows you to place a fermata above an automatically created rest, for example.
Note: The symbols in this Part box group can affect the velocity and playback length of notes they are assigned to.
Define the effect of each symbol, separately, in the File > Project Settings > Score > MIDI Meaning pane. (See MIDI Meaning Settings.)
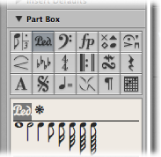
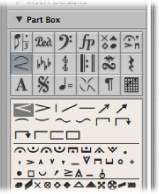
Slurs and Crescendi Objects in the Part Box
These symbols are graphic only, and have no impact on MIDI playback.
Drag the object to the intended (left) starting point.
After insertion, the object remains selected, and small black square handles are visible at its end points (or along its length, in the case of slurs).
Drag these handles to change the object’s shape.
You can also use several key commands to quickly input slurs, crescendo, and decrescendo symbols. For details on these, and editing options, see Editing Slurs and Crescendi in the Score Editor.
Key Signature Symbols in the Part Box
Key signatures inserted in the Score Editor (or global Signature track or Signature List) affect all instruments on all display levels. This is reflected both visually and in MIDI playback.
Natural symbols are automatically displayed with a new key signature, when necessary (when changing from A flat major to F major or A major, for example).
The display of key signatures and key signature changes depends on:
The Score project settings in the Clefs & Signatures pane (see Clefs & Signatures Settings).
The Key parameter in the Staff Style window (for each staff style).
Detailed information about key signatures can be found in Working with Time and Key Signatures.
Time Signature Symbols in the Part Box
Time signatures inserted in the Score Editor globally affect all MIDI regions, on all display levels. Time signature changes affect the display, but not playback.
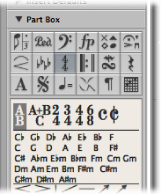
Apart from 2/4, 3/4, 4/4, 6/8, and the alternative display options for 4/4 and 2/2, there are also Part box objects for freely definable time signatures (A/B), and compound time signatures (A+B/C). When you insert one of these objects, the Time Signature dialog opens, allowing you to set the time signature. For more information see Working with Time and Key Signatures.
Repeat Signs and Bar Lines in the Part Box
These objects can be inserted at any visible bar position (at the position of any graphically displayed note or rest). Usually, however, these objects are inserted at the beginning or end of bars. These symbols are purely visual, and have no impact on MIDI playback.
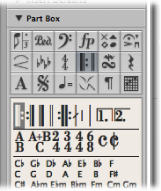
In this situation, they replace the regular bar line (except first and second ending symbols). They are global symbols, and are displayed in all staffs, on all display levels.
Details on editing these symbols are found in Editing Repeat Signs and Bar Lines in the Score Editor.
Trills and Tremolo Symbols in the Part Box
The symbols in this group can be positioned anywhere, and are not attached to notes.
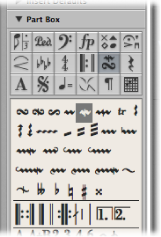
The trill line and arpeggio lines can be set to any length, by dragging their end points. The trill line can also span line breaks.
The accidental symbols in this Part box group are purely graphical, and do not affect the MIDI playback of notes. They are mainly intended as a supplement to trill symbols.
Rests and Bar Repeat Signs in the Part Box
Rests are displayed automatically in Logic Pro.
Existing notes and automatic rests always add up to complete bars, which match the given time signature.
Note: The only exception is when a staff style with a deactivated rest display (Hide Rest) or with beat slashes (instead of rests) is used.
In certain situations, you might want to insert rests manually. These manually inserted rests (also called user rests) can be used if you don’t like the way a particular automatic rest is displayed. See Creating and Inserting Rests in the Score Editor.
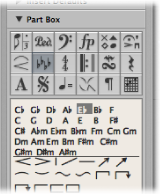
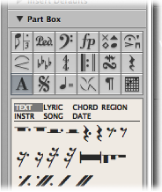
Text Objects and Chord Symbols in the Part Box
Descriptions of the extensive range of text objects and chord symbols can be found in Working with Standard Text.
D.S., D.C., Segno, and Coda Signs in the Part Box
These symbols can be inserted at any position in the score.
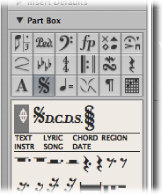
They are graphic symbols, and do not affect MIDI playback. They can be resized with the Resize tool.
Tempo and Swing Symbols in the Part Box
You can insert these symbols at any position.
The font, size, and style of the tempo indicator is determined in the Text Style window. (See Working with Text Styles.)
The tempo indicator value is automatically derived from the playback tempo at the corresponding bar position.
Note: The tempo indicators in the Transport bar and the Tempo List always refer to quarter notes, even if a time signature with another denominator is used. As such, the displayed tempo differs, depending on the symbol being used.
Jazz Symbols in the Part Box
Jazz symbols, as the name suggests, are typically used for jazz notation. They generally indicate a particular playing technique or style, emphasis, or mode.
Drag the symbol onto a note head. (Watch the help tag to ensure accurate placement.)
These symbols are automatically positioned when assigned to a note. Additional space is created as needed, to avoid overlaps with other notes or symbols. Jazz symbols also move with their parent notes, when transposed or otherwise graphically altered.
Jazz symbols can also be inserted with the Attach Symbol: Jazz 1–6 key commands. The numbers (1 to 6) indicate the positions of the symbols in the Part box (from the top-left corner to the bottom-right corner).
Press the Option key during insertion.
These unattached symbols can be moved freely, and unlike normally inserted jazz symbols, do not affect the spacing of notes.
Page and Line Break Symbols in the Part Box
Break symbols (and No Line Break and No Page Break objects) can be inserted as events. Once inserted, they cannot be moved automatically (when you alter the Layout project settings, resize the window, and so on).
You can overrule the Line Break, Page Break, No Line Break, and No Page Break events with the Layout tool.
Line breaks and individual staff margins can be determined for each score set, and also for each of the extracted parts.
Chord Grid and Tablature Symbols in the Part Box
Chord grid symbols (available in three different sizes) and tablature markings are used for guitar notation. The Part box provides access to these symbols and markings to use in your score.
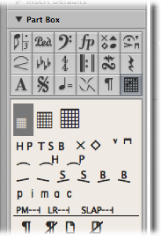
For full details, see Working with Chord Grids and Working with Tablature Markings.